Learning how to set up a webcam for streaming is less about the camera and more about the twenty minutes you spend positioning, configuring, and lighting it. A $60 webcam framed and lit well beats a 4K model dumped on top of a monitor and left on auto everything.
This guide walks the full process end to end: mounting, drivers, a clean webcam OBS setup, exposure and white balance, then lighting and audio. We use a Logitech MX Brio 4K as the example device, but every step maps to any USB webcam, whether you’re building a Twitch webcam setup or going live on YouTube.
What You’ll Need
Before you touch OBS, gather the hardware. You don’t need all of it on day one, but this is the full kit that produces a polished result.
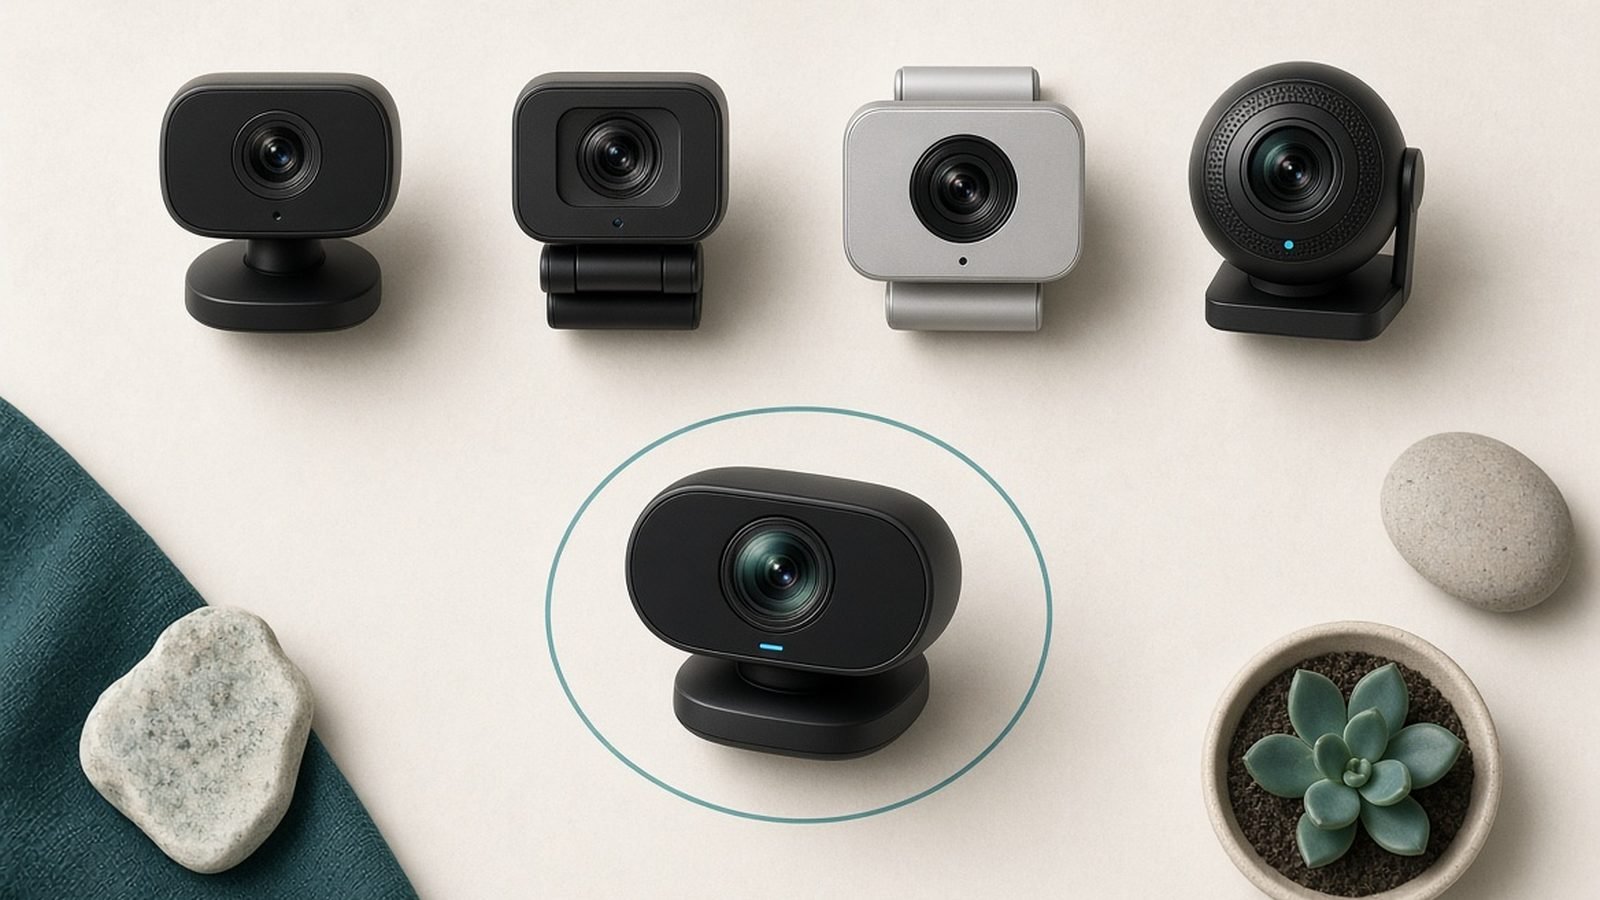
A USB webcam. We use the Logitech MX Brio 4K (around $199 / £199) as our reference. It’s plug-and-play, has reliable autofocus, and includes a privacy shutter.
A free USB-A or USB-C port, ideally directly on the machine rather than a cheap unpowered hub.
OBS Studio (free), or Streamlabs if you prefer.
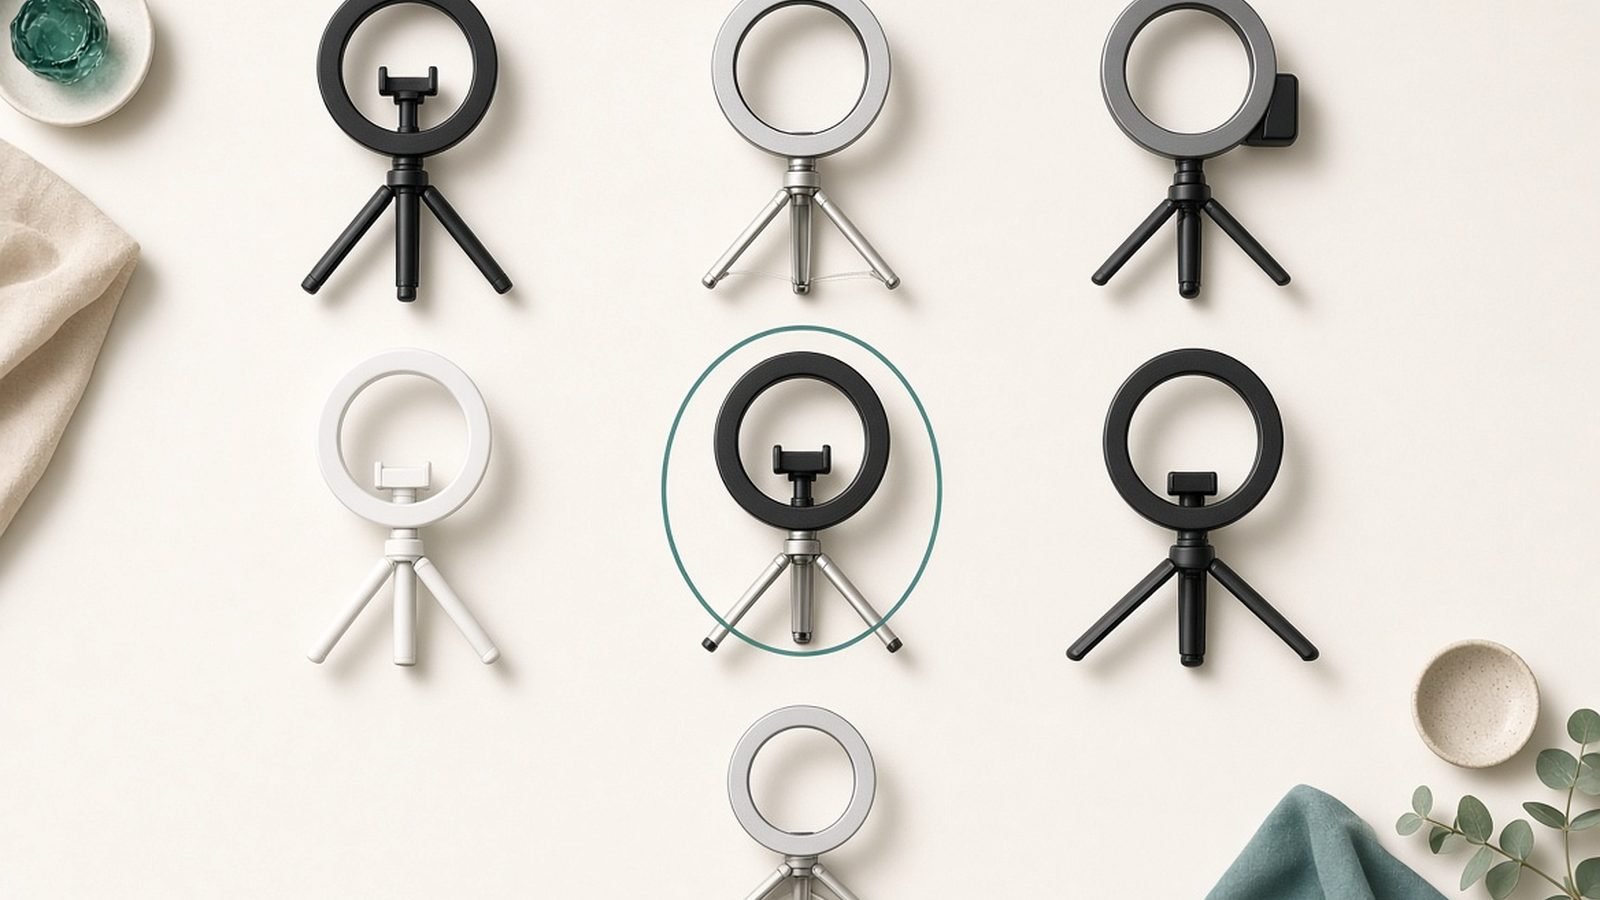
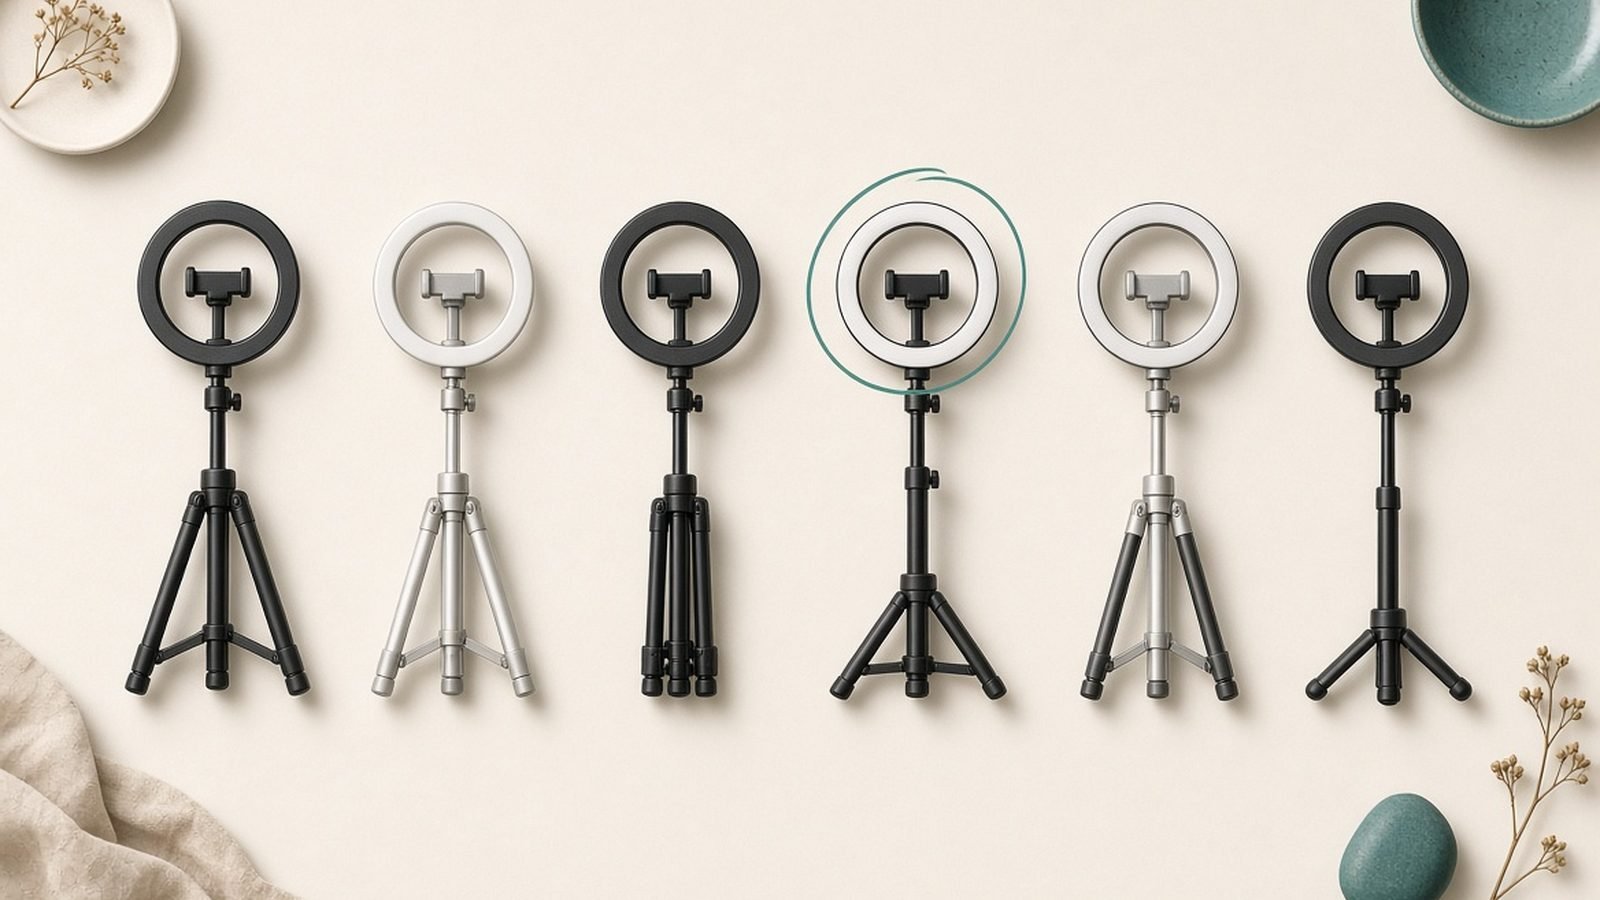
A light source you can control. We recommend the Elgato Ring Light (around $199 / £189).
A microphone. The webcam’s built-in mic works, but a dedicated one like the DJI Mic Mini (around $169 / £155) is a big upgrade.
Check price: Logitech MX Brio 4K
New to buying? Our Best 4K Webcam for Streaming in 2026 roundup compares the top options by price and use case.
Step 1: Mount and Position the Webcam
1. Get the camera to eye level
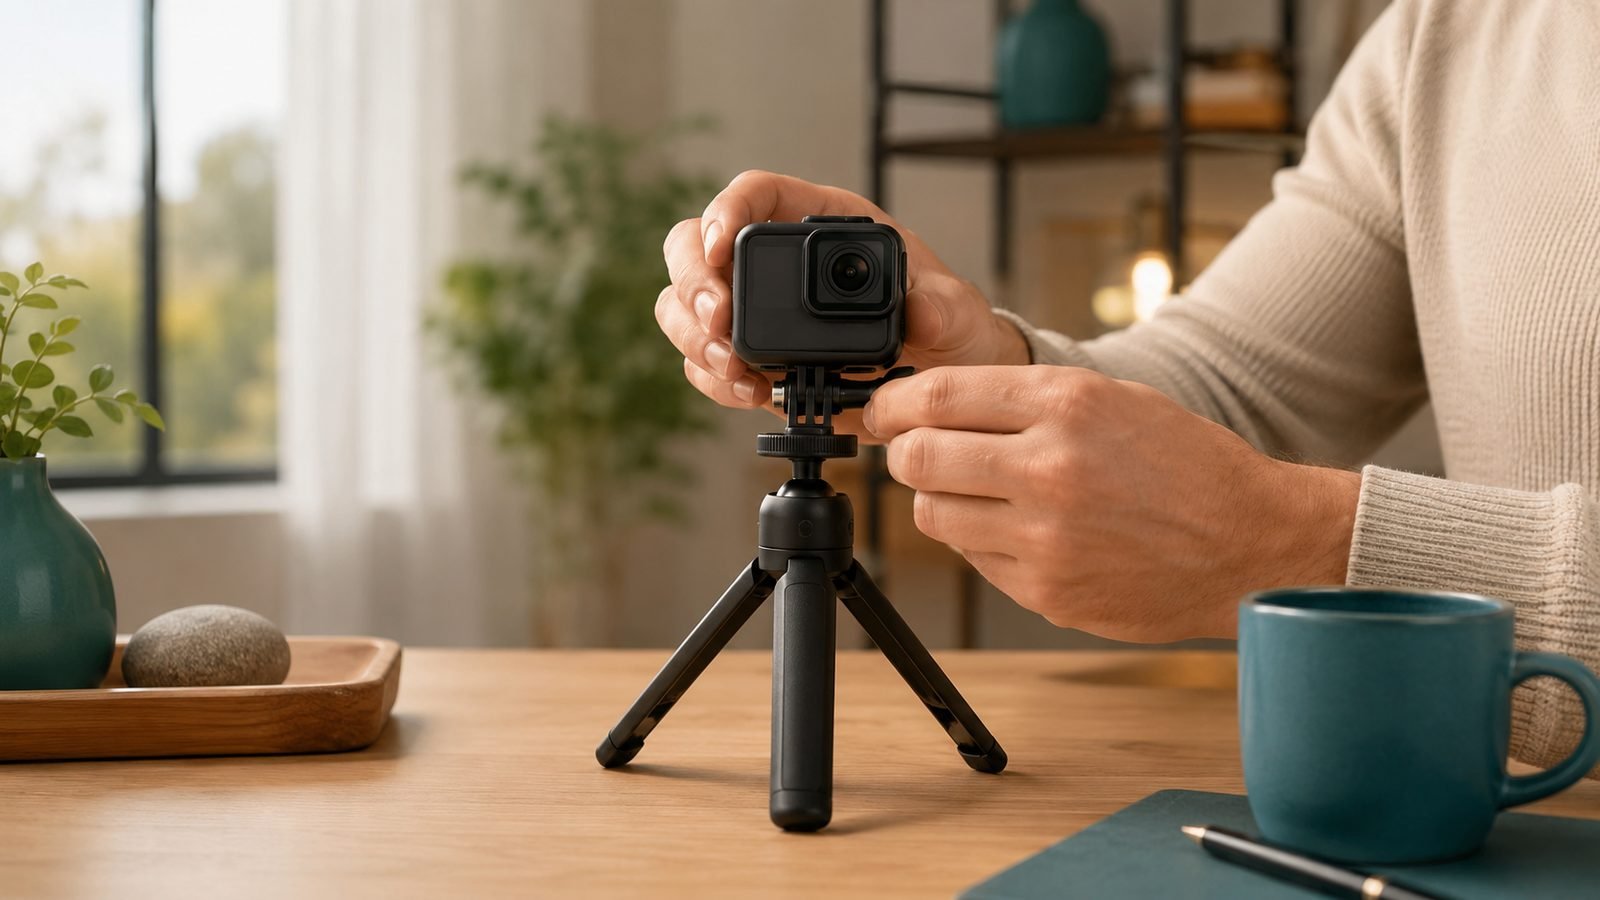
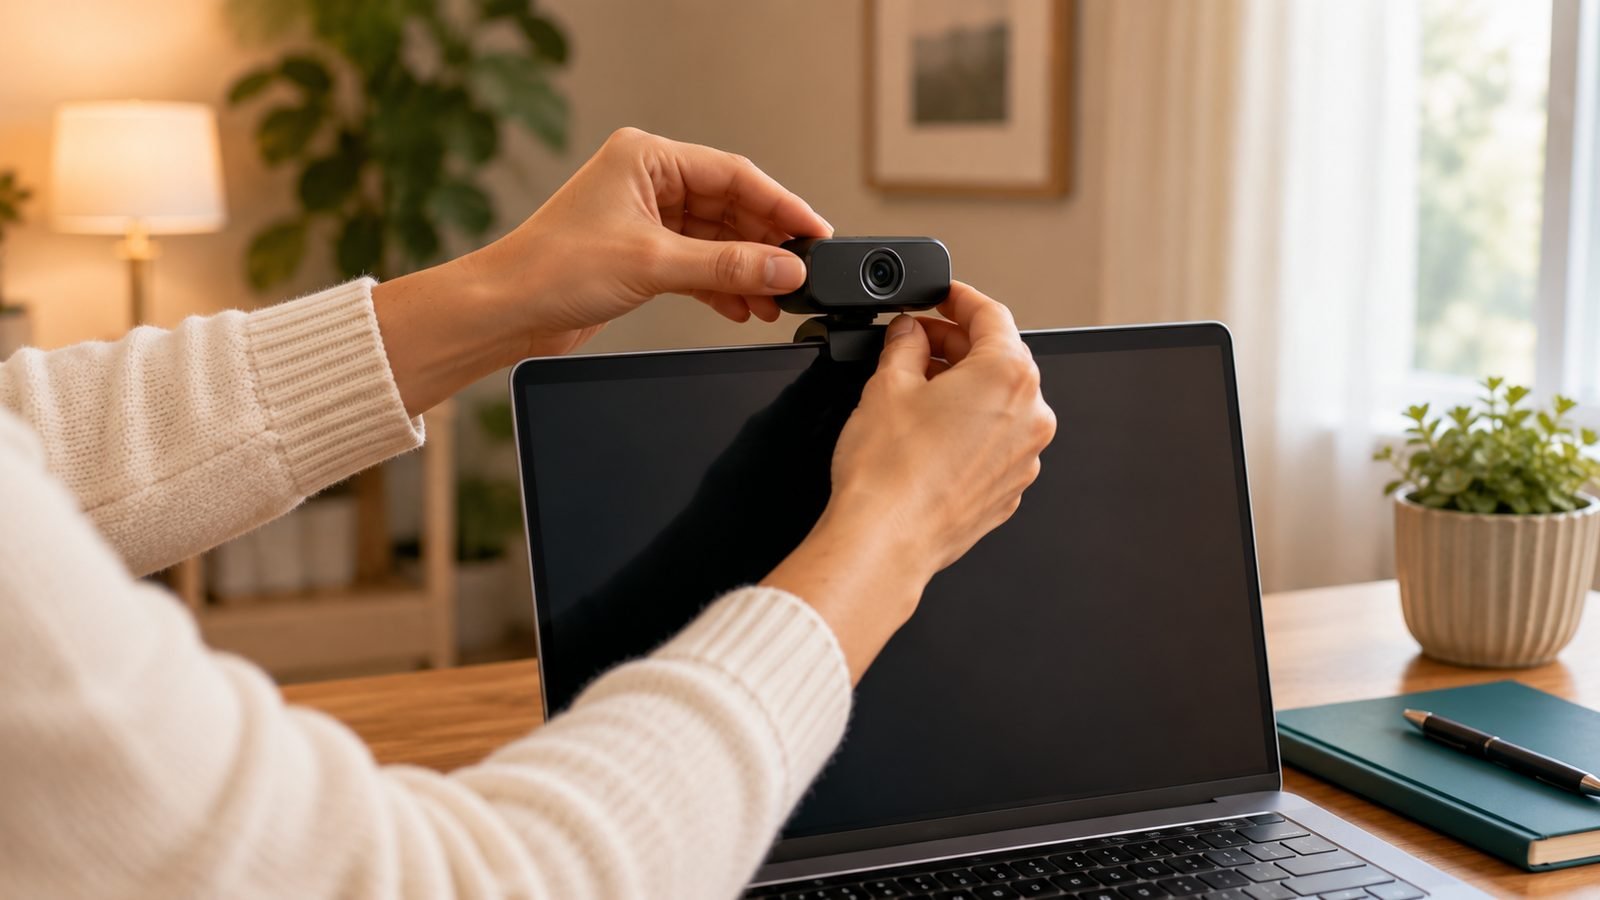
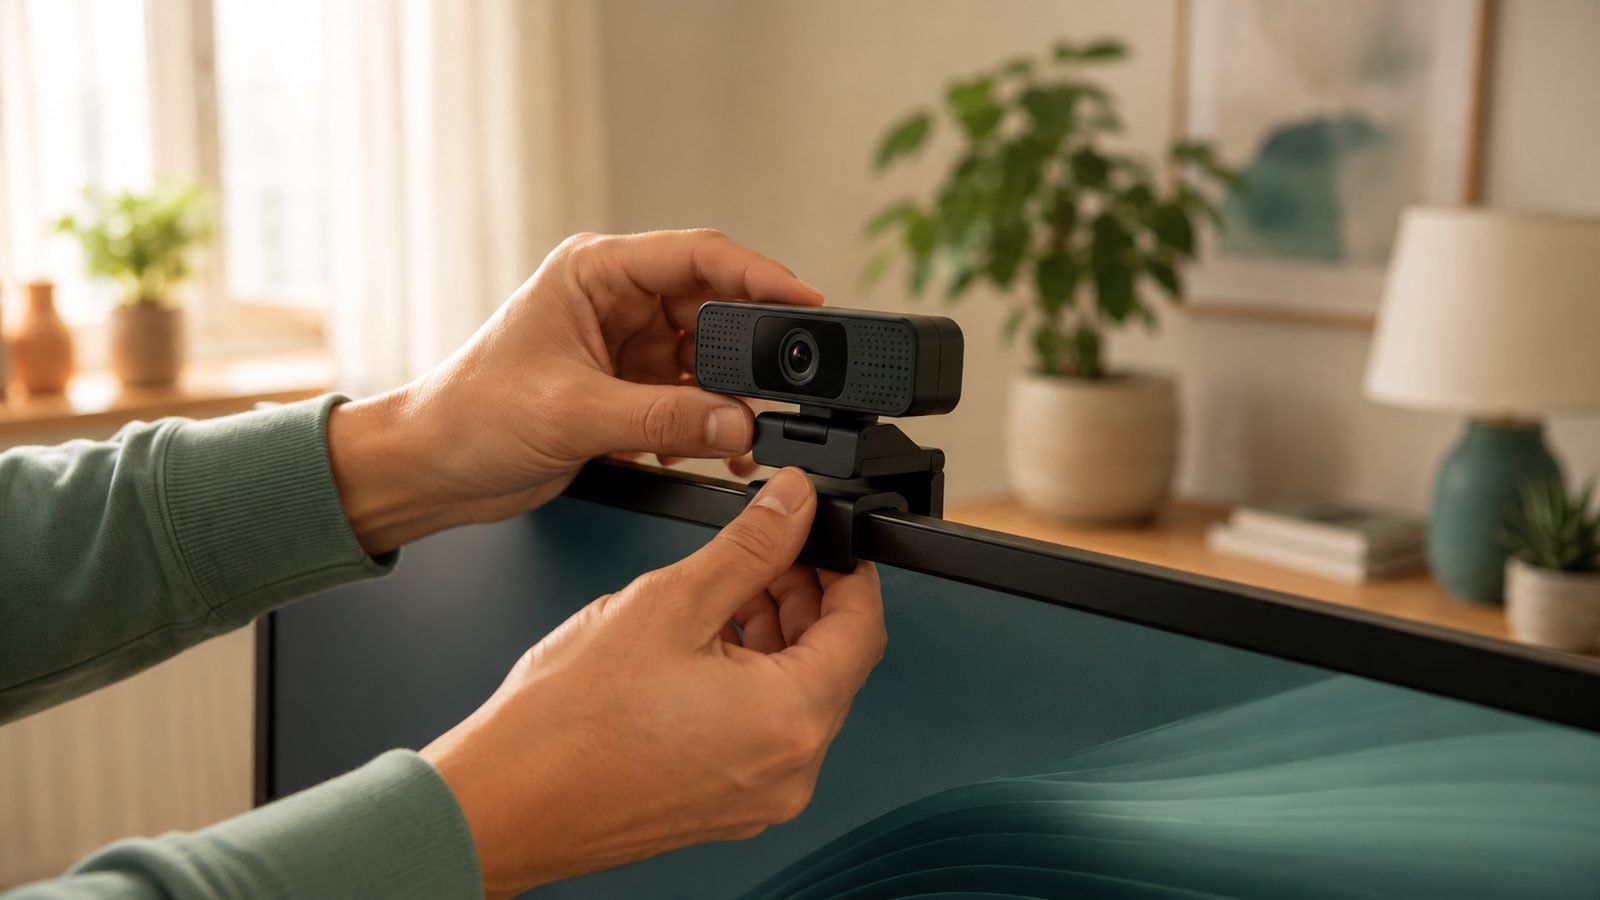
The single biggest improvement to any streaming webcam settings is height. A camera looking up at you from a desk clip flatters no one. Mount it at or slightly above eye level so the lens looks straight at your face. A monitor-top clip works; a small tripod or arm works better.
2. Set your distance and framing
Sit roughly an arm’s length from the lens. Frame yourself with a little headroom and your eyes on the upper third of the shot. For the MX Brio, the magnetic mount holds angle well once set.
3. Point it away from windows
Put the camera so you face any window, not so the window sits behind you. Backlighting turns you into a silhouette that no software can fully rescue.
Step 2: Install Software and Drivers
1. Plug in and let Windows detect it
Modern webcams are class-compliant, so Windows 11 or macOS recognises them without a driver disc. Give it thirty seconds to enumerate before you launch anything.
2. Install the companion app
For the MX Brio, install Logitech Options+. This unlocks field of view presets, HDR, Show Mode, and manual image controls you’ll use in Step 4. Elgato Facecam owners use Camera Hub the same way, so if you’re wondering how to use an Elgato Facecam, the setup logic here is identical.
3. Confirm the camera works outside OBS
Open the Windows Camera app or Photo Booth on Mac. If you see a clean image there, the hardware is fine and any later problem lives in OBS, not the device.
Step 3: Add the Webcam to OBS
This is the core of any webcam OBS setup.
1. Create a Video Capture Device source
In OBS, under Sources, click +, choose Video Capture Device, name it “Webcam”, and click OK. Select your camera from the Device dropdown.
2. Set resolution and frame rate
Set Resolution/FPS Type to Custom. For streaming, 1080p at 60fps is the sweet spot even on a 4K camera; it looks sharp and keeps your encoder happy. Choose a resolution your upload speed can actually sustain.
3. Position and crop
Drag the source to fill or corner the canvas. Hold Alt and drag the edges to crop out clutter without shrinking the image.
Check price: Logitech MX Brio 4K
Step 4: Dial In Exposure and White Balance
Auto settings drift mid-stream, brightening when you lean back and blowing out when you lean in. Locking them is the difference between amateur and clean.
1. Turn off auto-exposure
In Options+ or OBS’s device Configure Video panel, switch exposure to Manual. Set it so your face is bright but highlights on your forehead aren’t clipping to pure white.
2. Lock white balance
Set white balance to manual too. Aim for neutral skin tones; nudge warmer if you look pale, cooler if you look orange. Locking it stops the colour shift when your screen content changes.
3. Fix focus
If your camera hunts for focus when you move, set focus to manual once you’re framed. The MX Brio’s autofocus is strong enough to leave on for most people, but manual guarantees stability.
Step 5: Add Lighting and Audio
Good glass can’t fix a dark room. A proper webcam lighting setup is what makes cheap and premium cameras both look good.
1. Add a key light
Place one soft light in front of you, above eye level, angled down slightly. The Elgato Ring Light gives even, adjustable output and clamps to the desk, freeing your camera mount. Set brightness first, then colour temperature around 4500-5000K.
Pros: even wraparound light; app and Stream Deck control; sturdy clamp. Cons: premium price; the ring reflection shows in glasses.
Best for streamers who want one-purchase, controllable lighting without a full softbox rig.
Check price: Elgato Ring Light Check price: Elgato Ring Light
For alternatives at other price points, see our Best Ring Light for Streaming and Video Calls 2026 guide.
2. Upgrade the audio
Your webcam mic is fine for calls but thin for streaming. A wireless clip like the DJI Mic Mini gets the capsule close to your mouth, cutting room echo and keyboard noise dramatically.
Pros: tiny, wireless, strong battery; clips out of frame. Cons: another device to charge; overkill for casual streamers.
Best for creators who move around or want broadcast-clean voice without a boom arm.
Check price: DJI Mic Mini Check price: DJI Mic Mini
3. Add the mic in OBS
Add an Audio Input Capture source, select the mic, and set a Noise Suppression filter. Watch the meter sits around -12dB when you talk normally.
Troubleshooting Common Issues
Webcam not showing in OBS. If your webcam is not showing in OBS, close any other app using it (Zoom, Teams, browser tabs, the Windows Camera app). Only one program can hold a webcam at a time. Then in the OBS source, reselect the device and toggle Deactivate/Activate.
Black screen but camera light is on. Another app grabbed the feed, or OBS needs camera permission. On Windows 11 check Settings > Privacy > Camera and allow desktop apps.
Choppy or laggy image. Drop to 1080p30 and move the camera to a direct USB port rather than a hub.
Grainy image. That’s low light, not a bad camera. Add the key light from Step 5 before touching any sharpening slider.
Still stuck on the hardware itself? Our Webcam Not Working on Windows 11? How to Fix It walkthrough covers driver-level fixes.
FAQ
Do I need a 4K webcam to stream? No. Most streams cap at 1080p because that’s what platforms deliver and what upload speeds sustain. A 4K camera like the MX Brio still helps because it can crop in and downsample to a cleaner 1080p, but 1080p60 is the realistic target for a Twitch webcam setup.
Why does my webcam look washed out? Almost always auto-exposure fighting a bright background, or no key light. Face your window, add a front light, and lock manual exposure and white balance as in Step 4. That combination fixes the vast majority of flat, grey images.
Can I use a webcam and a mic together in OBS? Yes. Add the webcam as a Video Capture Device and the microphone as a separate Audio Input Capture source. Keeping them separate lets you mute audio or hide video independently, which is exactly what you want live.
What OBS settings should I start with? For most people: 1080p canvas, 1080p60 webcam source, 6000kbps bitrate for Twitch, and hardware (NVENC) encoding. Adjust bitrate down if your stream drops frames, and confirm your streaming webcam settings match your actual upload speed.
Ready to build the rest of your rig? Explore more guides on our Cameras & Creator Gear.
Zen Tech Hub may earn a commission from links on this page, at no extra cost to you.