Learning how to set up a GoPro for vlogging is less about buying more gear and more about picking the right handful of settings, framing yourself correctly, and fixing the one thing GoPros are genuinely bad at: talking-head audio. Get those three right and a HERO13 Black shoots vlogs that look and sound far more expensive than they are.
This guide uses the GoPro HERO13 Black (around $399 / £399) as the example camera, but the same logic applies to the HERO12 and HERO11. Below you’ll find copy-paste settings presets, mounting advice, and the accessories that actually earn their place in your bag.
What You Need for GoPro Vlogging
You need less than most tutorials suggest. A realistic GoPro vlogging accessories kit is:
The camera — HERO13 Black, or a HERO11/12 if you already own one.
A wide lens option — GoPro’s Max Lens Mod 2.0 or Ultra Wide Lens for arm’s-length selfie framing.
An external mic path — a wireless mic like the DJI Mic Mini, because the internal mics are the weak link.
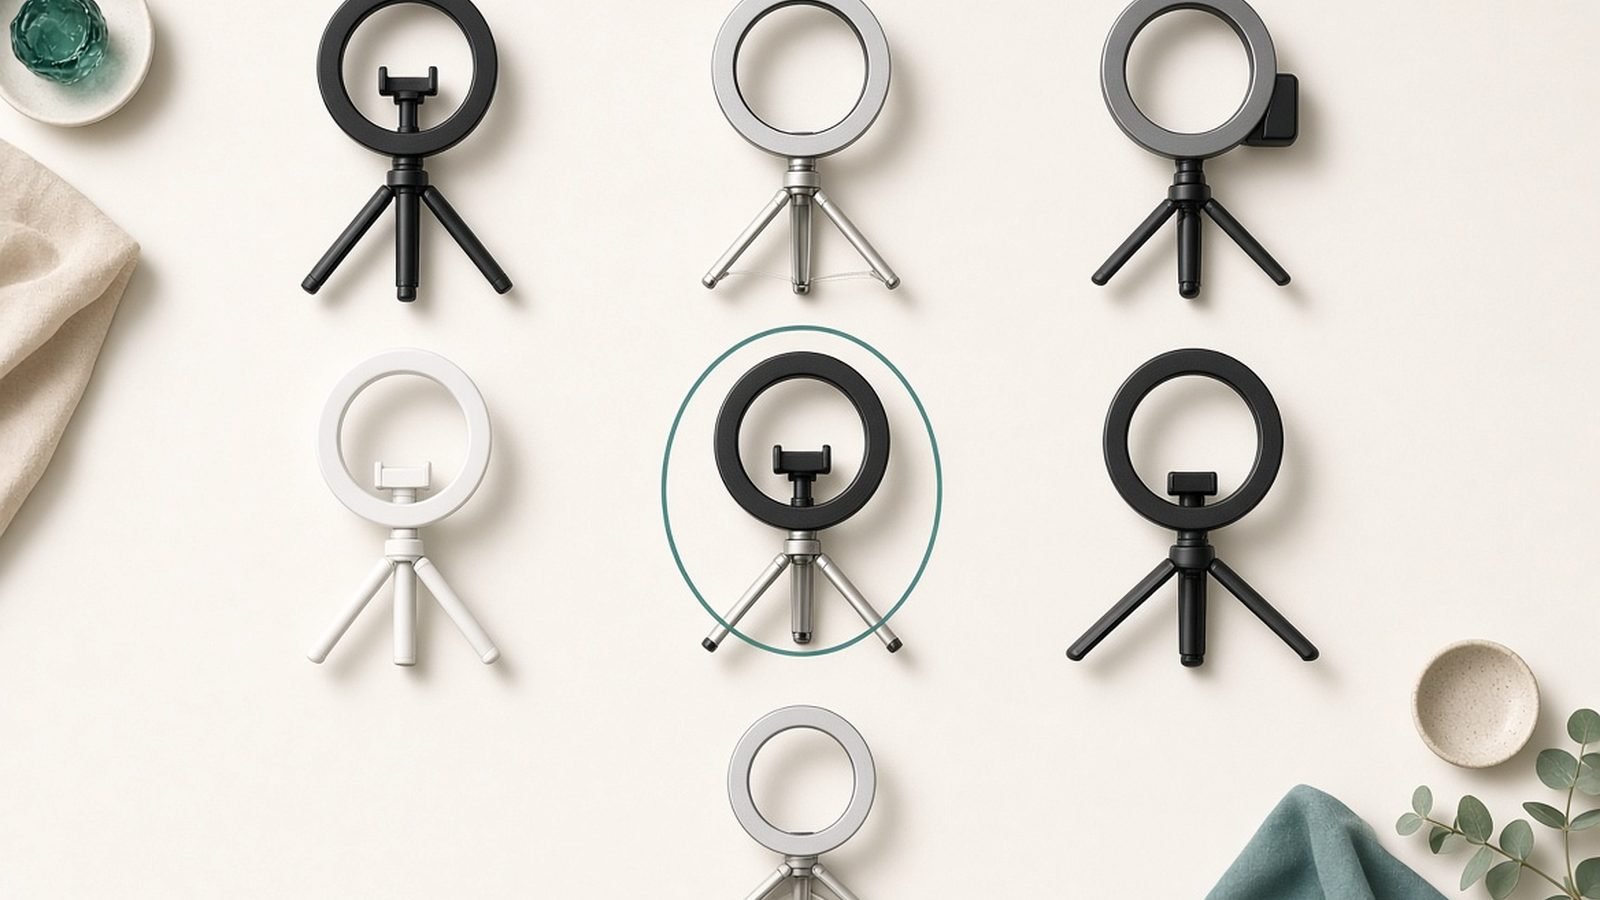
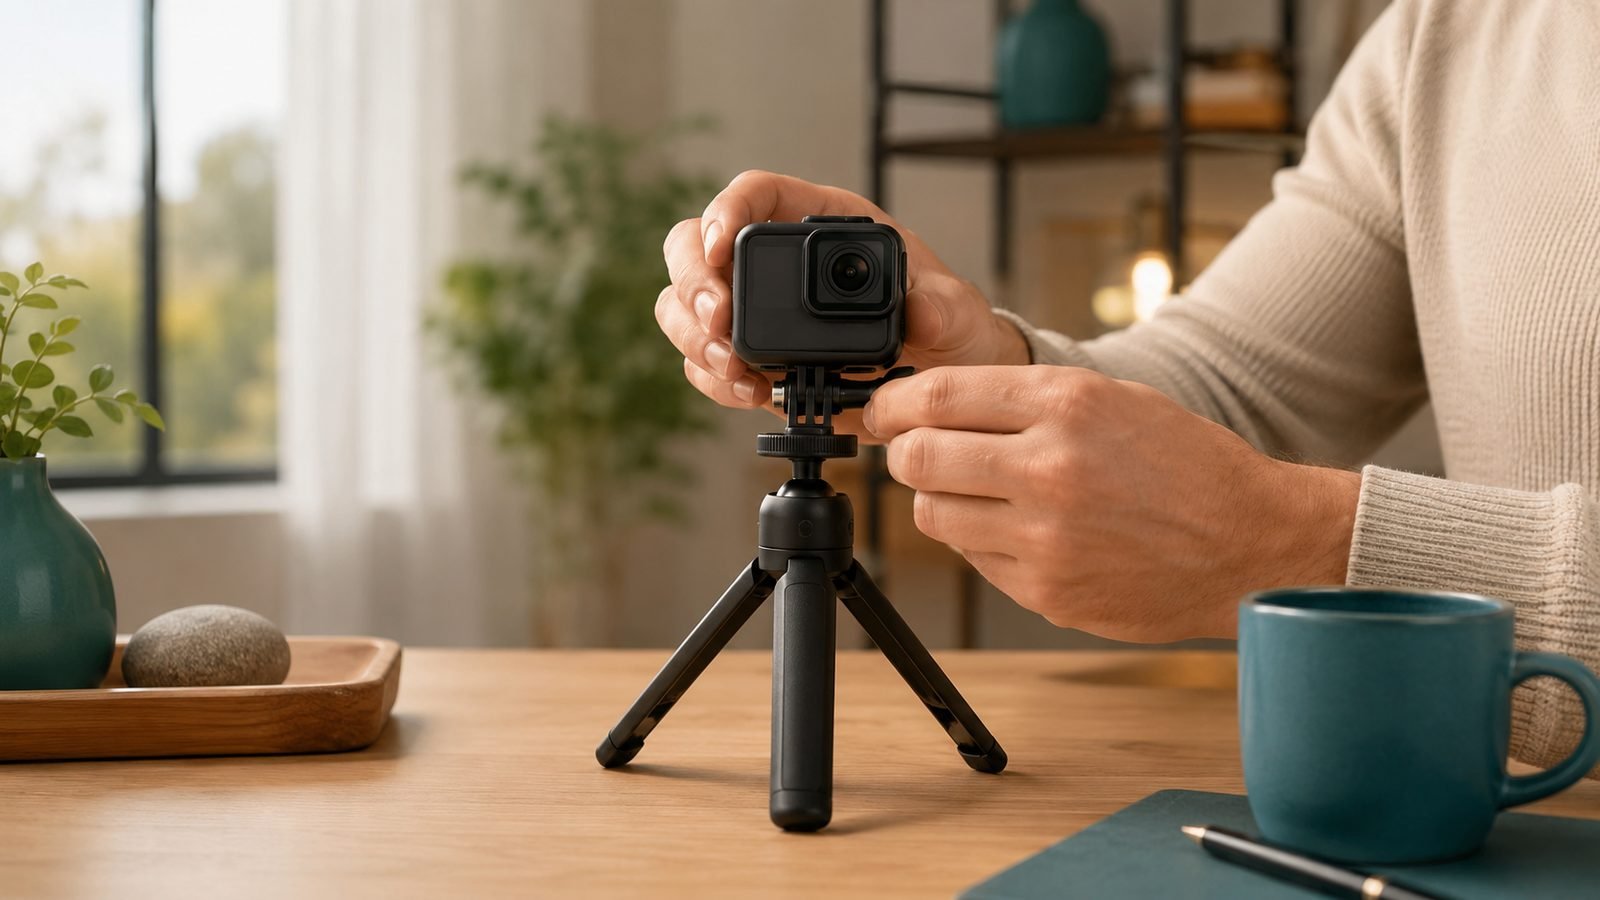
A short vlogging grip or mini-tripod that doubles as a handle.
Spare Enduro batteries — at least two.
Check price: GoPro HERO13 Black
Everything else — ND filters, cages, huge tripods — is optional and situational. Start with the list above and add later.
Best Video Settings for Vlogging
Here are copy-paste GoPro vlogging settings presets. Save these as custom capture presets on the camera so you can switch instantly.
Preset 1 — Everyday talking-head (recommended)
| Setting | Value |
|---|---|
| Resolution | 4K |
| Frame rate | 30fps (25fps in the UK / PAL) |
| Lens (digital) | Linear + Horizon Lock |
| HyperSmooth | Standard or Auto Boost |
| Bit depth | Standard (8-bit) |
| Shutter | Auto |
| ISO min/max | 100 / 800 |
Preset 2 — Cinematic / slow-mo B-roll
| Setting | Value |
|---|---|
| Resolution | 4K |
| Frame rate | 60fps (or 120fps for slow-mo) |
| Lens | Wide or HyperView |
| HyperSmooth | Auto Boost |
| Bit depth | 10-bit (for grading) |
Why these choices? 4K30 in Linear is the sweet spot for the best GoPro settings for vlogging: it kills the fisheye distortion that makes faces look warped, keeps files manageable, and edits smoothly on modest laptops. Horizon Lock keeps the frame level even when your hand tilts — the single biggest “this looks pro” upgrade you can toggle. Reserve 60fps for movement and B-roll where you want buttery slow-motion in the edit.
If you shoot indoors under lights, cap the ISO at 800 to avoid grain. Only jump to 10-bit if you actually colour-grade; otherwise it’s wasted card space.
For a deeper spec breakdown of the camera itself, see our GoPro HERO13 Black Review 2026: Worth It?.
Framing and Mounting for Talking-Head Shots
The default GoPro lens is too wide for face-to-camera work at arm’s length — you get a distorted, tiny-headed look. A proper GoPro selfie setup fixes this two ways.
Option A — Digital Linear lens. Free. Switch the digital lens to Linear (as above). Frame yourself so your head sits in the top third, with a little headroom.
Option B — Max Lens Mod / Ultra Wide. If you vlog at very close range or in tight spaces, the Max Lens Mod 2.0 gives an ultra-wide, stabilised field of view that fits your whole face and background without you extending your arm fully.
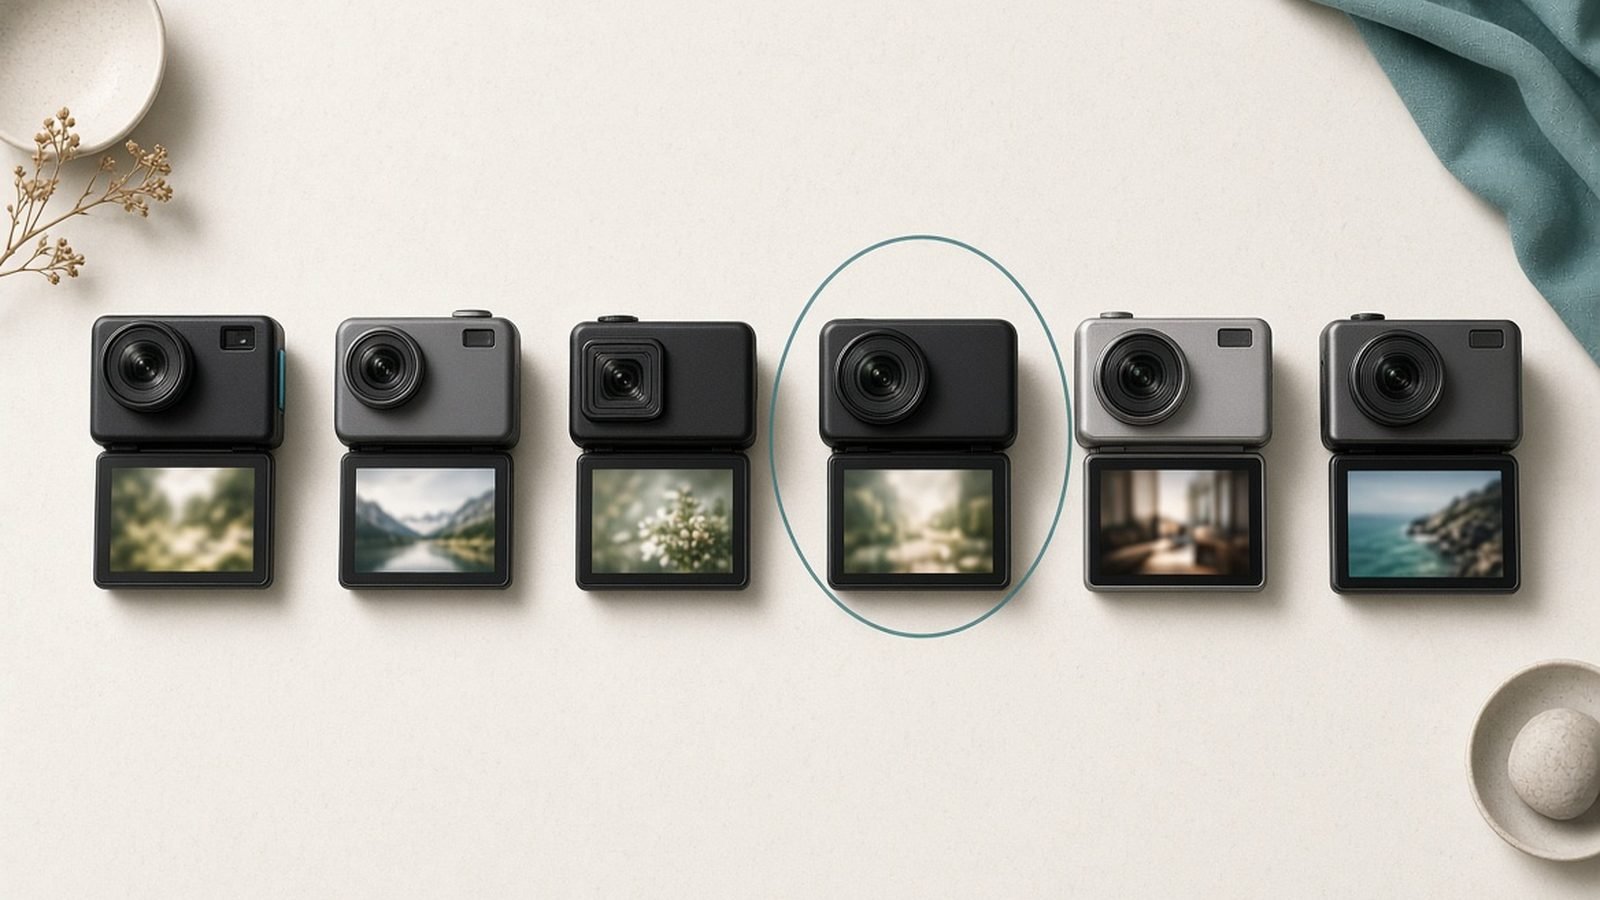
Mount the camera on a short grip and hold it slightly above eye line, angled down a few degrees — the single most flattering angle. Flip the front screen on so you can frame yourself; the HERO13’s front display makes solo shooting far easier. Keep the lens roughly 40–60cm (16–24in) from your face for natural proportions.
For desk or product shots, a mini-tripod at eye height beats holding the camera and eliminates handshake entirely.
Adding External Audio
This is where most GoPro vlogs fall apart. In our research and across owner reports, the internal mics handle wind and action well but sound thin and roomy for close-up talking. Fixing audio is the highest-impact upgrade you can make.
You have two routes, and both need the GoPro HERO13 Media Mod — the frame that adds a directional shotgun mic plus a 3.5mm input and HDMI-out.
Media Mod shotgun — good for run-and-gun where you can’t wear a mic.
Wireless lav (best) — clip a transmitter to your shirt and get clean, close audio regardless of distance.
For the wireless route we recommend the DJI Mic Mini (around $169 / £155 for the 2 TX kit). It’s tiny, clips on magnetically, and pairs to the GoPro via the Media Mod’s 3.5mm input with DJI’s adapter. Note that DJI has since launched the Mic Mini 2 and a Mic Mini 2S with on-board recording — either newer unit works the same way and is worth checking for current pricing.
Pros - Dramatically cleaner talking-head sound vs internal mics - Ultralight, magnetic clip, long battery life - Built-in noise cancelling for busy streets
Cons - Requires the Media Mod and a 3.5mm adapter — extra cost and bulk - One more device to charge and pair
If audio is your priority, buy the mic before any other accessory. A GoPro external mic setup is the difference between “action cam clip” and “watchable vlog.”
Stabilisation and HyperSmooth Tips
HyperSmooth is excellent, but it isn’t free. Every level crops into the frame and works the sensor harder.
Standard — best balance for walking-and-talking; minimal crop.
Auto Boost — ramps stabilisation only when needed, protecting your field of view.
Full/Max Boost — save for running or mountain-bike shots; expect a tighter crop.
Pair HyperSmooth with Horizon Lock for handheld work and you rarely need a gimbal. If you’re getting a warped, “swimmy” look, drop from HyperView to Wide or Linear — the extreme wide lenses exaggerate motion at the edges.
Battery and Overheating Management
Two honest limitations to plan around. Based on owner reports, long 4K/5.3K sessions drain Enduro batteries in roughly an hour and can trigger overheating shutdowns, especially in sun or when using the Media Mod.
To extend runtime and stay cool:
Shoot 4K30 rather than 5.3K unless you need the extra resolution.
Turn the screens off between takes and lower screen brightness.
Carry two or three spare Enduro batteries and swap rather than run to empty.
Keep the camera out of direct sun; let it breathe between long clips.
Update firmware — GoPro has shipped thermal tweaks over time.
If shutdowns are a recurring problem, our GoPro Overheating? Why It Happens and How to Fix It guide has the full fix list.
Editing and Exporting
Offload footage with the GoPro Quik app (phone) or the desktop editor. For YouTube, export 4K at 30fps, H.264, around 45–60 Mbps — that hits YouTube’s sweet spot without giant files.
Cut on your 60fps clips for slow-motion beats, keep talking-head sections at native speed, and add a subtle warm grade if you shot 10-bit. If synced wireless audio drifts, line up a clap or the first hard consonant at the start of the clip.
Verdict: The Fastest Path to Good GoPro Vlogs
If you do only three things: set 4K30 Linear + Horizon Lock, mount the camera slightly above eye line on a short grip, and add a wireless mic through the Media Mod. That combination fixes framing, stability, and audio — the three things that separate amateur clips from a real vlog.
The HERO13 Black is the camera we’d point most vloggers to today; it’s small, tough, and waterproof in ways no mirrorless rig matches. Just go in knowing battery life and heat are the trade-offs. New to action cams entirely? Compare options in our Best Action Camera for Beginners 2026 roundup, and browse more guides on the Cameras & Creator Gear.
FAQ
What are the best GoPro settings for vlogging? For most vloggers: 4K at 30fps (25fps in the UK), the digital lens set to Linear with Horizon Lock on, and HyperSmooth on Standard or Auto Boost. Cap ISO around 800 indoors to avoid grain. This preset removes fisheye distortion, keeps the horizon level, and edits smoothly on modest hardware while keeping file sizes reasonable.
Do I need an external mic for GoPro vlogging? Yes, if people will hear you talk. The internal mics sound thin and roomy for close-up speech. Add the HERO13 Media Mod for a 3.5mm input, then use a wireless mic like the DJI Mic Mini for clean audio. It’s the single highest-impact upgrade to a GoPro selfie setup and matters more than any lens.
How do I stop my GoPro face from looking distorted? Switch the digital lens from Wide or HyperView to Linear, hold the camera around 40–60cm from your face, and keep it slightly above eye line angled down a few degrees. For very close or tight-space filming, the Max Lens Mod 2.0 gives an ultra-wide, stabilised view that flatters faces better than the default lens.
Why does my GoPro overheat while vlogging? Long 4K/5.3K sessions work the sensor hard and can trigger thermal shutdowns, especially in direct sun or with the Media Mod attached. Shoot 4K30 instead of 5.3K, dim or turn off the screen between takes, keep the camera out of the sun, update firmware, and carry spare Enduro batteries so you can swap and let it cool.
Zen Tech Hub may earn a commission from links on this page, at no extra cost to you.