Learning how to build a gaming PC looks intimidating from the outside, but it is really just adult LEGO with a few cables. Every part fits one way, nothing needs force, and modern cases are designed to make the job forgiving. If you can follow a recipe, you can assemble a PC.
This first time PC build guide walks you through the process in the right order, using a friendly example build: an AMD Ryzen 5 7600 (around $150 / £145) in a Lian Li Lancool 207 case (around $100 / £95). Both are chosen because they are genuinely easy to work with, so you spend less time fighting hardware and more time gaming. Set aside two to three hours for your first attempt.
Tools and workspace prep (anti-static basics)
You need almost nothing: a single Phillips #2 screwdriver handles 95% of a build, and a magnetic tip is a nice bonus. Grab a small bowl for screws and keep your motherboard manual open.
Work on a hard, flat surface, not carpet. Static electricity is the one real enemy here. You do not need an anti-static wrist strap, but touch a bare metal part of the case every few minutes to discharge yourself, and avoid building in socks on a rug.
Unbox everything first and lay it out. This is your gaming PC build checklist: motherboard, CPU, RAM, GPU, storage (M.2 SSD), power supply (PSU), case, and cooler. Confirm your parts are compatible before you start; PCPartPicker flags most mismatches for free.
Step 1: Install CPU, cooler and RAM on the motherboard
Always do this part outside the case. It is far easier to work on the motherboard flat on its box.
Lift the retention arm on the AM5 socket. The CPU has a small gold triangle in one corner; line it up with the matching triangle on the socket, then lower the chip in gently. It should drop in with zero pressure. Close the arm; it takes firm force to latch, which is normal.
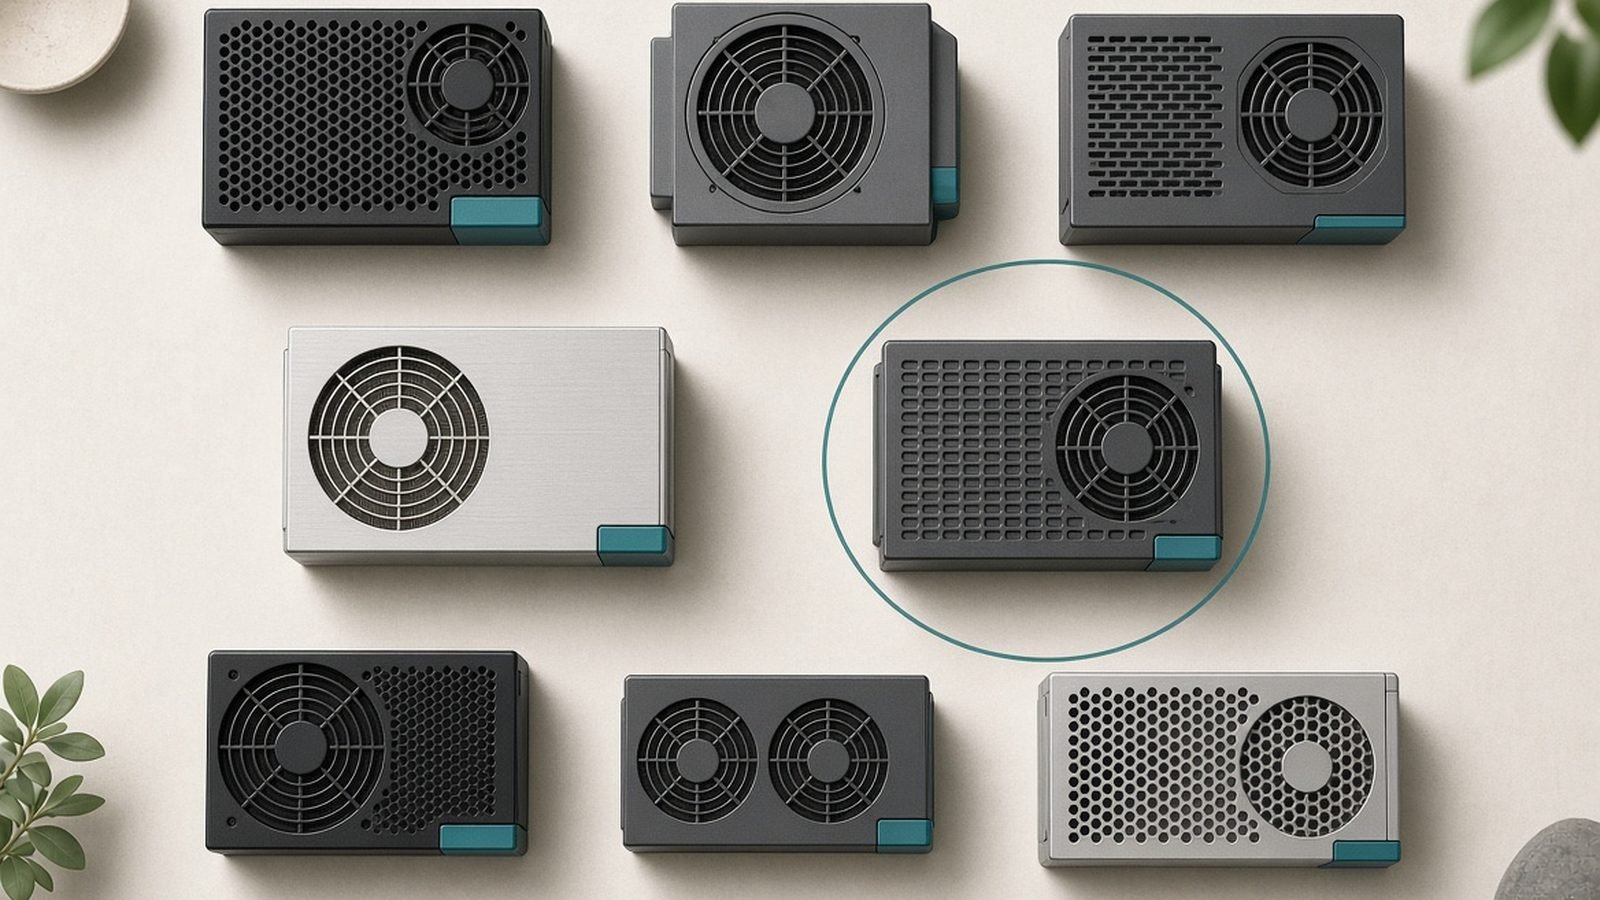
The Ryzen 5 7600 includes AMD’s Wraith Stealth cooler with pre-applied thermal paste, so you can skip buying paste for this build. If you ever reseat a cooler or upgrade later, read our How to Apply Thermal Paste (and How Much to Use) guide first. Seat the cooler over the CPU and screw the mounting bracket down in a diagonal, cross pattern so pressure is even. Plug the cooler’s fan cable into the header labeled CPU_FAN.
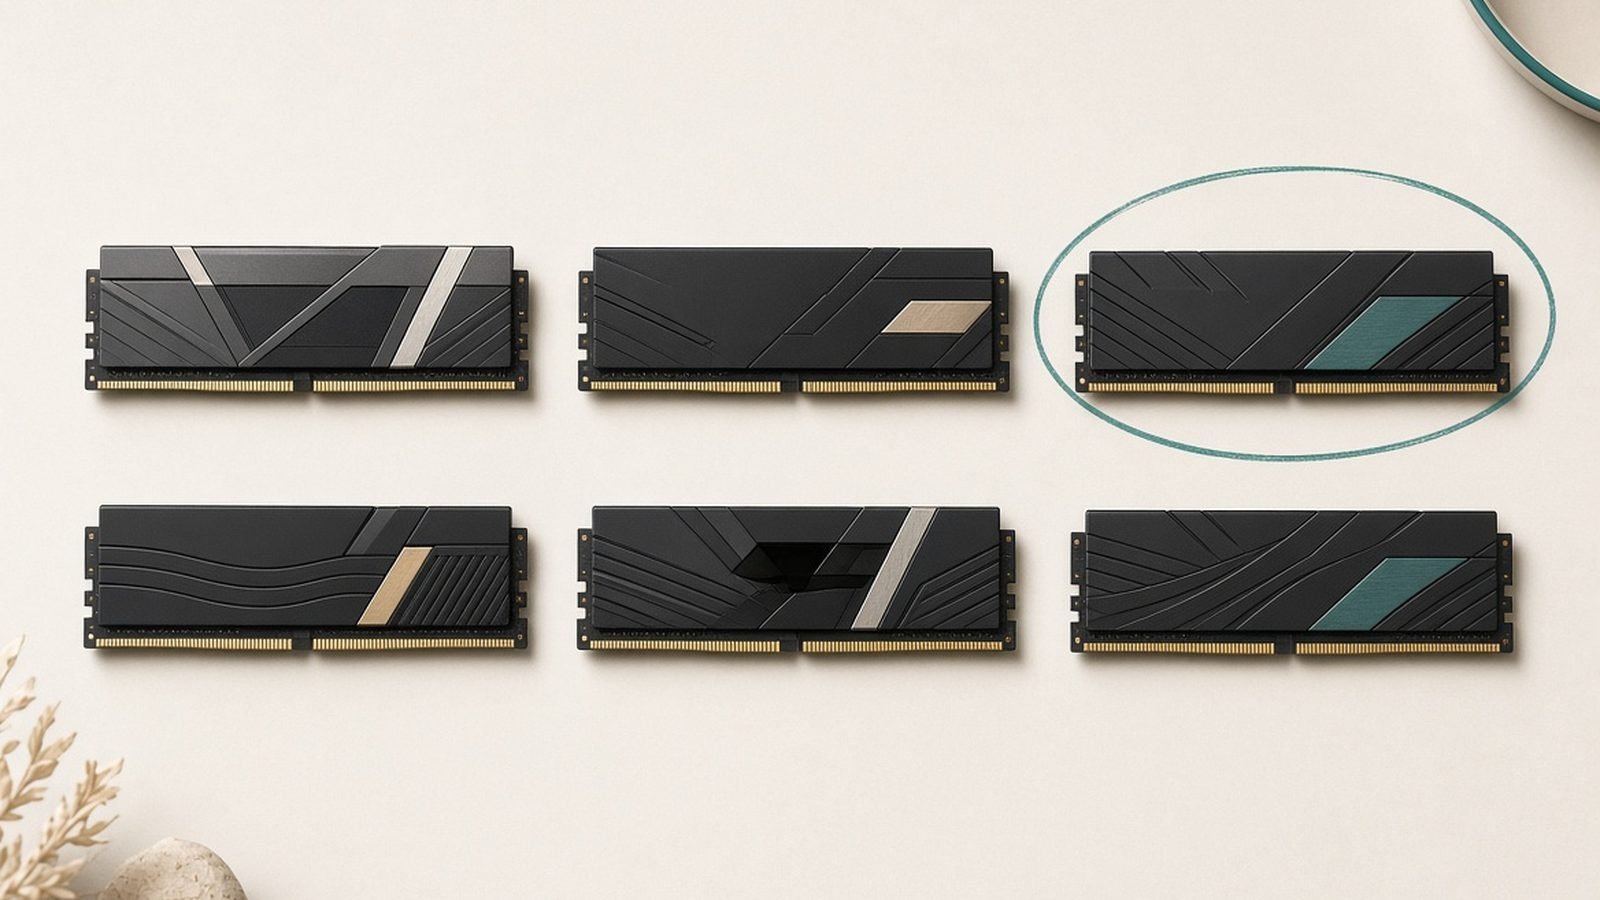
Now the RAM. Open the clips on the DIMM slots and check your manual for which slots to use, usually slots 2 and 4 for a two-stick kit. Line up the notch, then press each stick down until both clips snap shut. DDR5 needs a firm, deliberate push.
Step 2: Mount PSU and motherboard in the case
Understanding the PC building order of installation saves headaches: big, awkward parts go in before delicate ones.
Install the power supply first. In the Lancool 207 it sits in a bottom shroud; fan facing down toward the vented floor is ideal for most setups. Screw it in from the rear with four screws, and leave the cables loose for now.
Next, check the motherboard standoffs are pre-installed in the case tray and match your board’s size (this build uses ATX or micro-ATX). Line the rear I/O of the board up with the case cutout, drop it onto the standoffs, and drive in the screws. Do not overtighten; snug is enough. This is a big milestone in learning how to assemble a PC, because the skeleton is now complete.
Step 3: Install GPU and storage
Do storage now, before the graphics card blocks access. Your M.2 SSD slots into the motherboard at roughly a 30-degree angle, then presses flat and secures with a tiny screw or tool-less latch. Reattach any heatsink cover.
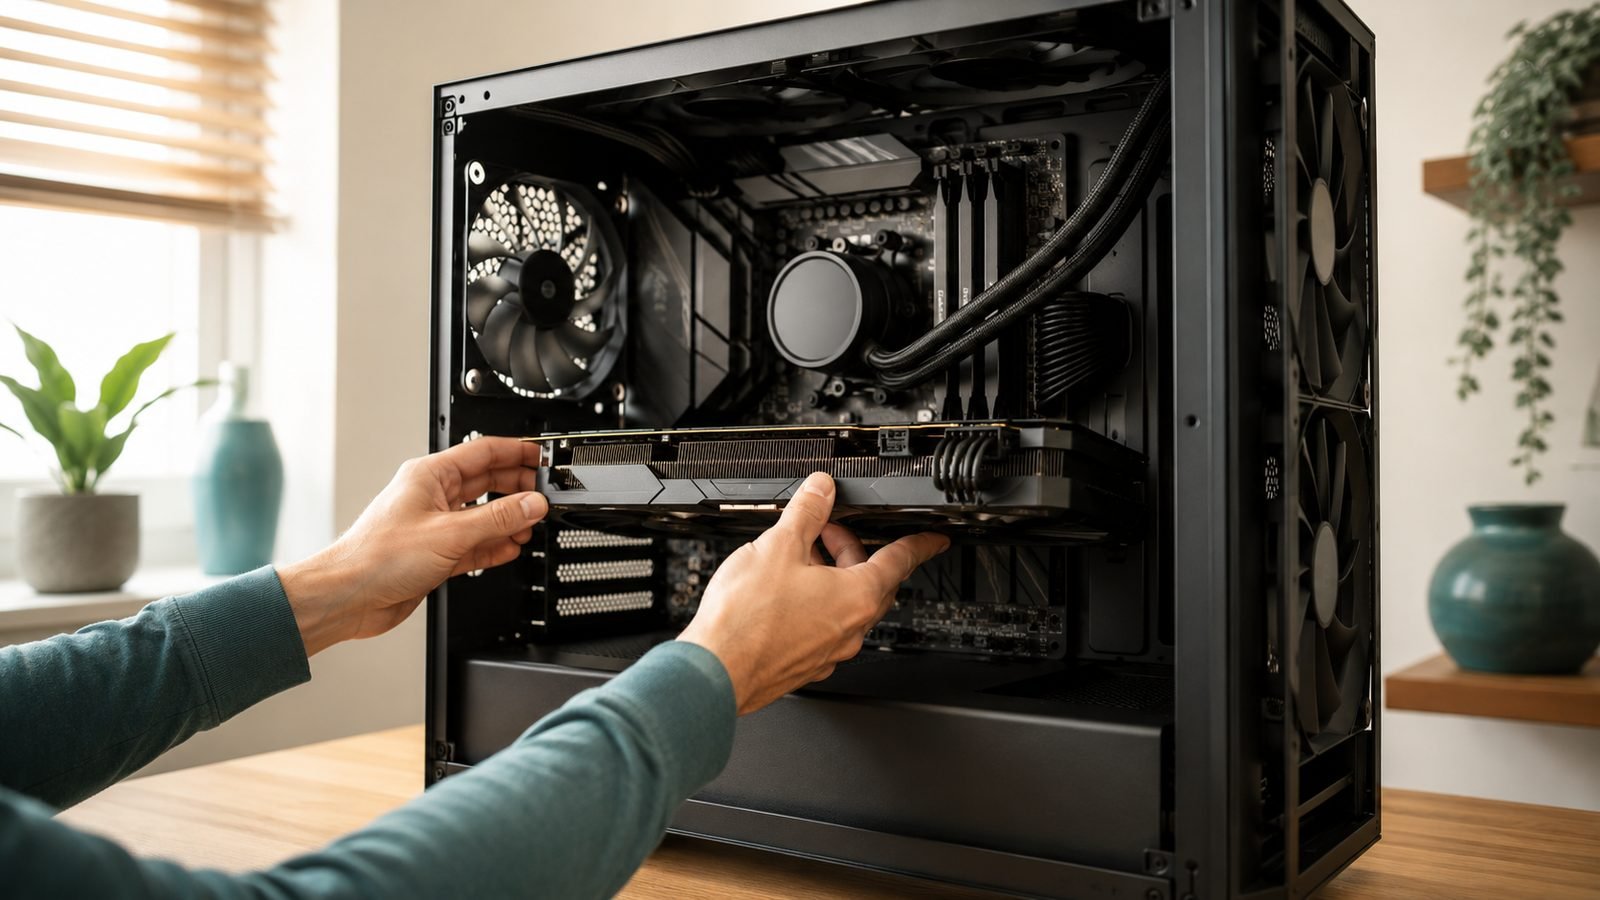
For the GPU, remove the rear expansion slot covers that line up with the top PCIe x16 slot. Open the slot’s retention clip, then push the card in firmly until it clicks. Screw the bracket to the case. Do not forget the PCIe power cables later; a loose GPU power cable is a leading cause of a system that powers on but shows nothing.
Step 4: Cabling and front-panel connectors
This is the fiddly part of any gaming PC build, so go slowly. Connect these from the PSU:
24-pin ATX to the long connector on the motherboard’s right edge
8-pin (4+4) EPS/CPU power to the top-left of the board
PCIe power to the GPU
SATA power if you have any 2.5-inch drives
The front-panel connectors are the tiny pins that control your power button, reset button, and status LEDs. Each cable is labeled; match it to the diagram in your motherboard manual exactly, watching polarity on the LEDs. Also plug in the front USB, USB-C, and HD Audio cables from the case.
Route the fat cables behind the motherboard tray and use the Velcro straps in the Lancool 207 to tidy them. Clean cabling improves airflow and makes future upgrades painless.
Step 5: First boot, BIOS and EXPO
Do not close the side panels yet. Plug in a monitor (to the GPU, not the motherboard), keyboard, and power cable, then hit the power button.
If fans spin and you see the motherboard logo, congratulations. Tap Delete or F2 to enter the BIOS. Your first job: enable your memory profile so the RAM runs at full speed. On AMD boards this setting is called EXPO. Without it, DDR5 defaults to a slow speed and you lose real gaming performance. Our How to Enable EXPO for DDR5 RAM (Ryzen AM5) walkthrough covers it in two minutes.
Check that the BIOS reports your CPU, full RAM capacity, and your SSD, then save and exit. From there, install Windows from a USB stick and download your GPU drivers.
If you get nothing on screen, do not panic. Nine times out of ten it is a loose power cable, RAM not fully seated, or a monitor plugged into the wrong port. Our PC Won’t POST or No Display? How to Fix It guide has the full checklist.
Check price: AMD Ryzen 5 7600 Check price: Lian Li Lancool 207
Common first-build mistakes to avoid
Based on owner reports and community troubleshooting threads, first-timers trip on the same few things:
Monitor plugged into the motherboard, not the GPU. Very common, produces a blank screen with an otherwise perfect build.
Forgetting the 8-pin CPU power cable. The board looks powered from the 24-pin, but it will not boot without EPS.
RAM in the wrong slots. Two sticks usually belong in slots 2 and 4. Check the manual.
Skipping EXPO, leaving fast DDR5 running slow.
Overtightening screws and cracking standoffs or stripping threads.
None of these damage parts. They are quick fixes once you know to look.
Verdict: your first build is very doable
The hardware makes this easy in 2026. A beginner-friendly chip like the Ryzen 5 7600 with an included cooler, dropped into a spacious, well-designed case like the Lancool 207, removes most of the frustration people used to face. Follow the order, take your time on cabling, and enable EXPO. That is genuinely the whole game.
When you are ready to plan the parts around this walkthrough, see our Best 1440p Gaming PC Build Under $1500 (2026) and Best Gaming CPU Under $300 in 2026 (AMD vs Intel) guides, or browse the full PC Hardware.
FAQ
How long does it take to build a gaming PC for beginners? Budget two to three hours for your first build, plus another 30 to 60 minutes to install Windows and drivers. Experienced builders finish assembly in under an hour, but there is no prize for speed. Going slowly on cable connections and the front-panel headers prevents almost every common first-boot problem.
Do I need thermal paste for a first build? Not with this example build. The Ryzen 5 7600’s included Wraith Stealth cooler ships with thermal paste pre-applied, so you just mount it. You only need to buy paste if you use a separate aftermarket cooler, or if you ever remove and reseat the cooler, which wipes the original layer.
Can I really damage parts by building wrong? It is hard to. Connectors are keyed to fit one way, and modern boards have protections against most wiring mistakes. The real risks are static discharge, which touching bare metal prevents, and forcing a part that is misaligned. If something resists, stop and recheck orientation rather than pushing harder.
What is EXPO and why does it matter? EXPO is a one-click BIOS profile that runs your DDR5 memory at its rated speed instead of a slow default. Enabling it is free performance and takes seconds. Skipping it is the single most common way new builders leave gaming frames on the table, so make it part of your first-boot routine.
Should I build or buy a pre-built gaming PC? Building yourself usually saves money, teaches you the machine, and makes upgrades simple. Pre-builts win only if you value a single warranty and zero effort. For most people following a guide like this, a first-time PC build is cheaper and more satisfying than the equivalent pre-built.
Zen Tech Hub may earn a commission from links on this page, at no extra cost to you.