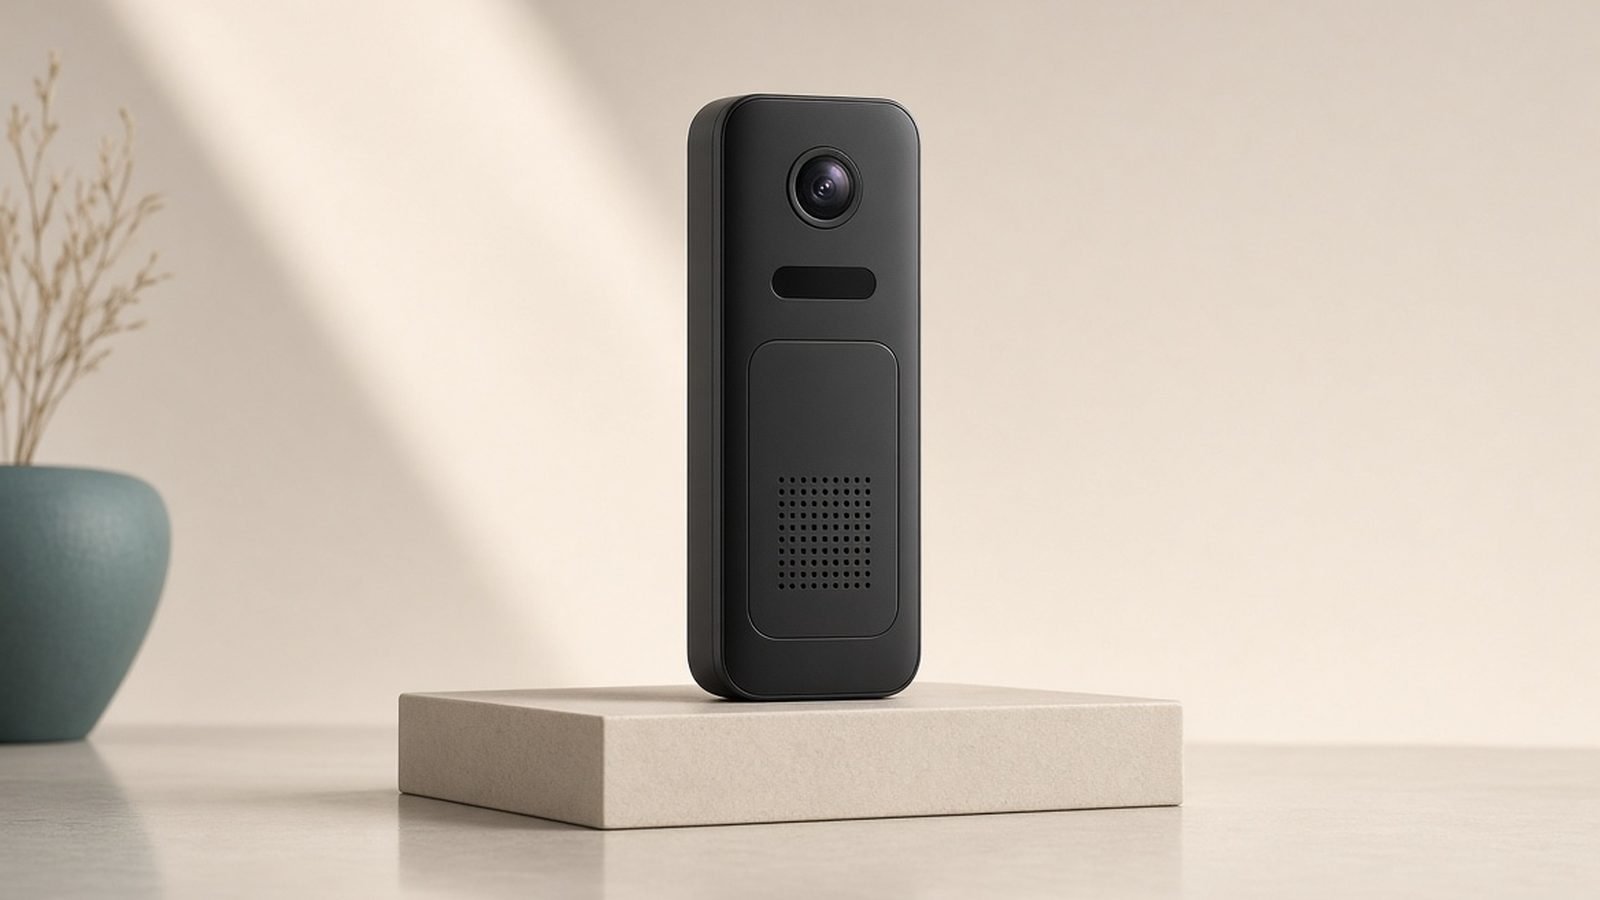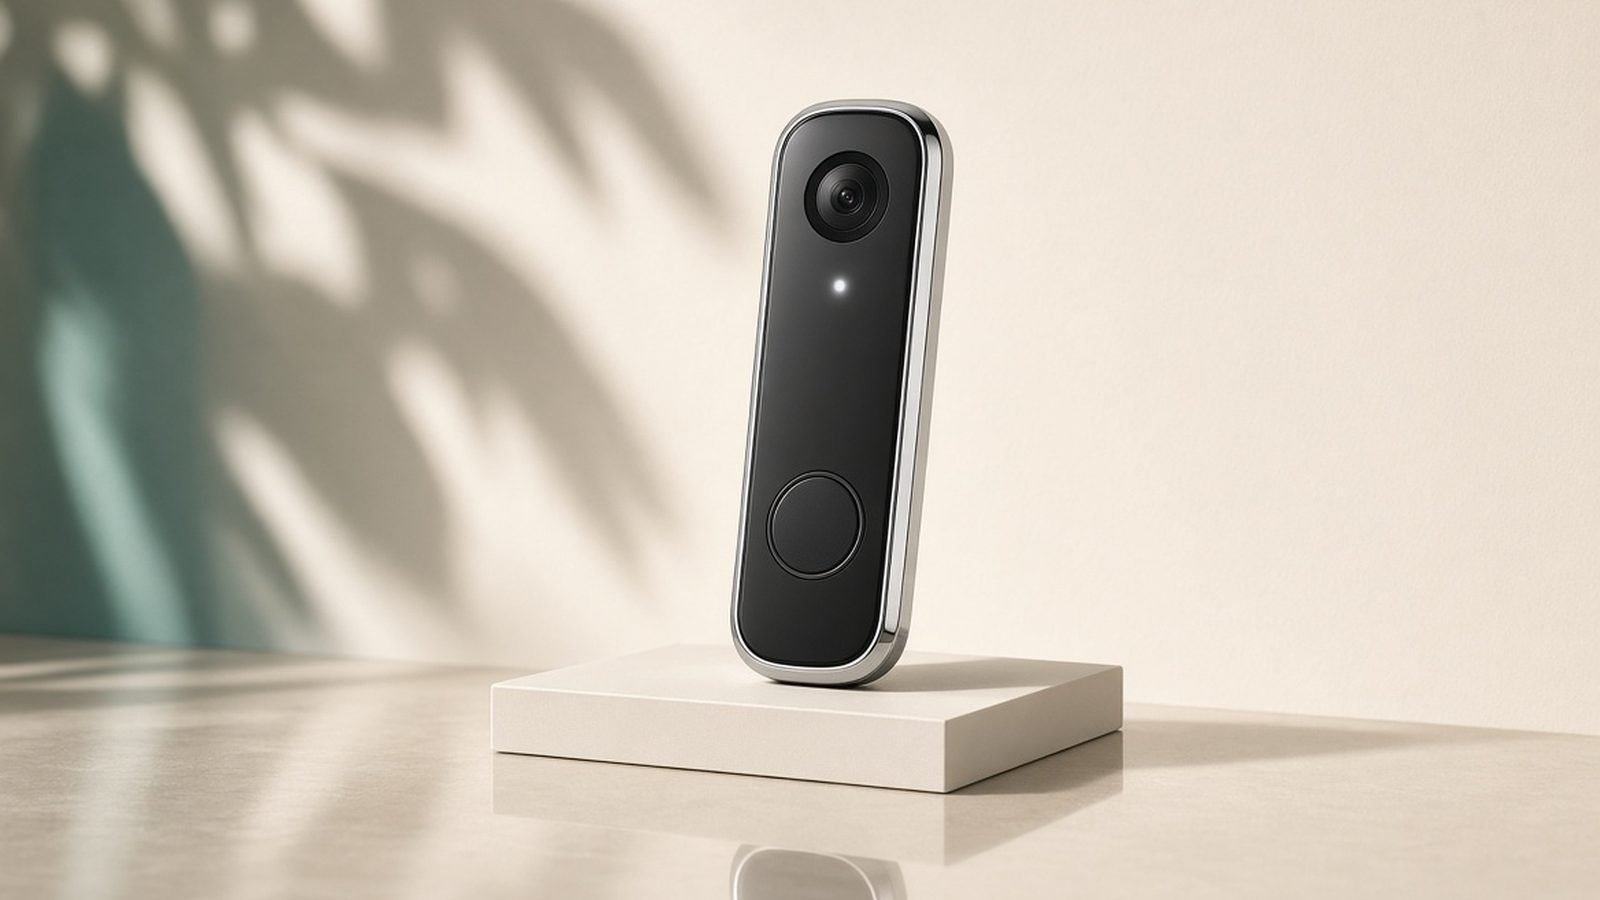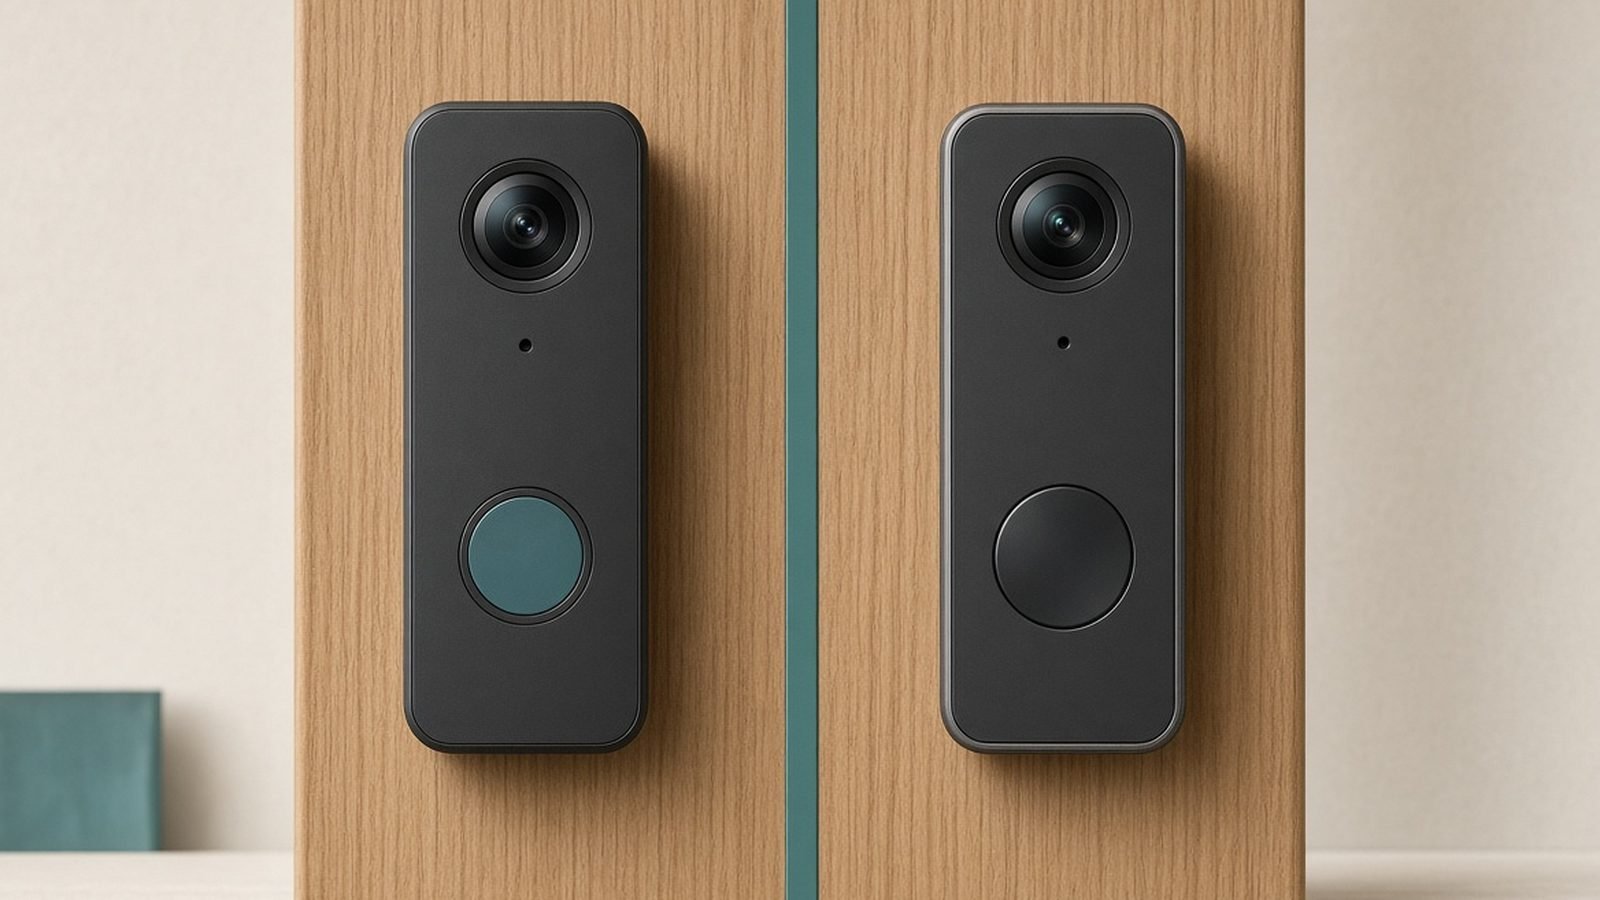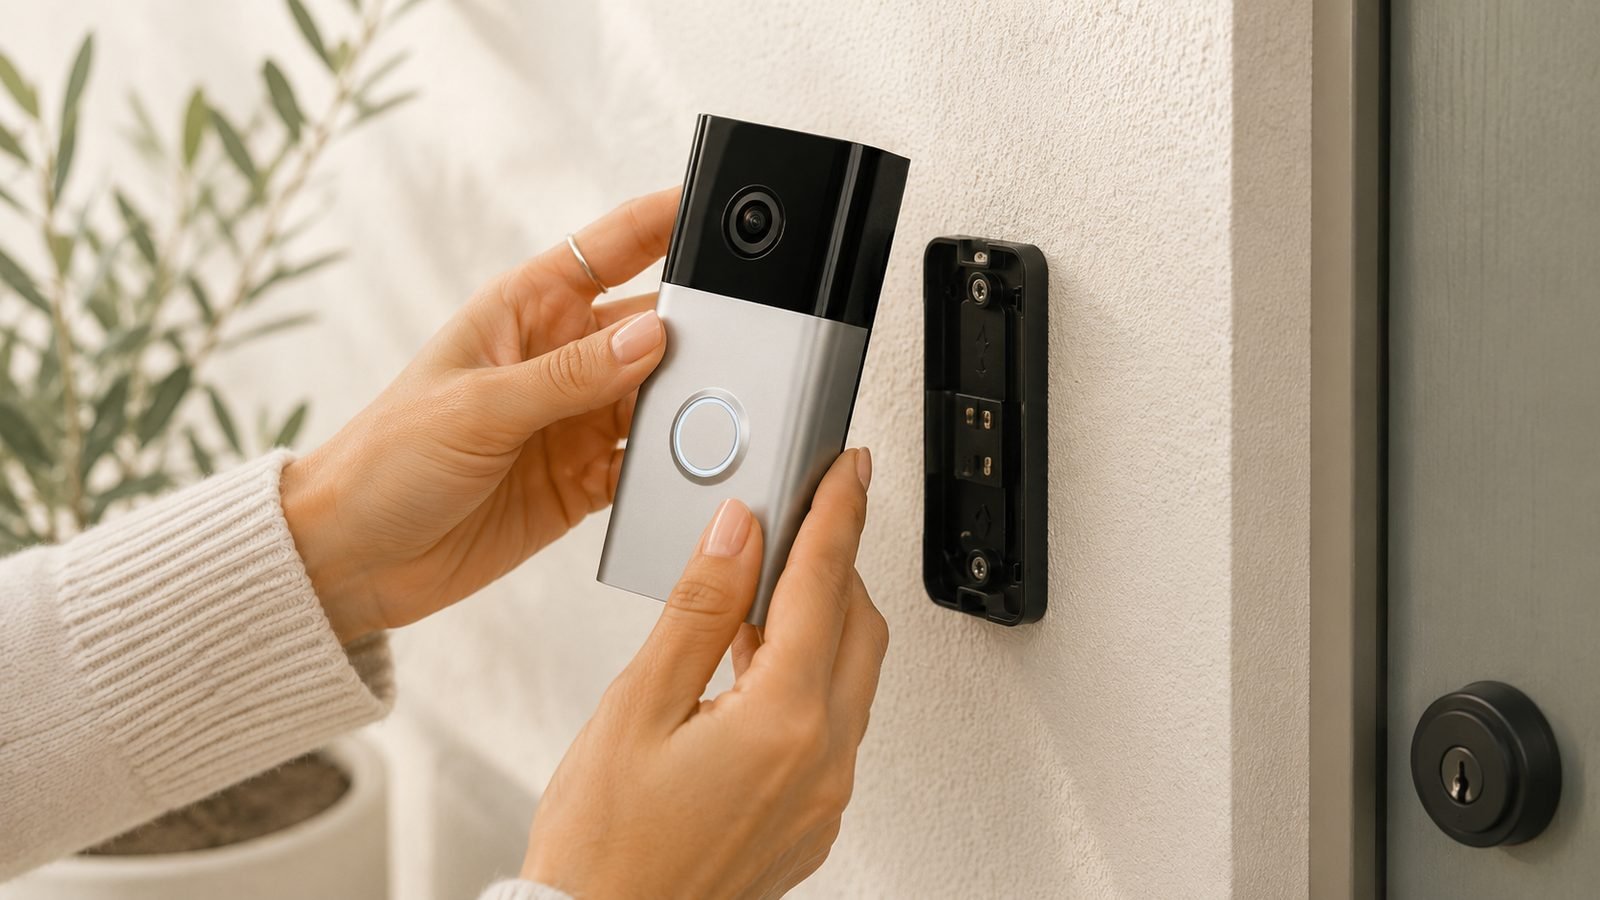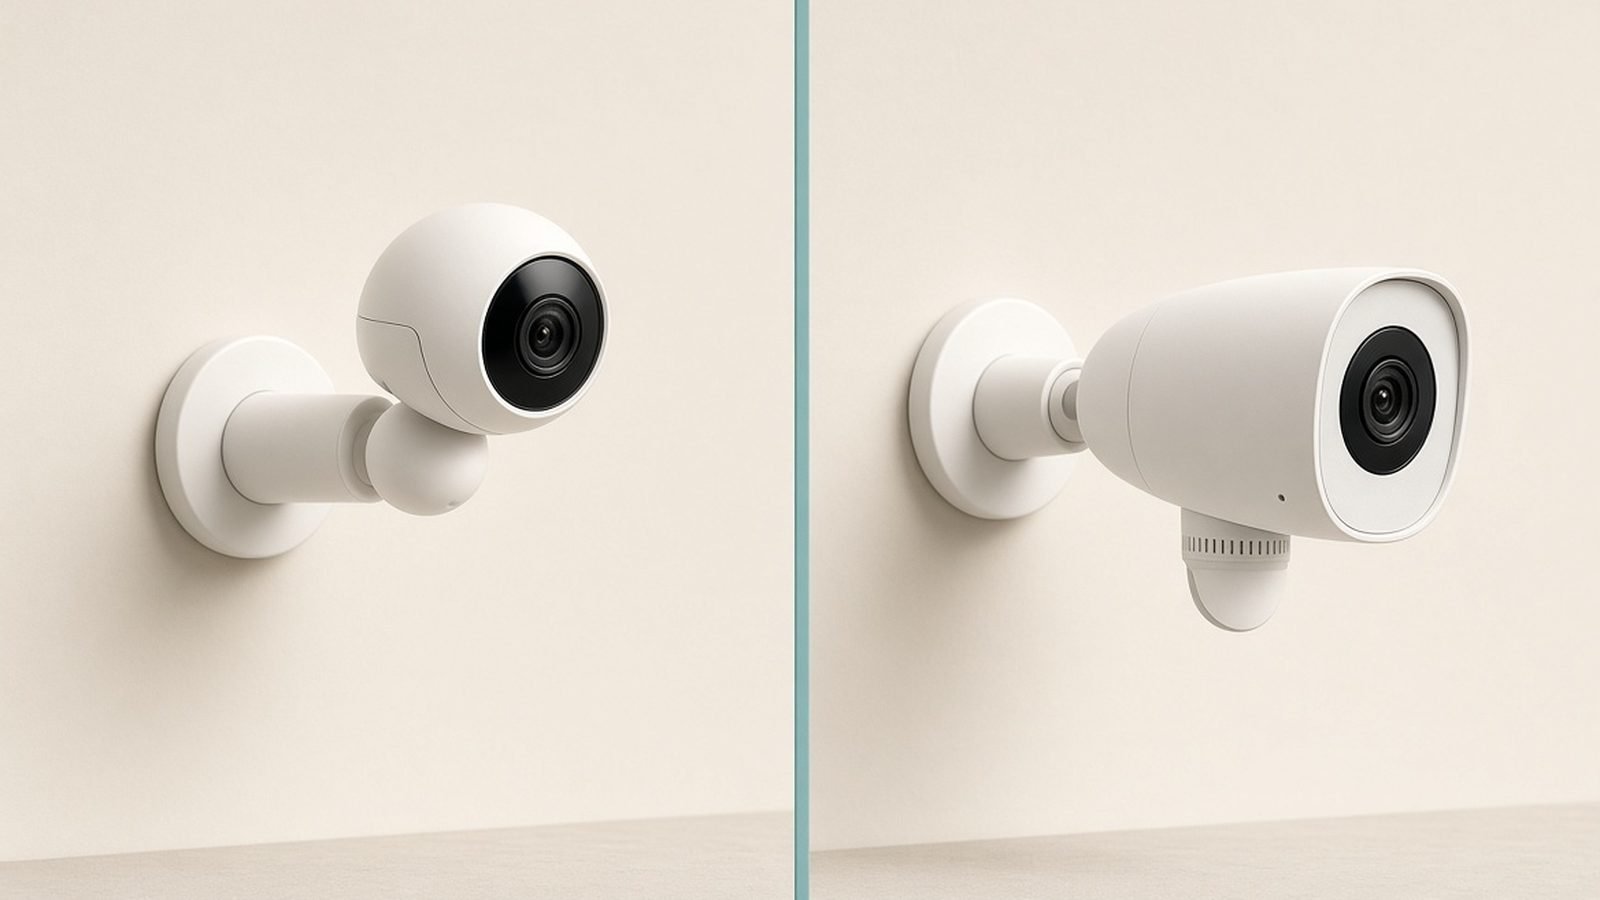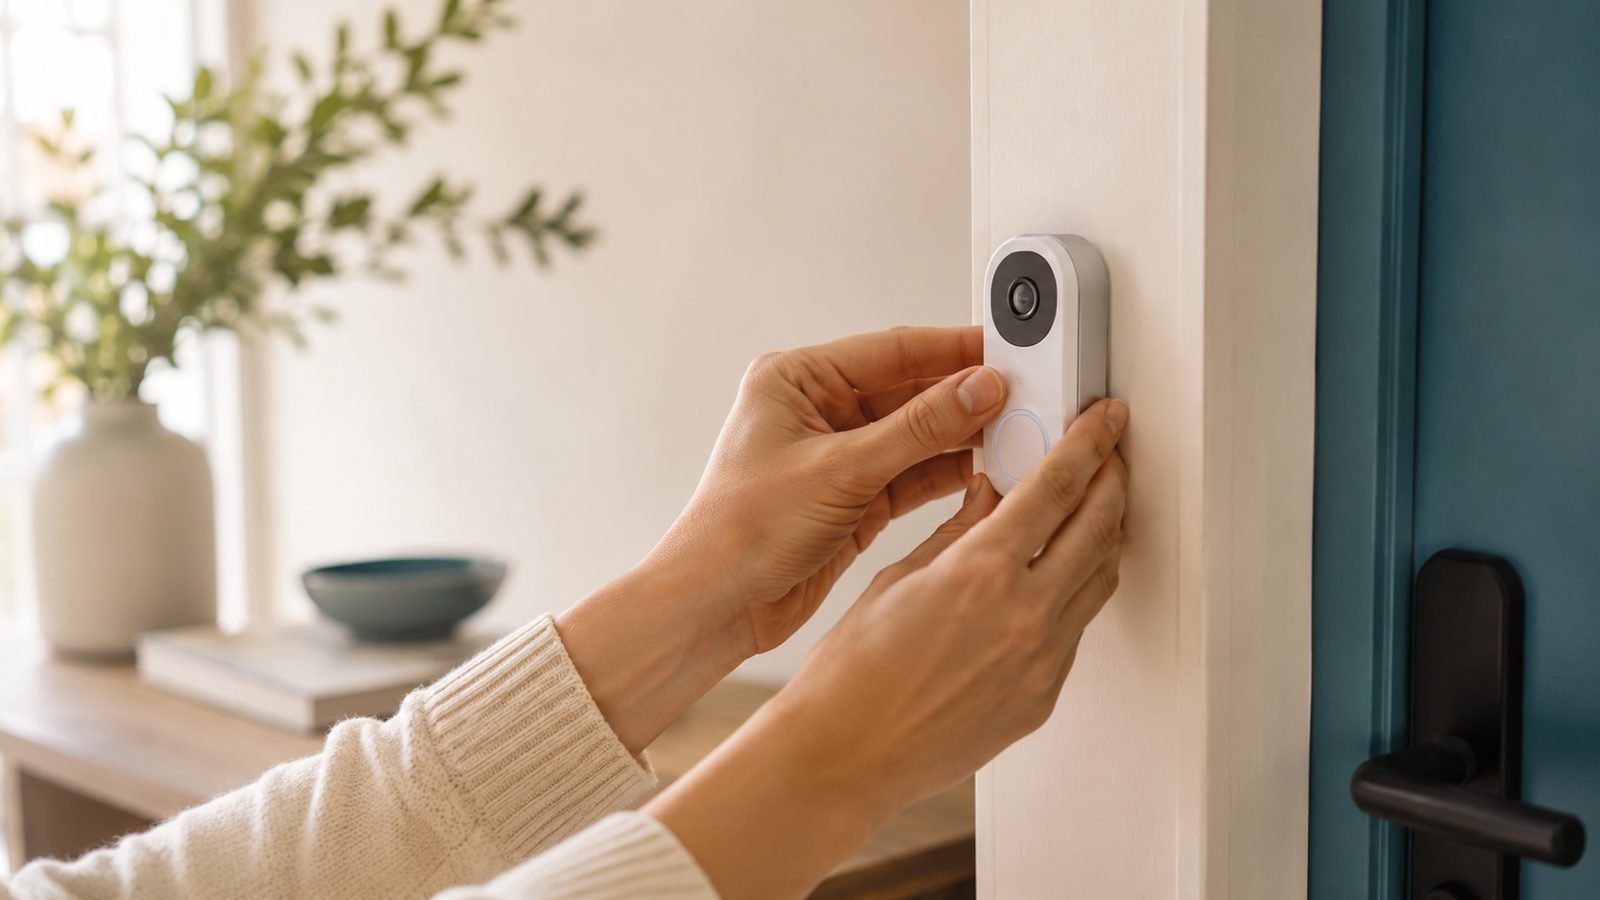
You can install a video doorbell without drilling a single hole. The quick answer: use a strong outdoor mounting adhesive (a no-drill bracket or 3M VHB tape) on a battery-powered doorbell, mount it to a smooth, clean surface at roughly 48 inches / 122 cm, and skip the wiring entirely. It takes about ten minutes and leaves nothing behind but a wipe-clean patch when you move out.
This guide is written for renters and anyone who can’t (or won’t) put screws into a door frame. It covers which doorbells suit a no-drill install, how to make adhesive actually hold through summer heat and winter frost, and the few surfaces where sticking simply won’t work — the part most guides gloss over.
What you’ll need (and what to avoid)
A no-drill install only works cleanly with the right hardware:
- A battery-powered video doorbell. Wired-only models need a transformer and screw terminals — not renter-friendly. Battery models (Ring Battery Doorbell, Blink Video Doorbell, Eufy E340, Google Nest Doorbell battery) are the ones to look at.
- A no-drill mount or industrial adhesive. Many doorbells now ship with, or sell, an official no-drill bracket. Otherwise use 3M VHB heavy-duty outdoor mounting tape or Command Outdoor strips rated for the weather and weight.
- Isopropyl alcohol (70%+) and a lint-free cloth to prep the surface. This is non-negotiable — grime is why adhesive mounts fail.
- A tape measure and a level (your phone has one).
Avoid super glue and cheap dollar-store foam tape. They either bond permanently (bad for your deposit) or let go in the first heatwave.
Step 1: Pick a doorbell suited to no-drill mounting
The lighter and more self-contained the doorbell, the better adhesive holds it. Battery models win here because they carry no wiring and can go anywhere there’s Wi-Fi.
Good renter picks in our research: the Ring Battery Doorbell (around $100 / £100) has a huge accessory ecosystem including no-drill mounts; the Blink Video Doorbell (around $60 / £50) is the cheapest credible option and pairs with Alexa; and the Eufy Video Doorbell E340 (around $180 / £160) adds local storage and dual cameras with no subscription — the standout for renters who resent monthly fees. For deciding between them, our roundup of the Best Video Doorbells With No Subscription (2026) weighs the trade-offs, and if you want the wider camera picture see the Best Home Security Cameras 2026: Indoor & Outdoor Picks guide.
Whichever you choose, confirm two things: it’s the battery variant (not the wired-only SKU), and your Wi-Fi reaches the door — front doors are notorious dead spots. If yours is marginal, our Smart Home Wi-Fi Optimization: Stop Devices Dropping Off guide fixes that before it becomes a daily annoyance.
Step 2: Choose the mounting spot and surface
Position matters more than most people think. Aim for the doorbell centre at about 48 inches / 122 cm off the ground — high enough to frame a face, low enough to catch a package on the step.
Surfaces that hold adhesive well:
- Smooth uPVC or painted door frames
- Vinyl or aluminium siding (flat sections)
- Smooth-rendered or plastered walls
- Glazed brick or tile
Surfaces that fight you:
- Rough or textured brick and stone — adhesive only touches the high points, so contact area collapses. Use a mounting block (below) instead.
- Freshly painted surfaces — paint needs about 3–4 weeks to fully cure or the tape peels the paint off with it.
- Dusty, chalky or flaking render.
If your only option is textured brick, don’t fight it — see the mounting-block workaround in Step 5.
Step 3: Prep the surface properly
This single step decides whether your doorbell is still up in six months.
- Wipe the mounting area with isopropyl alcohol on a lint-free cloth. Remove all dust, pollen, cobwebs and old adhesive residue.
- Let it dry fully — a minute or two. Any moisture ruins the bond.
- Don’t touch the cleaned area with your fingers; skin oils undo the prep.
- Ideally work when the surface is above 50°F / 10°C. Adhesives cure poorly in the cold, so on a frosty day, warm the spot gently with a hairdryer first.
Step 4: Mount with adhesive or a no-drill bracket
Now the actual install:
- If your doorbell has a bracket, stick the adhesive to the bracket’s back plate first, peel the second liner, then press the bracket to the wall.
- If you’re using VHB tape or Command strips directly, apply strips to the doorbell’s back plate in a frame pattern (edges and centre) for even load. Peel the wall-side liners.
- Check level, then press firmly for a full 30–60 seconds. Firm, sustained pressure activates the adhesive — a quick tap isn’t enough.
- Wait before hanging the doorbell. VHB reaches most of its strength in an hour but full cure takes 24–72 hours. Attach the doorbell body to the bracket now, but avoid tugging or repositioning for a day.
Then complete the in-app setup: pair to Wi-Fi, set motion zones, and test the chime and live view.
Step 5: The mounting-block workaround for brick and awkward surfaces
Renters with textured brick, mortar joints, or a doorbell that must sit where no flat surface exists have a clean fix: a no-drill mounting block or a slim piece of exterior-grade PVC/acrylic.
The trick is to give adhesive a flat, smooth intermediate surface:
- Take a small flat plate (a purpose-made doorbell wedge, or a cut piece of 3mm PVC board).
- Bond the plate to the wall using an outdoor-rated removable adhesive or a bead of removable mounting putty designed to peel away later.
- Mount the doorbell’s bracket to the plate with VHB tape.
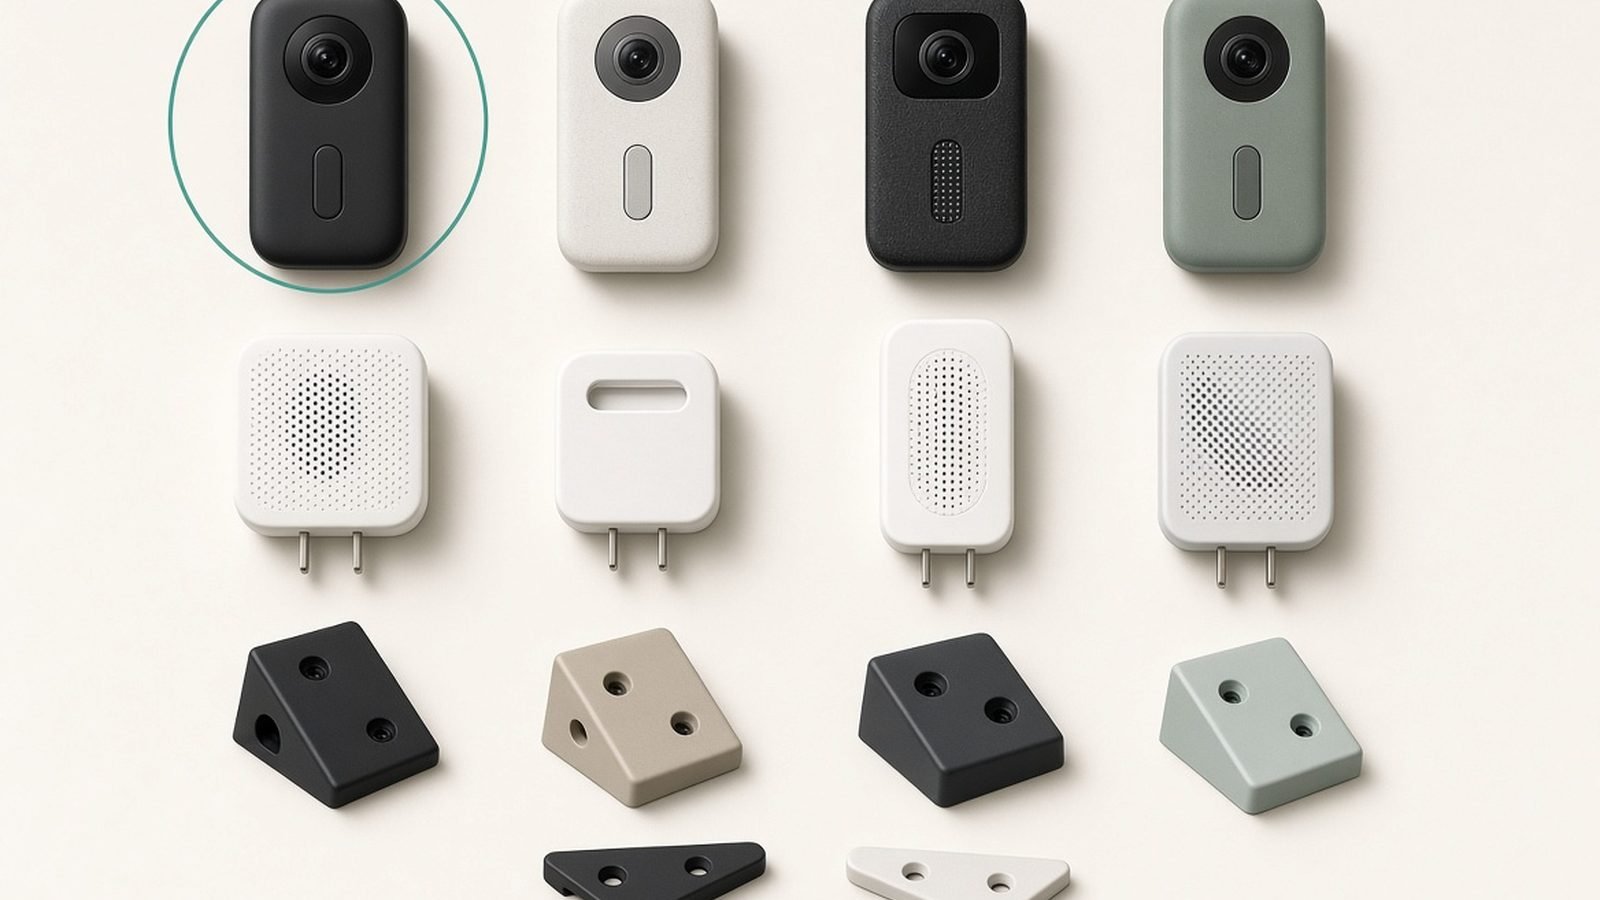
This spreads load across the whole plate rather than a few brick high-points, and when you leave, the plate lifts off with far less risk to the wall. It also lets you add an angle wedge to aim the camera down a path or across a porch.
Troubleshooting and common mistakes
The doorbell fell off after a hot week. Almost always a prep failure or under-rated tape. Re-clean with alcohol, use genuine 3M VHB rated for your climate, and press for a full minute. Dark doorbells in direct afternoon sun get very hot — buy tape rated to at least 90°C.
It won’t stick to my textured surface. Stop trying to bond directly; use the mounting-block method in Step 5.
The camera angle is wrong. Add an adhesive-friendly wedge/corner kit — most doorbell brands sell them, and they mount the same no-drill way.
Wi-Fi keeps dropping at the door. That’s a signal problem, not a mounting one. Reposition your router or add a mesh node — walk through our Smart Home Wi-Fi Optimization: Stop Devices Dropping Off guide.
I’m worried about theft. Battery doorbells lift off their brackets easily, which is convenient for you and a thief. Most brands offer anti-theft screws or a theft-replacement guarantee; enable video and a loud chime, and register the serial number.
FAQ
Can you really install a video doorbell with no screws at all?
Yes, for battery-powered models. A no-drill bracket or industrial 3M VHB tape holds a lightweight battery doorbell securely on a smooth, well-prepped surface. Wired-only doorbells still need screw terminals and a transformer, so they aren’t suited to a fully no-drill install.
Will adhesive damage my door frame or deposit?
Not if you use removable products. Command Outdoor strips and removable mounting putty are designed to peel cleanly. Permanent VHB tape can lift paint on removal, so on a rented door frame prefer removable strips or the mounting-block method, which keeps adhesive off the wall itself.
Does a no-drill doorbell survive rain and winter?
A properly rated outdoor adhesive does. Use tape rated for wide temperature swings and UV, prep the surface with alcohol, and avoid mounting on frosty days. The doorbell electronics are weather-sealed already; the only weak link is a poorly prepped bond.
What’s the best video doorbell for renters?
One that’s battery-powered, subscription-optional and mounts without wiring. The Eufy E340 (local storage, no monthly fee), Blink Video Doorbell (cheapest), and Ring Battery Doorbell (biggest accessory range) are the strongest renter picks. See our Best Video Doorbells With No Subscription (2026) roundup for the full comparison.
Do I need my landlord’s permission?
For a no-drill, battery install that leaves no holes, usually not — but if it’s shared-entrance or the doorbell overlooks a neighbour’s property, a quick heads-up avoids disputes. Point the camera at your own doorway and enable privacy zones for anything beyond it.
Zen Tech Hub may earn a commission from links on this page, at no extra cost to you.