Learning how to set up a projector is less about the gear and more about geometry and light control. Get the placement, screen and image settings right and a $700 projector looks stunning. Get them wrong and a $3,000 unit looks washed-out and crooked.
This guide walks you through it step by step, using real hardware as examples. No lab-coat theatrics, just the decisions that matter, in the order you should make them.
Before you start: room, throw ratio and screen size
Three things decide everything: how dark your room gets, how far the projector sits from the wall (throw ratio), and how big an image you want.
Every projector has a throw ratio printed in its specs, for example 1.2:1. Multiply it by your desired image width to get the distance from lens to screen. Want a 100-inch diagonal 16:9 image? That’s about 87 inches (2.2m) wide, so a 1.2:1 lens needs to sit roughly 104 inches (2.65m) back.
If you only remember one thing: measure your room before you buy. The projector has to physically fit where the math puts it.
Step 1: Work out projector placement (with throw distance table)
This is where most people using a projector throw distance calculator get tripped up: the number depends entirely on your specific lens. Here’s a rough guide for a 100-inch 16:9 screen at common throw ratios.
| Throw ratio | Distance for 100” image | Typical projector type |
|---|---|---|
| 0.5:1 | ~44 in / 1.1 m | Short-throw / living room |
| 0.8:1 | ~70 in / 1.8 m | Short-throw |
| 1.2:1 | ~104 in / 2.65 m | Standard home cinema |
| 1.5:1 | ~131 in / 3.3 m | Long-throw / rear of room |
So how far should a projector be from the screen? Whatever your lens demands for the size you want. A living-room-friendly unit like the BenQ GP520 (around $999 / £949) uses auto-focus, auto-keystone and obstacle avoidance to make this near-foolproof for beginners, which is exactly why we use it as our reference unit throughout this guide.
Step 2: Screen vs wall - honest advice
Do I need a projector screen? Honestly: no, but you’ll want one. A smooth, matte white wall in a dark room looks perfectly good. The problem is that most walls aren’t perfectly flat, aren’t neutral white, and have texture that softens the image.
Based on aggregated owner feedback, a proper screen is the single biggest cheap upgrade to picture quality, sharper edges, better contrast and truer colour. A budget pull-down like the Elite Screens Manual 100-inch (around $150 / £140) gives you a tensioned, correctly-sized surface with a black border that tricks your eye into perceiving deeper contrast.
Skip the screen only if you’re on a tight budget or renting. Otherwise, buy one before you buy nicer cables.
Check price: Elite Screens Manual 100-inch
Step 3: Mounting options (table, shelf, ceiling)
Deciding on a projector on ceiling or table setup comes down to permanence and cable management.
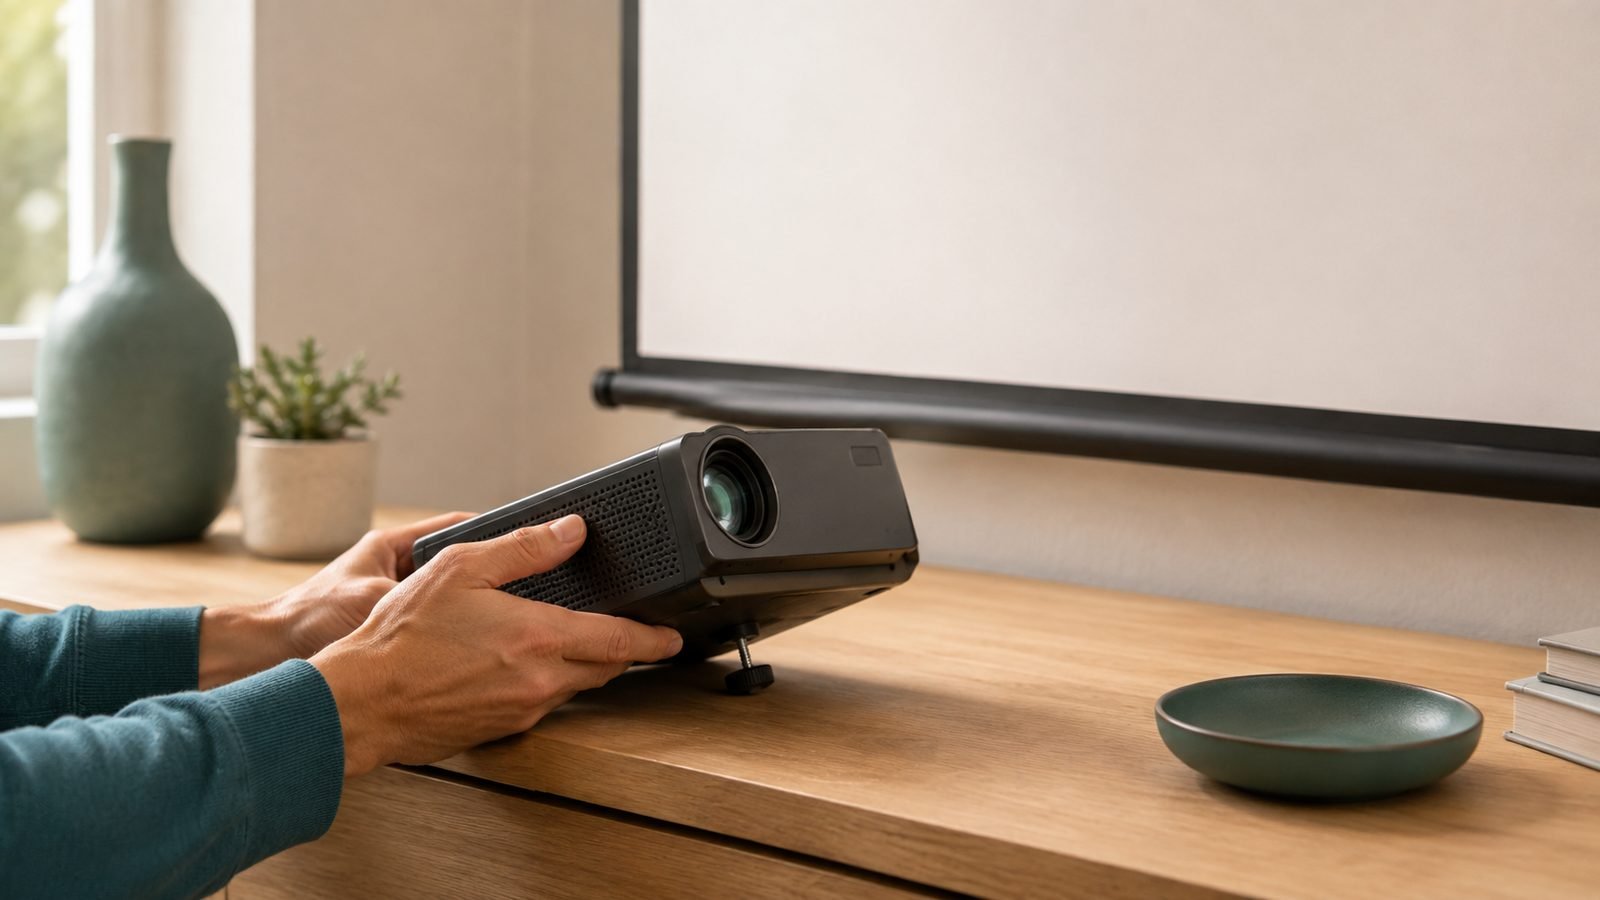
Table or coffee table: Easiest, zero installation. Best for portable units and renters. Downside: you’re in the light path and can knock it out of alignment.
Rear shelf: Our favourite for most living rooms. Stable, hidden cabling, no drilling into ceilings. Put it on a small floating shelf at screen-top height.
Ceiling mount: Cleanest look, best for dedicated rooms. Requires an inverted flip in settings, a mount, and running power/HDMI through the ceiling. Commit only once you’ve confirmed the image geometry.
Whatever you choose, aim to place the lens level with the top or bottom edge of the screen so you need minimal correction.
Step 4: Geometry - avoid keystone if you can
Here’s the counter-intuitive part. Projector keystone correction is a fix, not a feature to lean on. Digital keystone squeezes pixels to square up a tilted image, and that scaling softens the picture and can introduce artefacts.
The goal is to avoid needing it. Place the projector square to the screen, centred left-to-right, and at the correct height. If you must adjust, prefer optical lens shift over digital keystone, it moves the image without distorting pixels.
This is where placement flexibility pays off. Bright 3LCD units in Epson’s home-cinema range, such as the Epson Home Cinema 2350 (around $999 / £879 as the EH-TW6250 in the UK), give you a generous 1.0–1.35x zoom to fine-tune image size without moving the unit; step up within Epson’s line-up if you specifically want optical lens shift for off-centre placement. In our research, that flexibility is what separates a frustrating install from a five-minute one.
Check price: Epson Home Cinema 2350
Step 5: Focus, picture mode and light control
Now dial in the image. Play a detailed static pattern (a menu or text works) and adjust focus until pixels are crisp corner to corner.
For the best projector settings, start here:
Picture mode: Use “Cinema” or “Natural” for accurate colour. Avoid “Dynamic/Vivid,” it crushes detail.
Brightness/lamp: Match lamp output to your room. Full brightness in a dark room causes eye strain; eco mode is quieter and extends lamp life.
HDR: If your projector and content support it, enable it, but expect to tweak the HDR brightness slider per your room.
The biggest free upgrade is light control. Kill ambient light. Blackout blinds and turning off nearby lamps do more for contrast than any menu setting. A projector’s black level is only ever as dark as your room.
Step 6: Audio - why built-in speakers aren’t enough
Built-in projector speakers exist to prove the unit powers on. They’re small, tinny and, if the projector sits behind you, the sound comes from the wrong direction entirely.
For a proper projector setup living room experience, add at least a soundbar under the screen; a 2.1 bar or small AV receiver transforms the room. Connect via HDMI eARC so audio and video stay in sync. Don’t let a great picture be let down by phone-grade sound.
Common setup mistakes
Chasing size over brightness. A 120-inch image from a dim projector in a bright room looks grey. Smaller and brighter usually wins.
Leaning on keystone. As above, fix placement first.
Ignoring the ceiling and walls. Light-coloured ceilings reflect stray light and wash out contrast.
Cheap or over-long HDMI. Passive HDMI over ~25ft (7.5m) can drop 4K/HDR signals; use a certified active/optical cable for ceiling runs.
Forgetting the throw math. Buying before measuring is the number-one regret in owner reports.
For picking the projector itself, see our guide to the Best Projectors Under $1,000 in 2026: 4K on a Budget, and if you’re still torn on the format, read Projector vs TV for Home Theater: Which in 2026?. More buying help lives on our TVs & Displays.
FAQ
How far should a projector be from the screen? It depends on the throw ratio. Multiply the throw ratio by your screen’s width in inches. A 1.2:1 projector needs about 104 inches (2.65m) for a 100-inch 16:9 image. Always check your specific model’s spec sheet, and confirm the number fits your room before buying anything.
Do I need a projector screen or is a wall fine? A smooth, neutral-white wall in a dark room works. But based on owner reports, a dedicated screen is the cheapest meaningful upgrade, better contrast, sharper edges and a black border that improves perceived depth. If budget allows, buy the screen before pricier accessories. Renters can start with a wall.
Should I use keystone correction? Only as a last resort. Keystone digitally distorts the image to square it up, softening detail. Aim to place the projector square and centred so you need little or none. If your model has optical lens shift, use that instead, it repositions the image without harming picture quality.
Ceiling or table, which is better? Table and rear-shelf setups are easiest and renter-friendly. Ceiling mounts look cleanest and suit dedicated rooms but need an inverted image flip in settings, a mount and hidden cabling. Confirm your image geometry from a temporary position first, then commit to a permanent mount once you’re happy.
Why do projector speakers sound so bad? Built-in speakers are tiny and physically limited, and they often fire from behind your seating, so audio arrives from the wrong direction. Add at least a soundbar, ideally connected via HDMI eARC to keep sound in sync with the picture. It’s the fastest way to match your audio to your new big-screen image.
Zen Tech Hub may earn a commission from links on this page, at no extra cost to you.