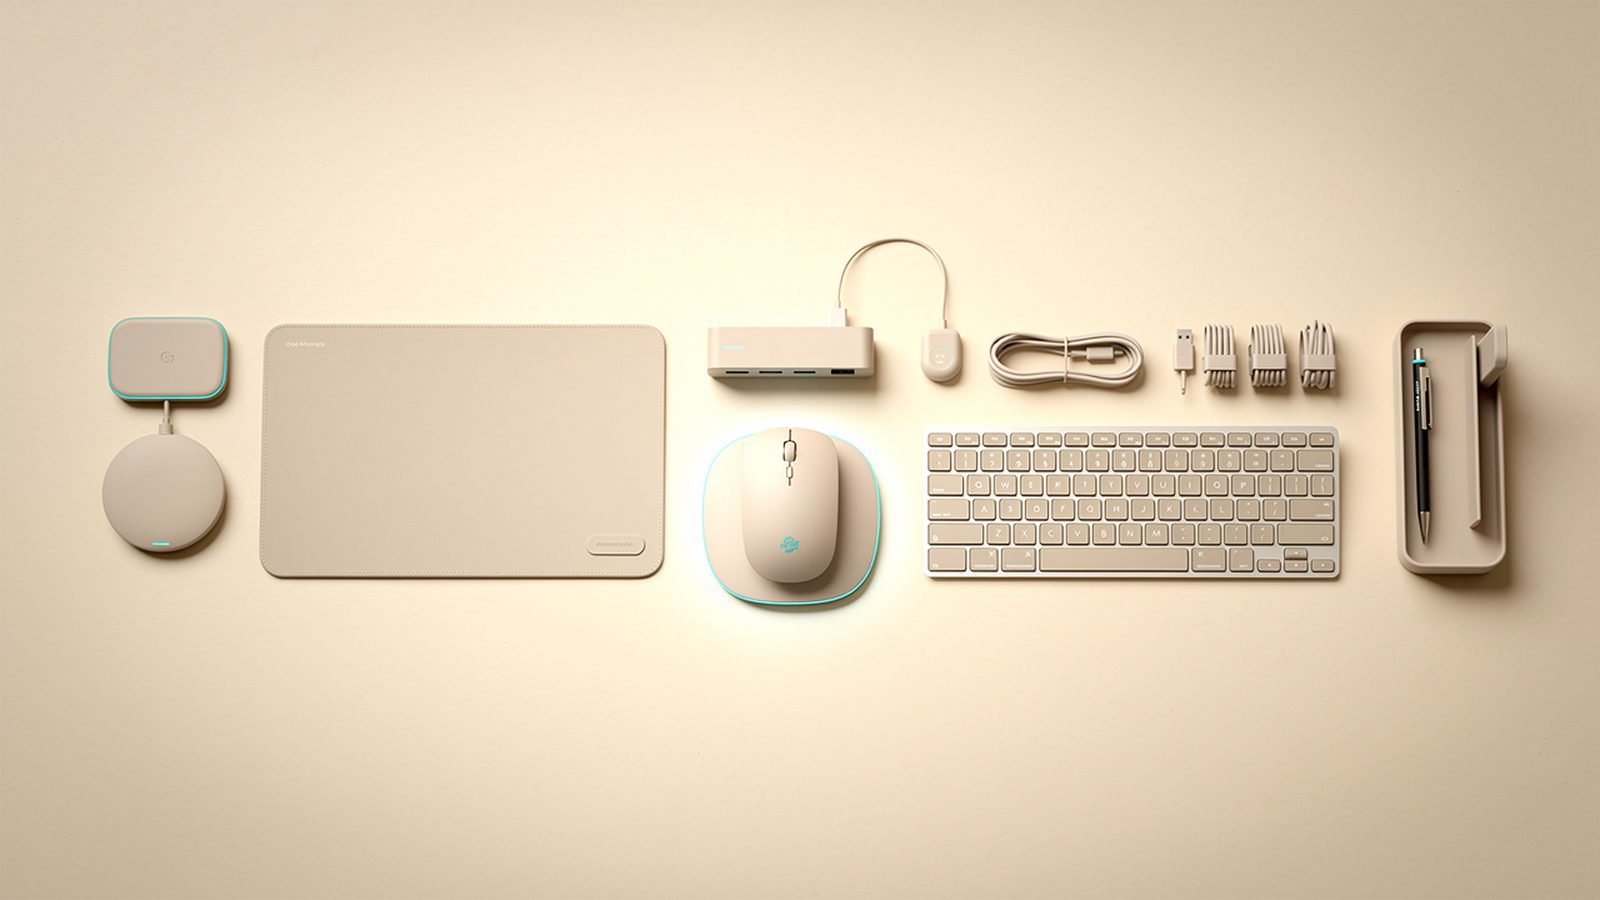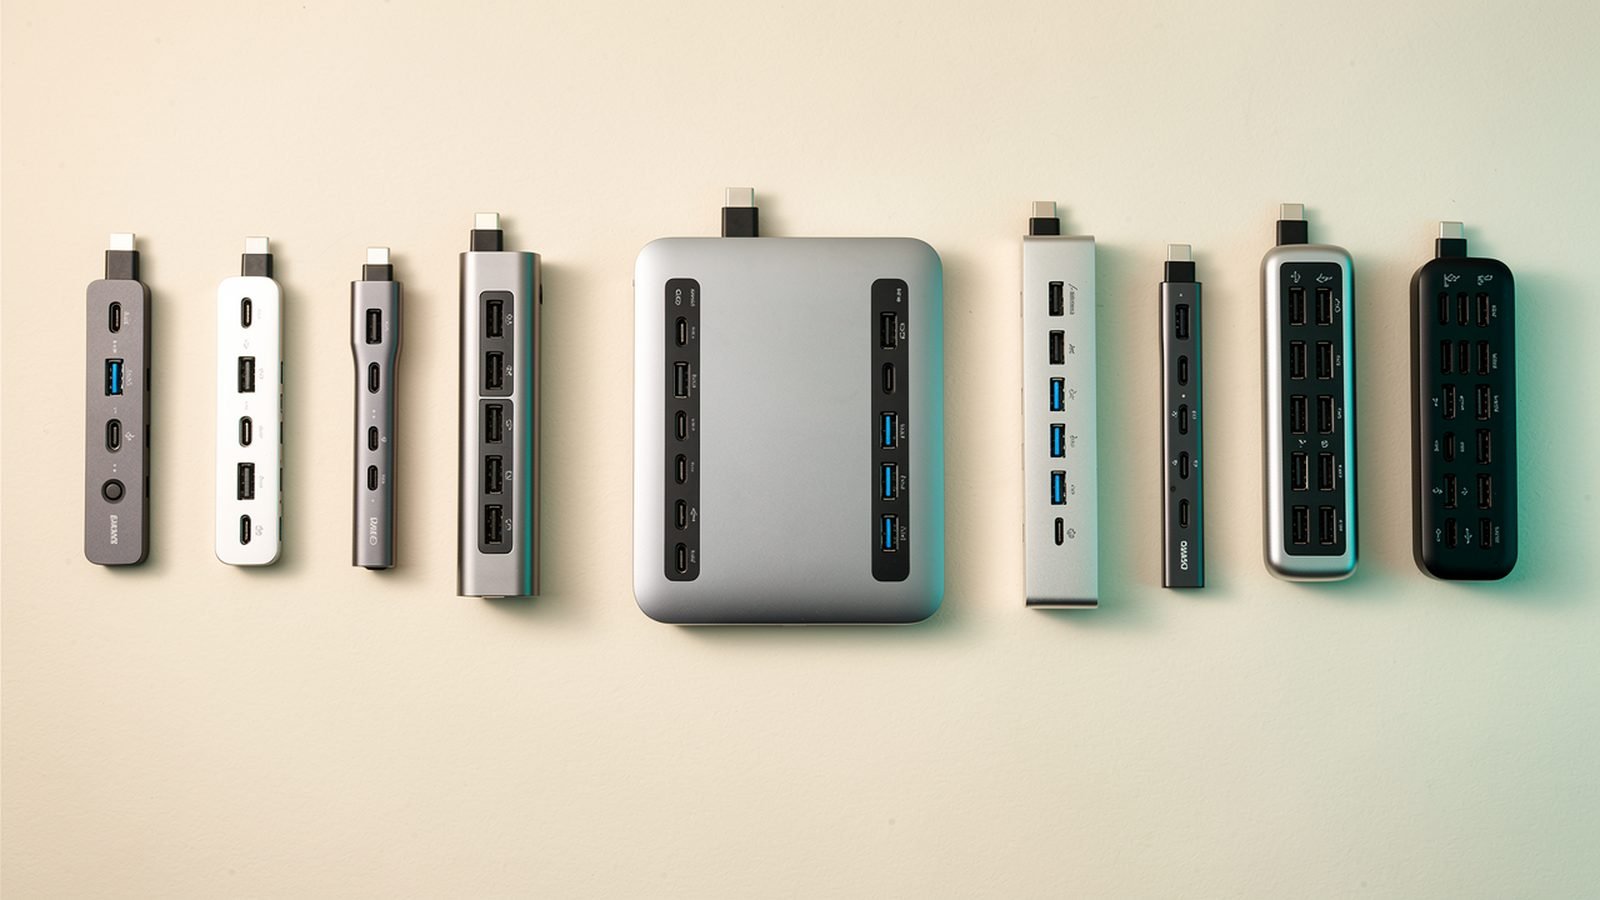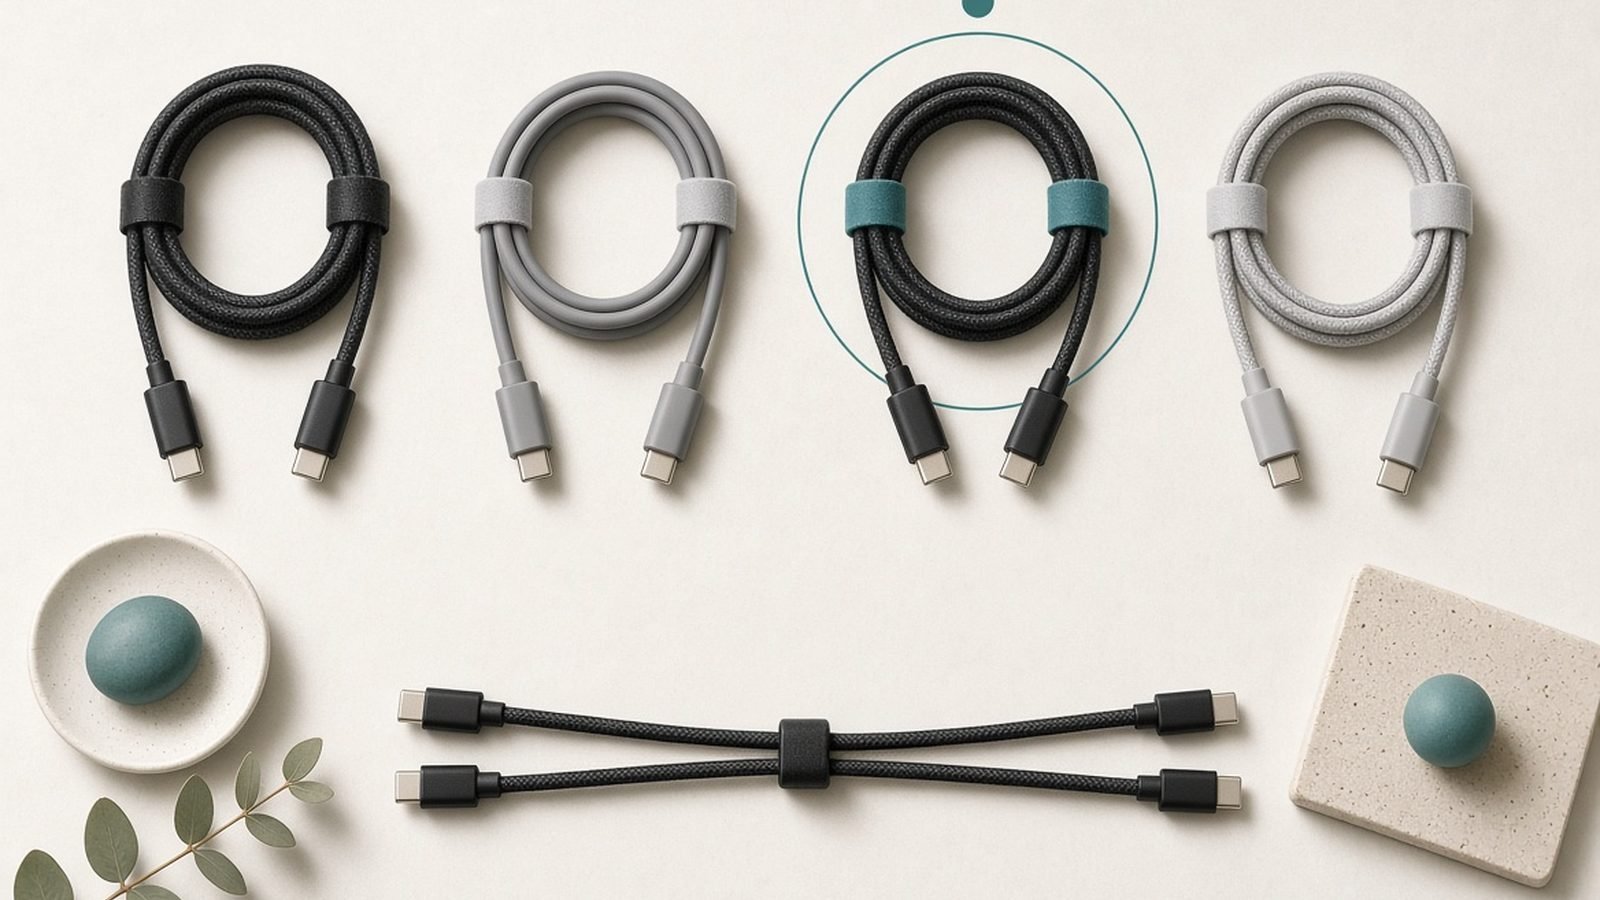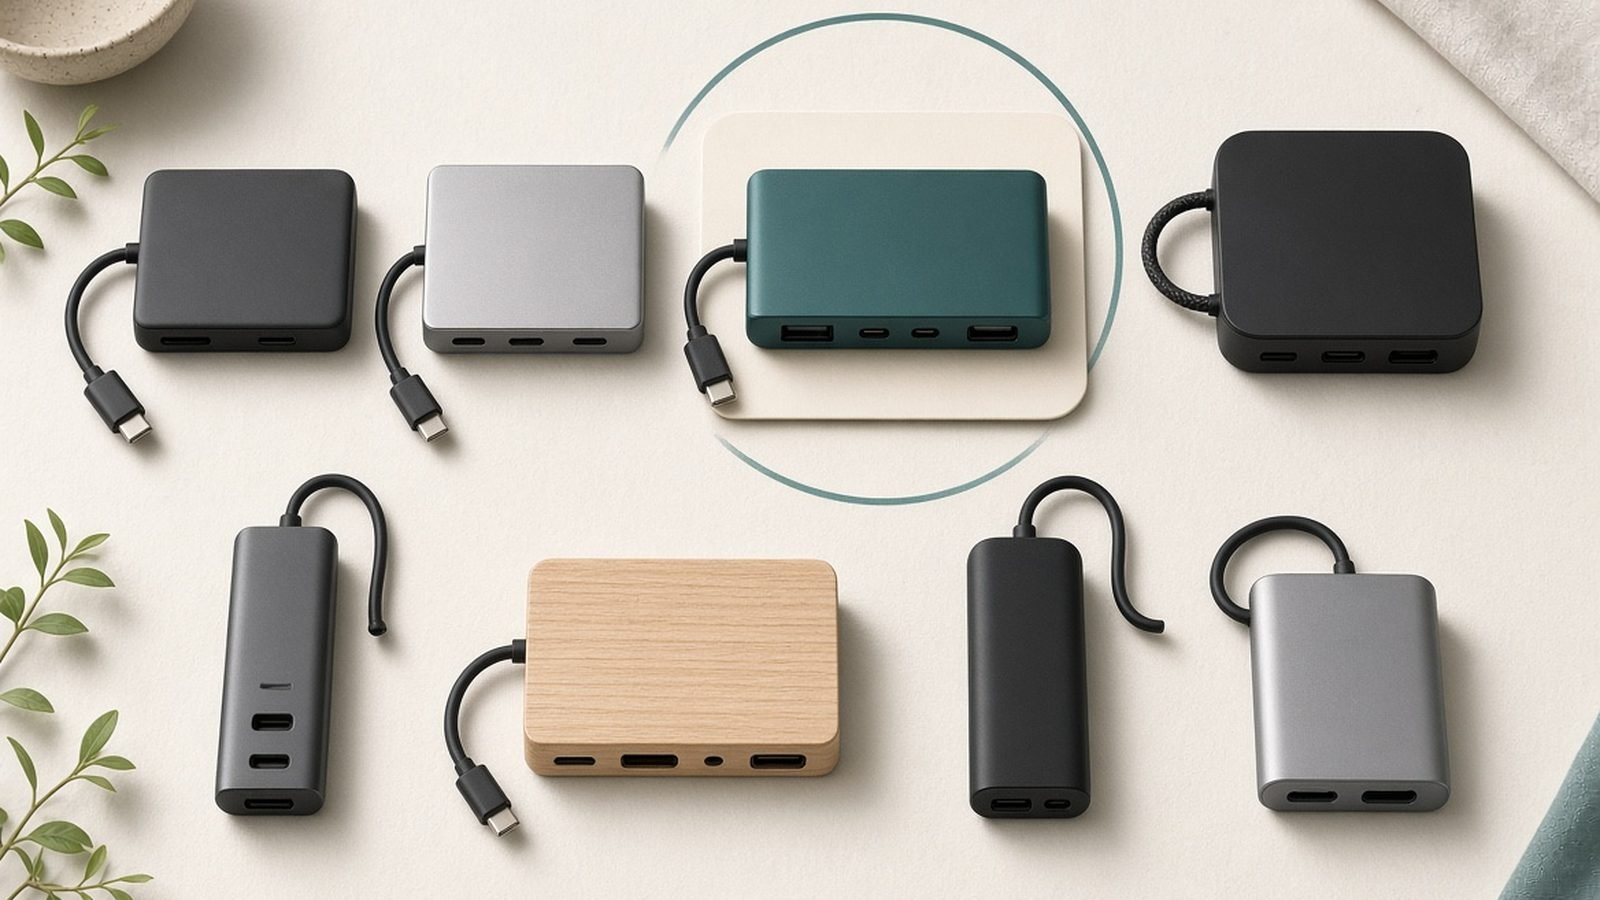
A tidy desk is mostly a solved problem: route power and data along separate paths, lift everything off the floor with an under-desk tray or channel, bundle the runs with reusable straps, and leave a little slack so you can still move your monitor and laptop. Do that once, properly, and you rarely touch it again. This cable management guide walks the whole process in order, from planning to the finishing touches, so you tidy your desk for good rather than re-doing it every few months.
The quick answer if you only have twenty minutes: get everything off the floor and onto the back or underside of the desk, and group cables by where they go rather than by type. The rest of this guide makes that permanent.
Step 1: Unplug and take inventory
Start from zero. Unplug everything and pull it out from behind the desk so you can see what you actually have. You’ll almost always find one or two cables running to devices you no longer use — remove those first. Fewer cables is the cheapest cable management there is.
Group what remains into two piles: power (wall adapters, laptop charger, monitor power, desk lamp) and data/low-voltage (USB, HDMI/DisplayPort, ethernet, audio). Keeping these two separated as they run reduces interference and, just as usefully, makes the whole bundle easier to trace later. Note which devices sit permanently on the desk versus which you unplug often (a laptop, a phone charger) — those need easy access, not deep burial.
Step 2: Plan your routes before you tie anything
Decide the paths before you commit. Most desks want two or three main runs:
- A power run from a single power strip up to the desktop devices.
- A data run from your hub or dock to peripherals and displays.
- A short daily-access run for the cables you plug and unplug (laptop, phone).
The single best move is to mount one power strip to the underside or back leg of the desk so it travels with the desk and there’s only one cable going to the wall. Everything else plugs into that. If you use a laptop, a dock turns a fistful of cables into one — see our Best USB-C Hubs & Docks 2026: For Laptops & Desks guide for picking the right one, since consolidating at the dock is the biggest single reduction in desk clutter you can make.
Step 3: Get everything off the floor
Floor cables are the enemy: they collect dust, tangle, and get kicked. Lift them.
The most effective tool is an under-desk cable tray or basket that bolts or clamps to the underside of the desk and holds the power strip plus slack. For a cleaner look, an adhesive cable channel (raceway) runs along the back edge or down a leg and hides cables inside. Sit-stand desks especially benefit, because everything must move as one unit without snagging.
Route your bundles into the tray, coil excess length there rather than leaving it dangling, and only bring cables up to the desktop at the exact point each device needs them. This single step does most of the visual work in any cable management setup.
Step 4: Bundle with the right fasteners
Now tidy the runs themselves. Use the right fastener for the job:
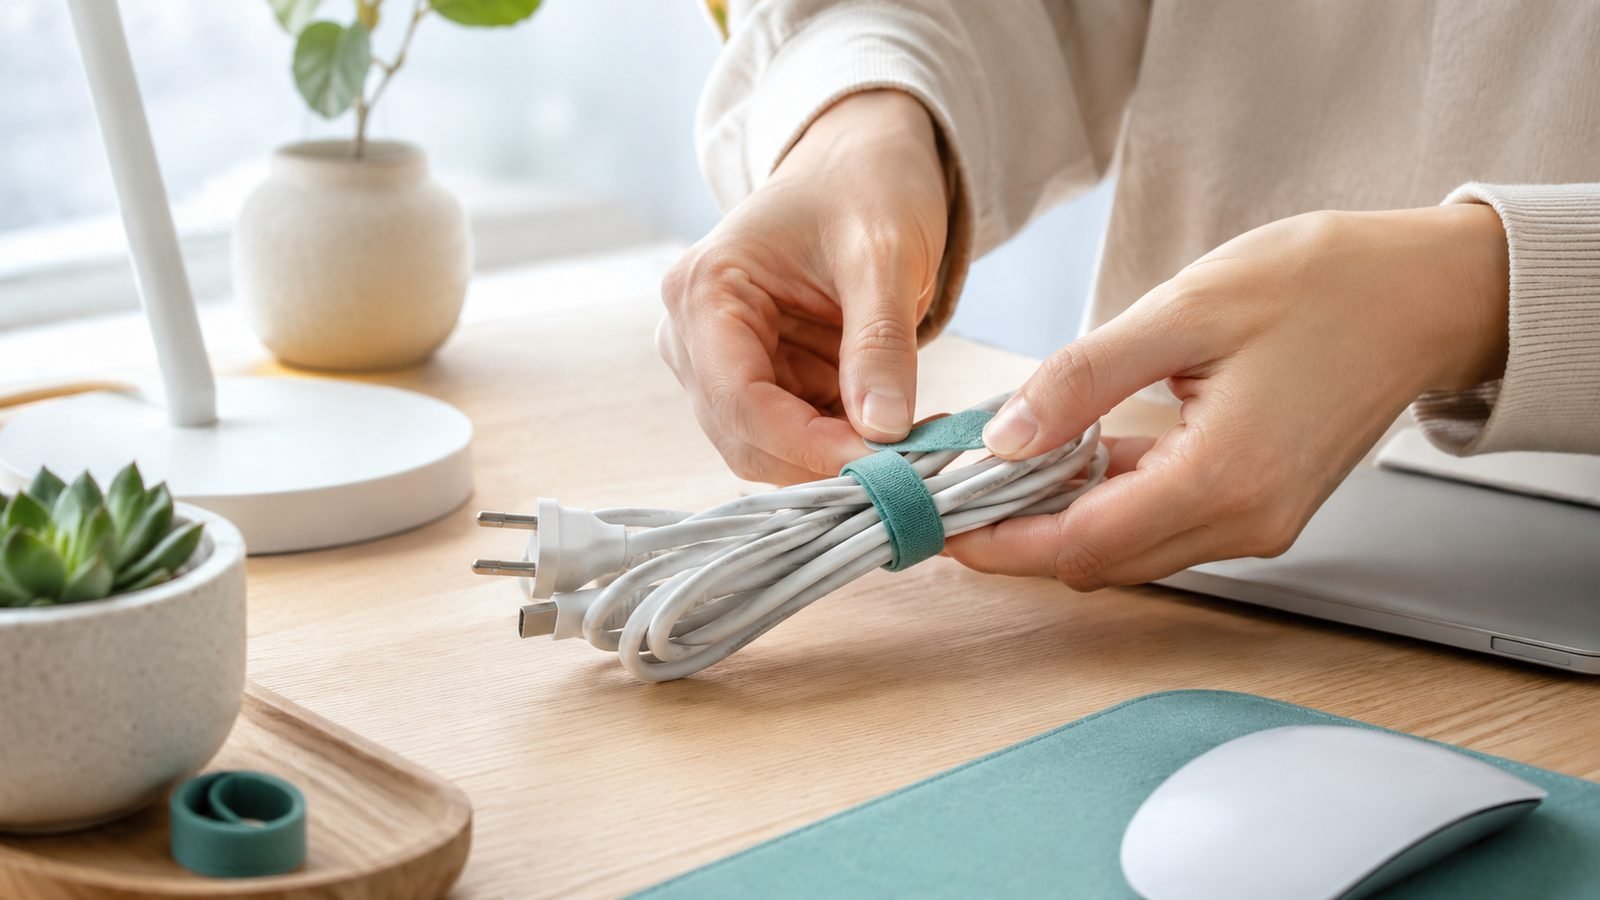
- Reusable hook-and-loop (Velcro) straps for main bundles — they’re adjustable, reopenable, and won’t cut into cables. Prefer these over zip ties for anything you might change.
- Zip ties only for permanent anchoring where you’ll never adjust — and never over-tighten.
- Adhesive cable clips to guide single cables along an edge or up a leg.
- A cable sleeve or wrap to gather several cables into one clean tube for the visible vertical run from floor to desk.
Bundle cables that travel the same direction together, and clip the bundle to the desk every 15–20cm so it holds its shape. A phone or watch charger benefits from a small weighted cable holder or a magnetic clip at the desk edge so the cable doesn’t slide away when unplugged — a small quality-of-life win covered in our Best Desk Setup Accessories 2026: Upgrade Your Workspace roundup. If you’re running wireless charging, a single Check price: Anker Magnetic Cable Clips set keeps the pad’s cable anchored.
Step 5: Leave slack and label
Two finishing habits separate a tidy desk that lasts from one that unravels in a month.
Leave deliberate slack. Your monitor arm needs to tilt, your laptop needs to lift off, and a sit-stand desk needs full travel. Coil a small service loop of extra length into the under-desk tray for each moving device so nothing pulls taut. Taut cables are what get yanked out and re-tangled.
Label both ends of anything not obvious — especially identical black USB-C and power cables. Simple flag labels or a wrap of colored tape means that in six months you can unplug the right thing without crawling under the desk and tracing by hand. This is the step everyone skips and later regrets.
Step 6: Hide the last visible cables
With runs bundled and lifted, deal with what’s still on show. The vertical drop from desk to floor is usually the last offender — gather it into a single cable sleeve or run it inside a leg-mounted raceway so it reads as one tidy line rather than a tangle.
If your desk sits against a wall, a small amount of cable can tuck behind it; if it floats in a room, keep the visible drop to one sleeved bundle at a back leg. For the monitor, route its power and video down the arm or stand and into the same run so nothing crosses the open desktop. The goal isn’t zero cables — it’s zero stray cables.
Troubleshooting and common mistakes
Everything’s tidy but I can’t reach my laptop cable. You buried a daily-access cable. Pull that one out of the bundle and give it its own clip at the desk edge with a magnetic or weighted holder. Only permanent cables belong in deep bundles.
Cables come loose when I raise my standing desk. Not enough slack, or the power strip is mounted to the wall instead of the desk. Mount the strip to the desk so it rises with it, and add a service loop for every cable that moves.
The bundle looks messy again after a month. You used zip ties and then had to cut and redo them, or you didn’t clip the bundle to the desk. Switch to reusable Velcro straps and add clips every 15–20cm so the run holds its shape through changes.
Wi-Fi or audio interference near the cables. Power and data cables running tightly parallel for a long stretch can cause it. Separate the two runs, or cross them at right angles rather than bundling them together.
Too many wall adapters, no room on the strip. Consolidate. A single multi-port GaN charger replaces several bricks and frees outlets — see our Best GaN Chargers 2026: 30W to 160W Compared & Ranked guide — and a dock collapses your laptop’s peripheral cables into one.
FAQ
What’s the fastest way to tidy desk cables?
Mount a power strip under the desk, plug everything into it so only one cable reaches the wall, and lift all cables into an under-desk tray. Bundle each run with reusable Velcro straps. That single afternoon of work removes the vast majority of visible clutter without buying much.
Should I use zip ties or Velcro straps?
Velcro (hook-and-loop) straps for almost everything, because you can reopen and adjust them when you add or move a device. Reserve zip ties for permanent anchoring you’ll never change, and never over-tighten them — a crushed cable can be damaged internally.
How do I hide cables on a standing desk?
Mount the power strip and an under-desk tray directly to the desk so they travel with it, and leave a generous service loop of slack for every cable so nothing pulls taut at full height. Use a flexible cable sleeve or spine for the single drop to the floor so it flexes as the desk moves.
Do I need special cable management products?
Not many. An under-desk tray or adhesive raceway, a pack of Velcro straps, a few adhesive clips, and one cable sleeve cover most desks for a modest cost. The biggest reducers of clutter — a mounted power strip and a laptop dock — do more than any accessory.
How do I keep phone and charging cables from sliding off the desk?
Use a small weighted cable holder or a magnetic clip at the desk edge to anchor the connector so it stays within reach when unplugged. Anchoring the last few centimetres is what keeps daily-use cables from disappearing behind the desk.
How often will I need to redo this?
If you use reusable straps, leave slack, and label both ends, you should only revisit it when you add or remove a device — and even then it’s a two-minute adjustment, not a full redo. Permanent zip ties and taut runs are what force people to start over.
Zen Tech Hub may earn a commission from links on this page, at no extra cost to you.