If you want to know how to get better audio for your YouTube videos, start with this uncomfortable truth: viewers will forgive a soft-focus shot far faster than they’ll forgive muddy, echoey, hiss-filled sound. Bad audio is the number one reason people click away in the first ten seconds. The good news is that fixing it is cheaper and faster than upgrading your camera, and most of the wins come from technique, not spending.
This guide walks through the whole chain: why audio matters more than video, which mic type fits your setup, how to place it and set levels, how to kill background noise, and how to sync and clean things up in the edit. Then we finish with a tiered gear guide and an FAQ.
Why Audio Matters More Than Video
Your camera captures a picture; your microphone captures presence. When sound is clean and close, your brain reads the person as “there” and trustworthy. When it’s thin and roomy, everything feels amateur, even in 4K.
Here’s the practical version: your phone or mirrorless camera already shoots a watchable image. Its built-in mic, however, sits inches from fan noise and feet from your mouth, pointing at the whole room. That’s why an external mic for camera or phone is the single highest-return upgrade most creators can make. If you improve one thing this month, improve video audio quality first.
Choosing the Right Mic Type
There are three mic types worth your attention, and the right one depends on how you shoot.
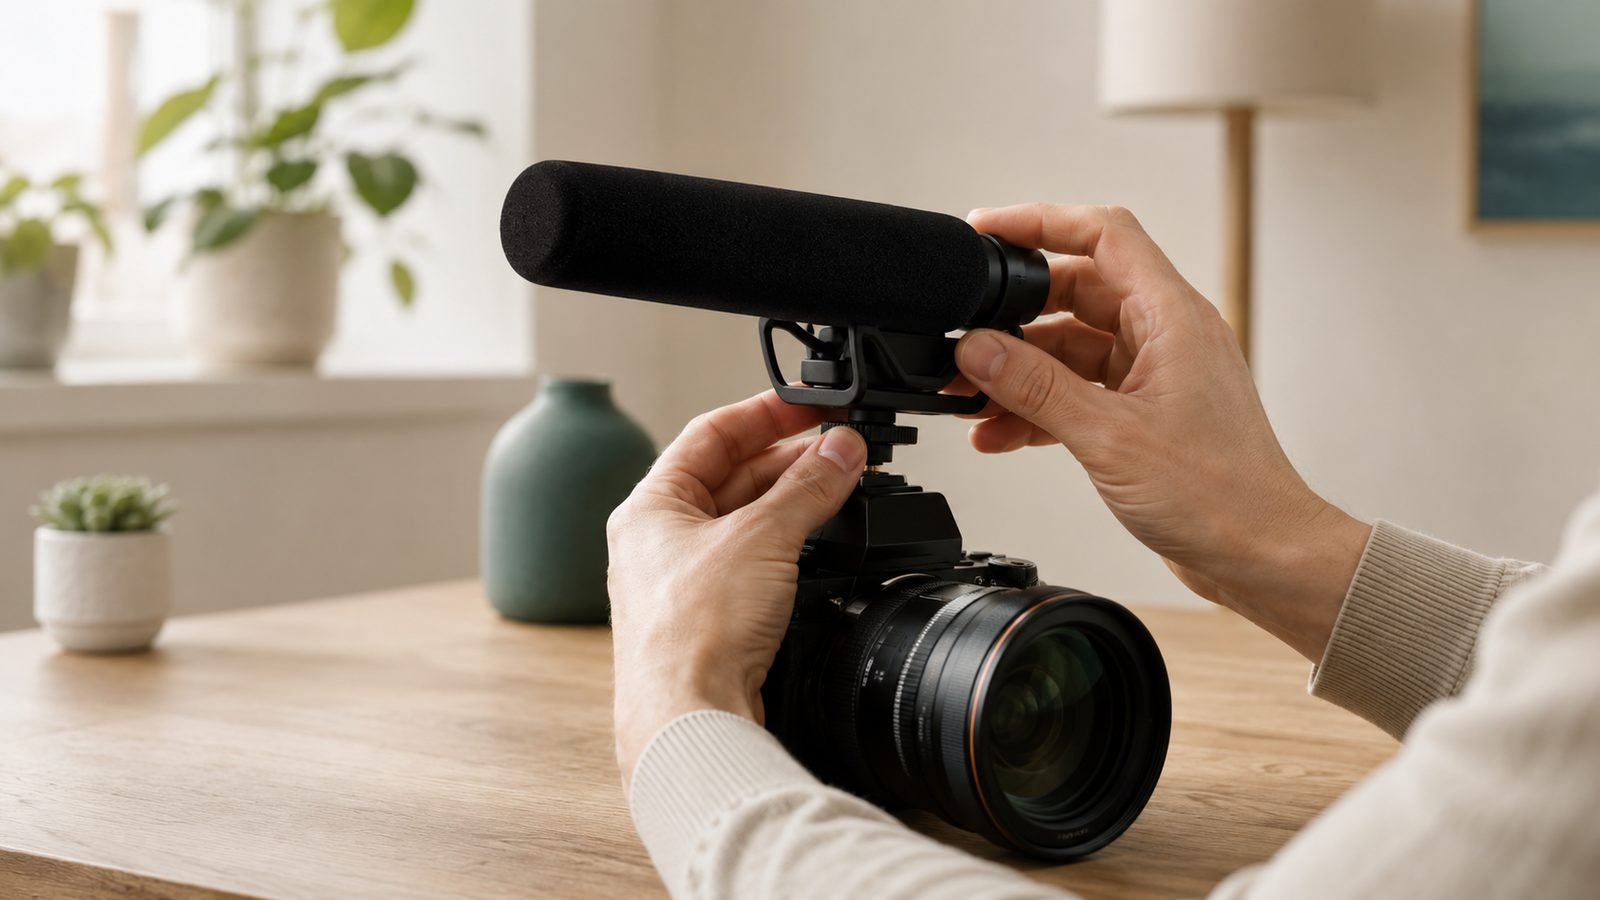
Shotgun (on-camera) mics mount to your camera’s hot shoe and point where the lens points. They’re simple, need no receiver, and sound great when you’re within about three feet. Perfect for desk pieces, cooking, and product shots.
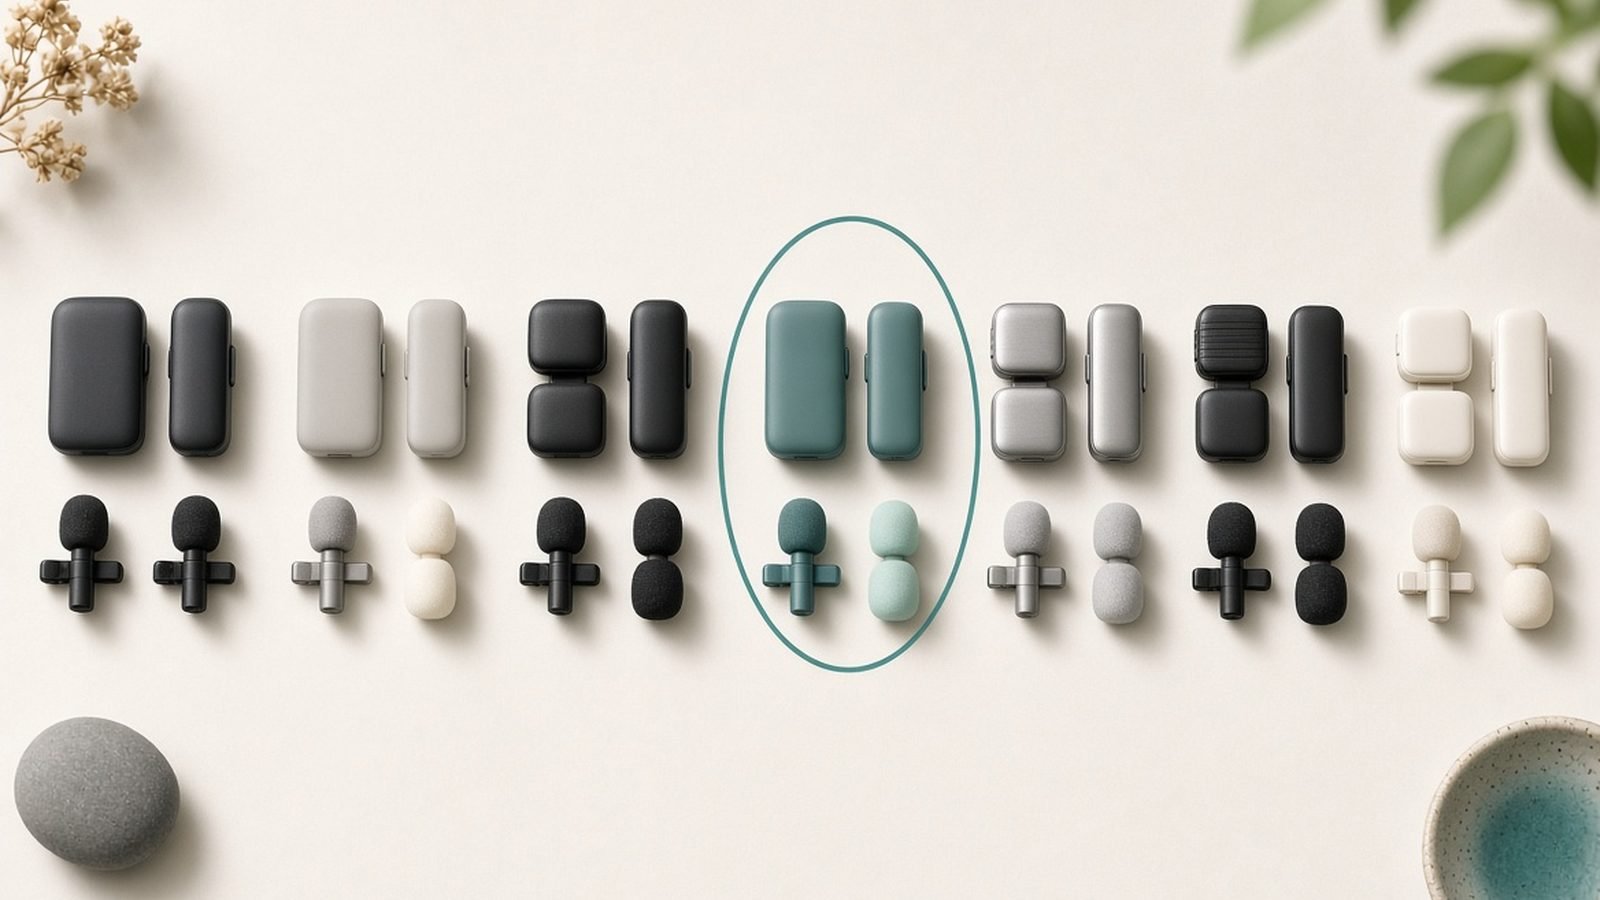
Lavalier (lav) mics are the tiny clip-on capsules you see on presenters. They live close to the mouth, so they reject room noise well and stay consistent even as you move. Most modern lavs feed into a wireless transmitter.
Wireless mic systems pair a clip-on transmitter with a receiver on your camera or phone. A good wireless mic setup gives you freedom to move, walk-and-talk shots, and multi-person coverage. This is the default for vloggers, interviewers, and anyone who films away from a desk.
If you sit still, a shotgun is the cheapest big upgrade. If you move or film other people, go wireless.
Mic Placement and Levels
Placement beats price. A budget mic placed well outperforms an expensive one placed badly.
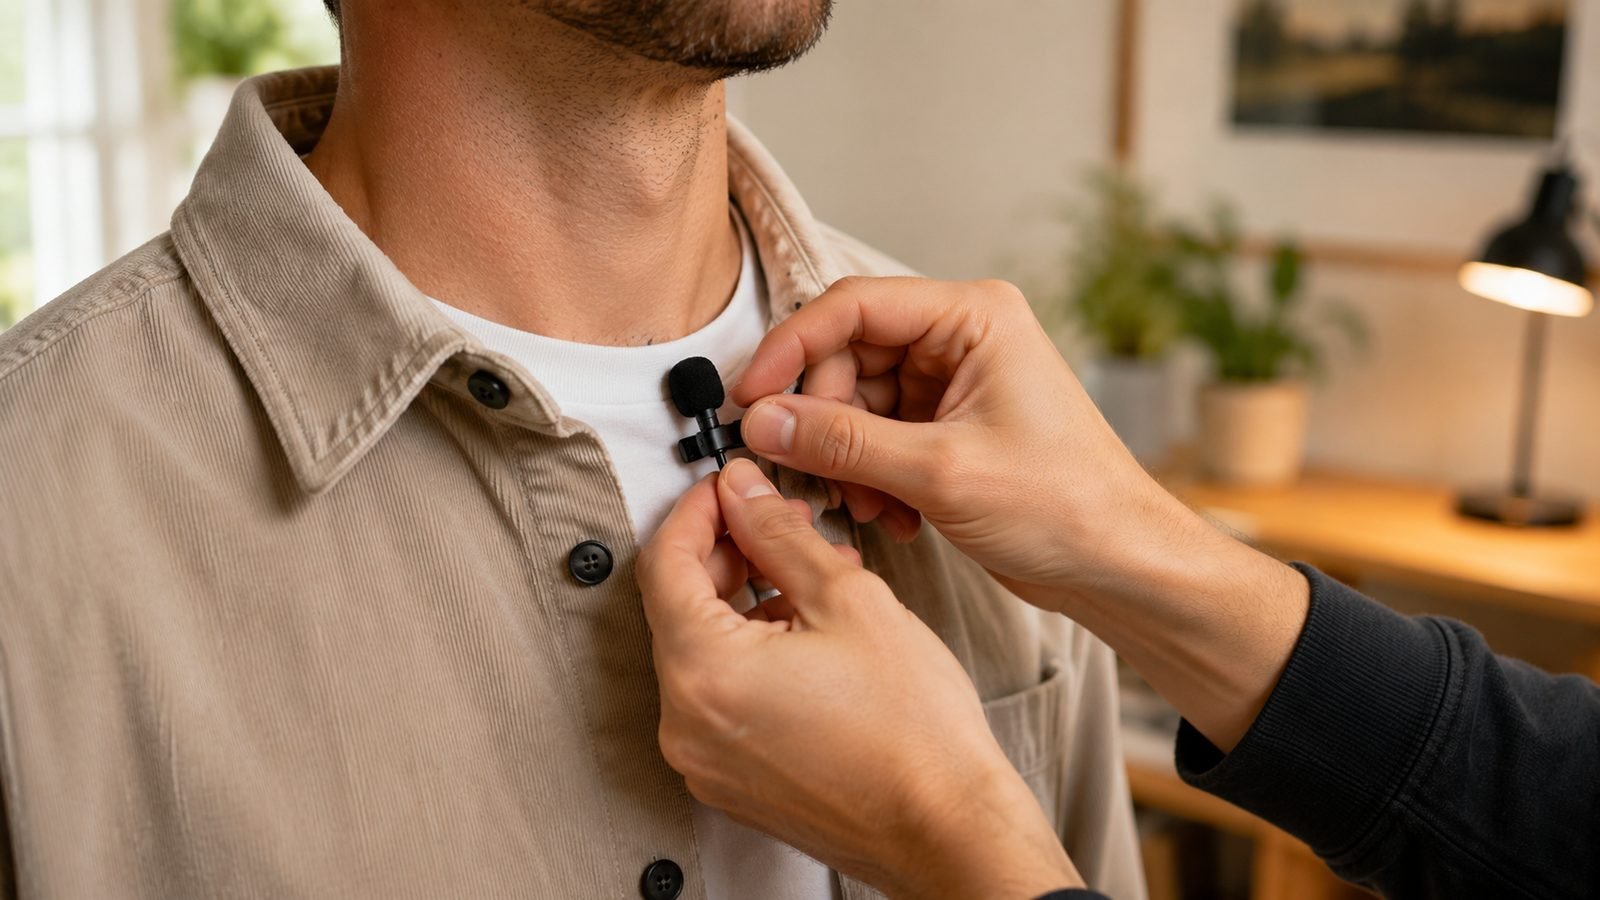
For lavalier mic placement, clip the capsule to your collar, shirt placket, or lapel roughly a hand’s width (six to eight inches) below your chin. Center it so head turns don’t change the volume, and tuck the cable to stop clothing rustle. Use the included furry windscreen outdoors, always.
For a shotgun, get it as close as the frame allows, angled toward your mouth rather than straight up. Distance is everything: halving the gap to the mic roughly doubles perceived loudness while shrinking the room’s contribution.
On levels, the best mic settings for video aim for peaks around -12 dB to -6 dB, with dialogue averaging near -18 dB to -12 dB. Leave that headroom so a laugh or emphasis doesn’t clip into distortion, which cannot be repaired later. If your recorder has a safety track (a second channel recorded a few dB lower), use it as insurance against sudden peaks.
Reducing Background Noise and Echo
Two different problems get lumped together here, and they need different fixes.
Background noise is steady stuff: fridges, computer fans, air conditioning, traffic. The fix order is: turn it off, move away from it, then get the mic closer to your voice. To reduce background noise in video without gadgets, record during quiet hours and unplug the noisy appliance you can. A high-pass (low-cut) filter around 75-100 Hz on your mic or in editing removes rumble cleanly.
Echo is your voice bouncing off hard walls, floors, and glass. No plugin fully removes it, so treat the room instead. Add soft mass: rugs, curtains, a bookshelf, even a duvet on a stand just out of frame. Recording closer to the mic also helps, because more of what it hears is you and less is the room.
Syncing and Editing Audio
If you record sound separately (say, a lav into a phone while the camera rolls), you’ll need to sync it. The easy trick: clap once at the start of each take, then line the clap spike up with the camera’s audio waveform in your editor. Most editors also auto-sync by matching waveforms.
In the edit, a light touch wins. Apply a high-pass filter, gentle compression to even out loud and soft moments, and a de-noise pass only if needed, kept subtle so your voice doesn’t turn robotic. Finish by normalizing dialogue to around -14 LUFS, a sensible loudness target for YouTube playback.
Recommended Gear by Budget
You don’t need all of this. Pick the one tier that matches how you film. Prices are approximate and shift with sales; check the live listing before buying.
| Pick | Best for | Type | Price (approx.) |
|---|---|---|---|
| Rode VideoMic GO II | Static, camera-based shooters | On-camera shotgun | $99 / £89 |
| Rode Wireless Micro | Phone creators who move | Wireless lav | $149 / £139 |
| DJI Mic 3 | Serious/critical multi-person shoots | Wireless kit | $329 / £299 |
Best budget upgrade: Rode VideoMic GO II
The cheapest way to sound dramatically better on camera. It’s a plug-in shotgun that draws power from your camera or phone, with no batteries or dials to fumble. In our research and based on owner reports, it’s a fit-and-forget upgrade for talking-head and desk content, provided you stay within a few feet.
Pros: Cheap, tiny, no batteries, USB-C to phone or camera. Cons: No onboard level control; distance-sensitive; not for run-and-gun.
Best for creators who film mostly in one spot and want the biggest quality jump for the least money.
Check price: Rode VideoMic GO II
Best budget wireless: Rode Wireless Micro
If you shoot on a phone and need to move, this is the value pick. It’s a compact clip-on wireless system with automatic gain and simple pairing, aimed squarely at phone-based creators who don’t want to think about settings. Owner feedback consistently praises how little setup it needs.
Pros: Truly simple wireless mic setup; small; phone-friendly connectors. Cons: Fewer manual controls; no onboard recording backup; short range vs pricier kits.
Best for vloggers and social creators who want wireless freedom without a learning curve.
Check price: Rode Wireless Micro
Best all-rounder: DJI Mic 3
Our mid/high-tier recommendation for anyone whose audio can’t fail. The kit’s two transmitters cover a host and guest, and the internal safety track guards against clipping on critical shoots you can’t reshoot. In our research it’s the pick for interviewers and pros who need reliability and multi-person coverage.
Pros: Two-person coverage, safety track, strong range, onboard recording. Cons: Overkill for solo desk creators; higher price; a few features to learn.
Best for interview, event, and client work where a blown take is expensive.
Verdict
Most creators should stop overthinking this. If you film at a desk, the Rode VideoMic GO II fixes the majority of your audio problems for around a hundred dollars. If you move around with a phone, the Rode Wireless Micro is the easy wireless answer. And if your shoots involve two people or can’t be redone, the DJI Mic 3 buys you real insurance. Whichever you pick, remember that placement and a treated room will do more than any logo on the box.
For deeper comparisons, see our Best Wireless Microphone for Video in 2026 roundup and the head-to-head DJI Mic 3 vs Rode Wireless Micro 2026: Best Creator Mic?. More creator guides live on the Cameras & Creator Gear.
FAQ
Do I really need an external mic for YouTube? If you care about retention, yes. Built-in camera and phone mics sit too far from your mouth and pick up the whole room. Even a budget shotgun or wireless lav moves the capsule close to your voice, which instantly improves video audio quality, cuts room echo, and makes you sound more present and trustworthy on camera.
What are the best mic settings for video? Aim for dialogue peaks around -12 dB to -6 dB, with an average near -18 dB to -12 dB so sudden emphasis doesn’t clip. Enable a high-pass filter around 75-100 Hz to remove rumble, and record a safety track a few dB lower if your device supports one. Never push levels into the red.
How do I reduce background noise in my videos? Work in this order: turn the noise source off, move away from it, then get the mic closer to your mouth. Steady hums respond well to a high-pass filter and a light de-noise pass in editing. Echo is different, treat the room with rugs, curtains, and soft furnishings rather than relying on software.
Where should I clip a lavalier mic? For consistent lavalier mic placement, clip it centered on your chest, about six to eight inches below your chin, on a collar or shirt placket. Centering it keeps volume steady as you turn your head, and tucking the cable stops clothing rustle. Outdoors, always fit the furry windscreen to kill wind noise.
Can I fix bad audio in editing? Partly. You can reduce steady noise, balance loud and soft moments, and add clarity. But you cannot rescue clipped, distorted peaks or fully remove heavy room echo. That’s why getting placement, levels, and the room right on set matters far more than any post-production plugin.
Zen Tech Hub may earn a commission from links on this page, at no extra cost to you.