If you want better audio for YouTube, do these things in order and stop when it sounds good: get the microphone closer to your mouth, tame the room you record in, set safe levels and actually monitor them, then export at the right loudness. That sequence fixes the vast majority of “why does my voice sound cheap” problems, and most of it costs nothing. Buying a new microphone is step five, not step one.
This guide is deliberately about priorities. Instead of a shopping list, it walks through the highest-impact changes first, so you can spend an afternoon and hear a real difference before spending a penny. At the end we cover how to rescue footage you have already shot, and the settings that trip people up.
Start With the One Lever That Matters Most: Distance
The single biggest factor in how good your voice sounds is how far the microphone is from your mouth. This is not close. Every time you halve the distance to the mic, the sound of you gets dramatically louder relative to the room, the hiss and the fans. A laptop mic three feet away captures a thin, roomy version of you. The same voice with a mic six inches away sounds present and expensive.
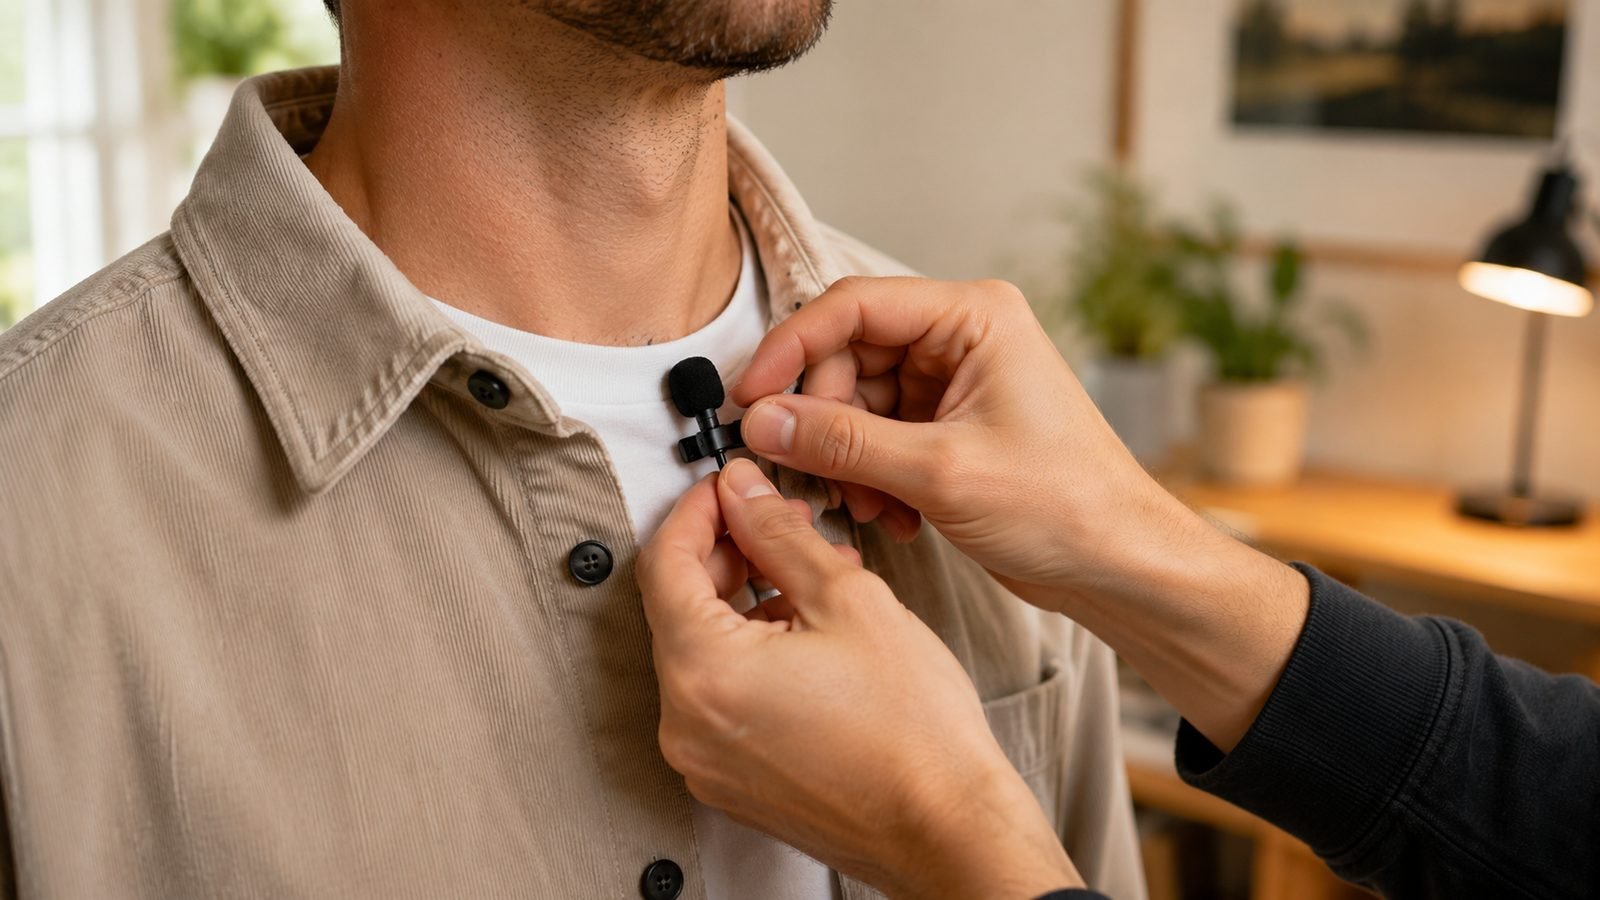
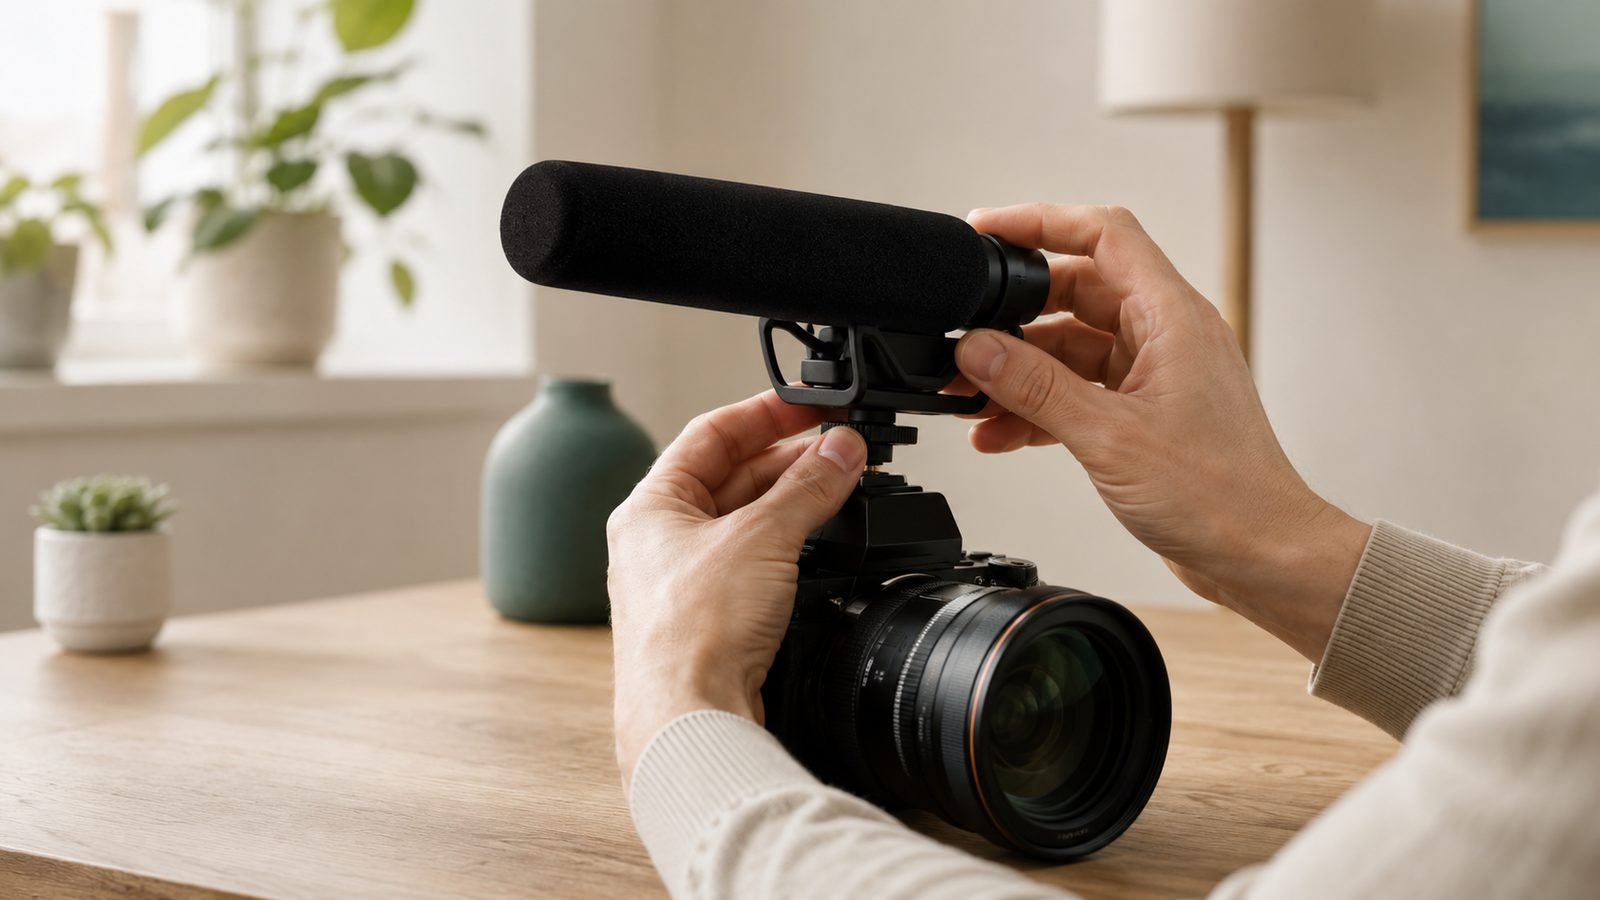
So before anything else, close the gap. If you use a shotgun or USB mic, bring it in as near as the frame allows and angle it toward your mouth. If you use a clip-on lav, position it a hand’s width below your chin. The goal is simple: more you, less room. Do this and even modest gear starts sounding professional. Ignore it and no microphone on earth will save you.
Tame the Room Before You Blame the Mic
Most “bad audio” is actually a bad room. Hard walls, bare floors and windows bounce your voice around, and that reverb, that slightly hollow, echoey quality, is what reads as amateur even when your mic is fine. No plugin fully removes it after the fact, so you fix the space, not the file.
You do not need foam panels. Record in the room with the most soft stuff in it: carpet, curtains, a sofa, a full bookshelf, clothes in a wardrobe. Soft mass absorbs reflections. A common trick is to record with a duvet or thick blanket on a stand just out of frame, or simply to move closer to the mic so it hears more of you and less of the walls. If your voice sounds like it is in a bathroom, this is the step you skipped.
Kill Steady Background Noise
Room echo is one problem; steady background noise is another, and it needs different fixes. Fridges, computer fans, air conditioning and traffic all add a constant hum that sits under your voice and makes everything feel low-rent.
Work in this order: turn the source off, move away from it, then get the mic closer. Unplug the noisy appliance you can, record during quieter hours, and point the mic away from your computer’s fans. A high-pass (low-cut) filter set around 75 to 100Hz, applied on the mic or in editing, cleanly removes low rumble without touching your voice. Do the physical fixes first, though. It is always easier to not record noise than to remove it later.
Set Levels and Actually Monitor Them
Here is a mistake even experienced creators make: they set a level once, hit record, and never listen back until editing, by which point the take is ruined. Two rules prevent almost all level disasters.
First, set safe levels. Aim for your dialogue to peak around -12dB to -6dB, averaging near -18dB to -12dB. That leaves headroom so a laugh or an emphatic word does not clip into distortion, which cannot be repaired. When in doubt, record a touch quieter; you can always turn quiet audio up, but you can never un-clip a distorted peak.
Second, monitor while you record. Plug headphones into your camera, recorder or interface and listen to the actual signal, not the room. You will instantly catch clothing rustle, a cable buzz, a dropout, or a fan you stopped noticing. Thirty seconds of monitoring saves you from discovering a dead take an hour later. If your device has a safety track, a second channel recorded a few dB lower, use it as insurance against surprise peaks.
Choose the Right Mic Type (When You’re Ready to Buy)
Once distance, room and levels are handled, a better microphone is the next real upgrade, and it is a big one. The right type depends on how you film.
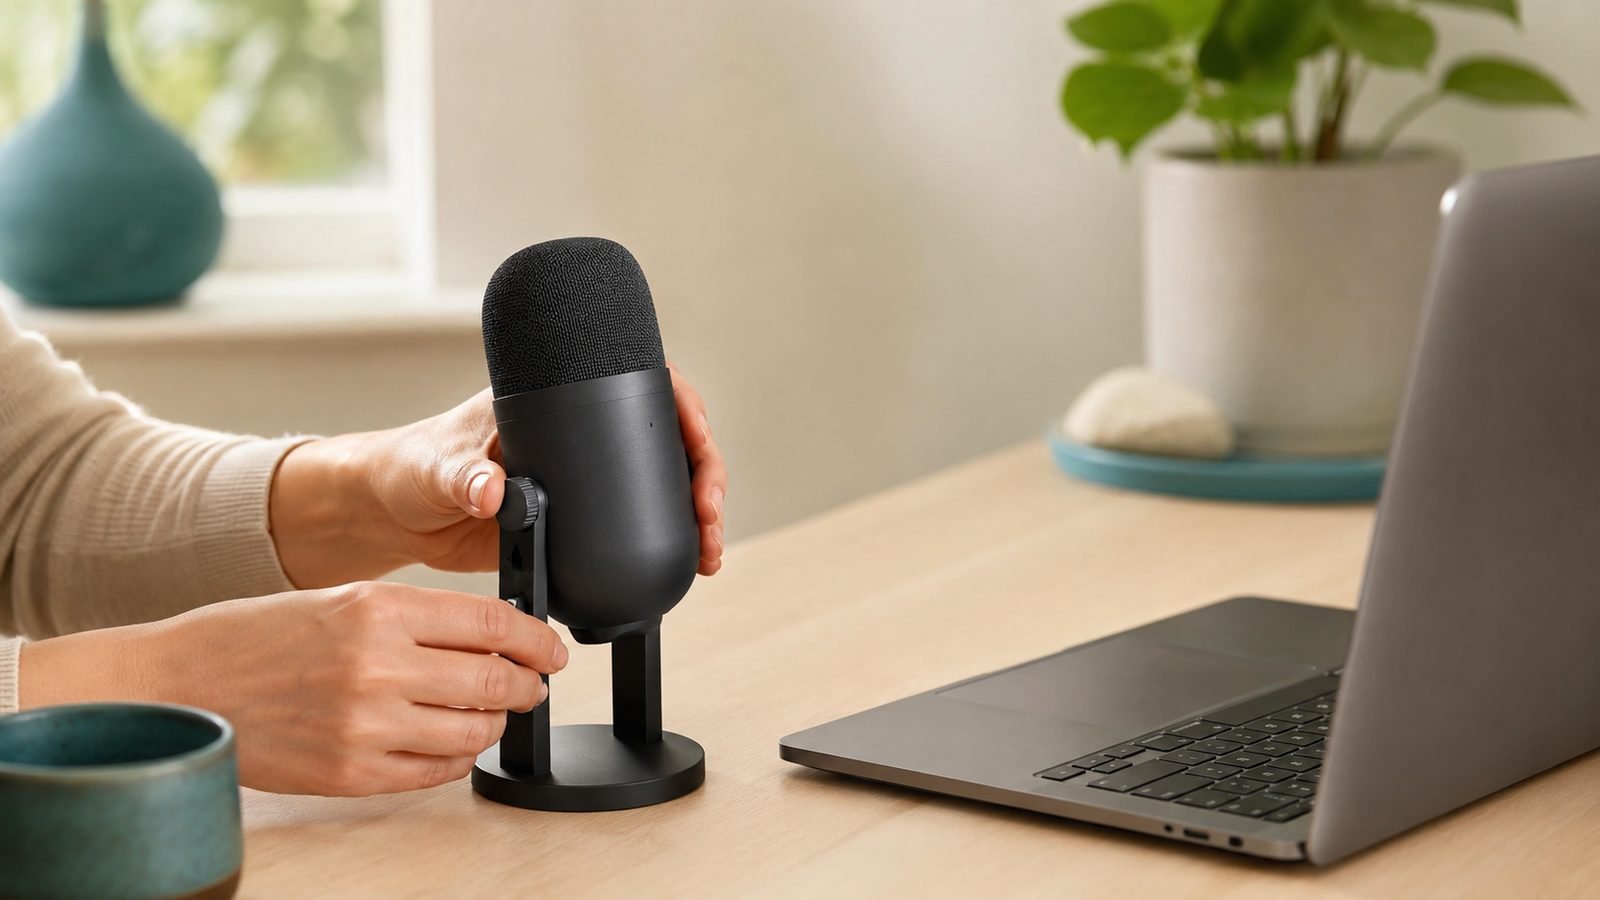
If you sit at a desk and talk to camera, a USB microphone is the cheapest large jump in quality and doubles for streaming and calls. Our Best USB Microphones in 2026 for Streaming and Podcasting guide covers picks for every budget.
If you move around, present, or film other people, go wireless lav. A clip-on transmitter keeps the mic close to your mouth no matter where you walk, which is exactly the “distance” win from step one, made portable. For the two systems most creators actually consider, see our DJI Mic 3 vs Rode Wireless Micro 2026: Best Creator Mic? head-to-head; one is a simple phone-first option, the other a semi-pro kit with backup recording. And if you want the full breakdown of mic types, placement and editing chain, our companion guide on How to Get Better Audio for Your YouTube Videos goes deeper on gear.
Check price: Rode Wireless Micro
Export at the Right Loudness
You can record perfect audio and still sound wrong on YouTube if you export it too quiet or too loud. YouTube normalizes loud uploads downward, so mastering everything to be as loud as possible just gets turned down unevenly and can sound flat.
The sensible target is around -14 LUFS integrated loudness for spoken-word video, with true peaks kept below about -1dB to avoid distortion on playback. Most editors (DaVinci Resolve, Premiere, Final Cut, CapCut and others) have a loudness meter or a normalize-to-LUFS function. Set your dialogue to that target, apply gentle compression to even out loud and soft moments, and you will sound consistent from video to video and match the volume of other channels a viewer is watching. This one export habit makes a channel feel professionally produced.
Troubleshooting: Rescue Audio You Already Recorded
Sometimes the shoot is done and the audio is rough. You cannot fix everything, but a light editing pass helps.
- Muffled or thin voice: add a gentle high-pass filter around 80Hz and a small presence boost around 3 to 5kHz for clarity. Do not overdo it, harsh is worse than dull.
- Steady hiss or hum: use a de-noise tool, but keep it subtle. Push it too hard and your voice turns robotic and underwater. A little noise is more natural than an obviously processed voice.
- Uneven volume: apply compression to pull loud and soft moments together, then normalize to -14 LUFS.
- Clipped, distorted peaks: largely unrecoverable. This is why you set levels conservatively and monitor. For future shoots, a mic with 32-bit float recording removes this risk entirely.
- Heavy echo: modern editors and some plugins have de-reverb tools that help a little, but they cannot undo a bad room. Treat the space next time instead.
The pattern here is clear: post-production is for polish, not for rescue. Get distance, room and levels right on set, and editing becomes the easy part.
FAQ
What is the fastest way to improve my YouTube audio for free?
Move the microphone closer to your mouth and record in a room with soft furnishings. Those two changes cost nothing and fix more than any purchase. Halving the mic distance dramatically increases how present your voice sounds relative to noise and echo, and soft surfaces absorb the reflections that make cheap audio sound hollow. Do these before you consider new gear.
What loudness should I export YouTube videos at?
Aim for around -14 LUFS integrated loudness with true peaks below roughly -1dB. YouTube turns down uploads that are louder than that, so pushing everything to maximum volume just gets normalized unevenly. Most editors include a loudness meter or a normalize function. Hitting -14 LUFS keeps your videos consistent and matched to the volume of other channels viewers watch.
Do I need an expensive microphone for good audio?
No. Technique beats gear up to a point. A budget mic placed six inches away in a treated room will beat an expensive mic placed poorly in an echoey space. Once distance, room and levels are sorted, a better microphone is a worthwhile upgrade, a USB mic for desk work or a wireless lav if you move, but it is the last step, not the first.
Why does my voice sound echoey even with a good mic?
Because the problem is the room, not the mic. Hard walls and bare floors bounce your voice back, and the microphone captures those reflections along with you. Record in a space with carpet, curtains and soft furniture, get closer to the mic, and the echo shrinks. No microphone or plugin fully removes reverb after the fact, so you have to fix the space.
Should I monitor my audio with headphones while filming?
Yes, always if you can. Plug headphones into your camera, recorder or interface and listen to the live signal. You will immediately catch clothing rustle, buzzes, dropouts and background noise you stopped noticing, problems that would otherwise ruin a take you only discover in the edit. It is the single easiest habit that separates reliable audio from constant reshoots.
Zen Tech Hub may earn a commission from links on this page, at no extra cost to you.