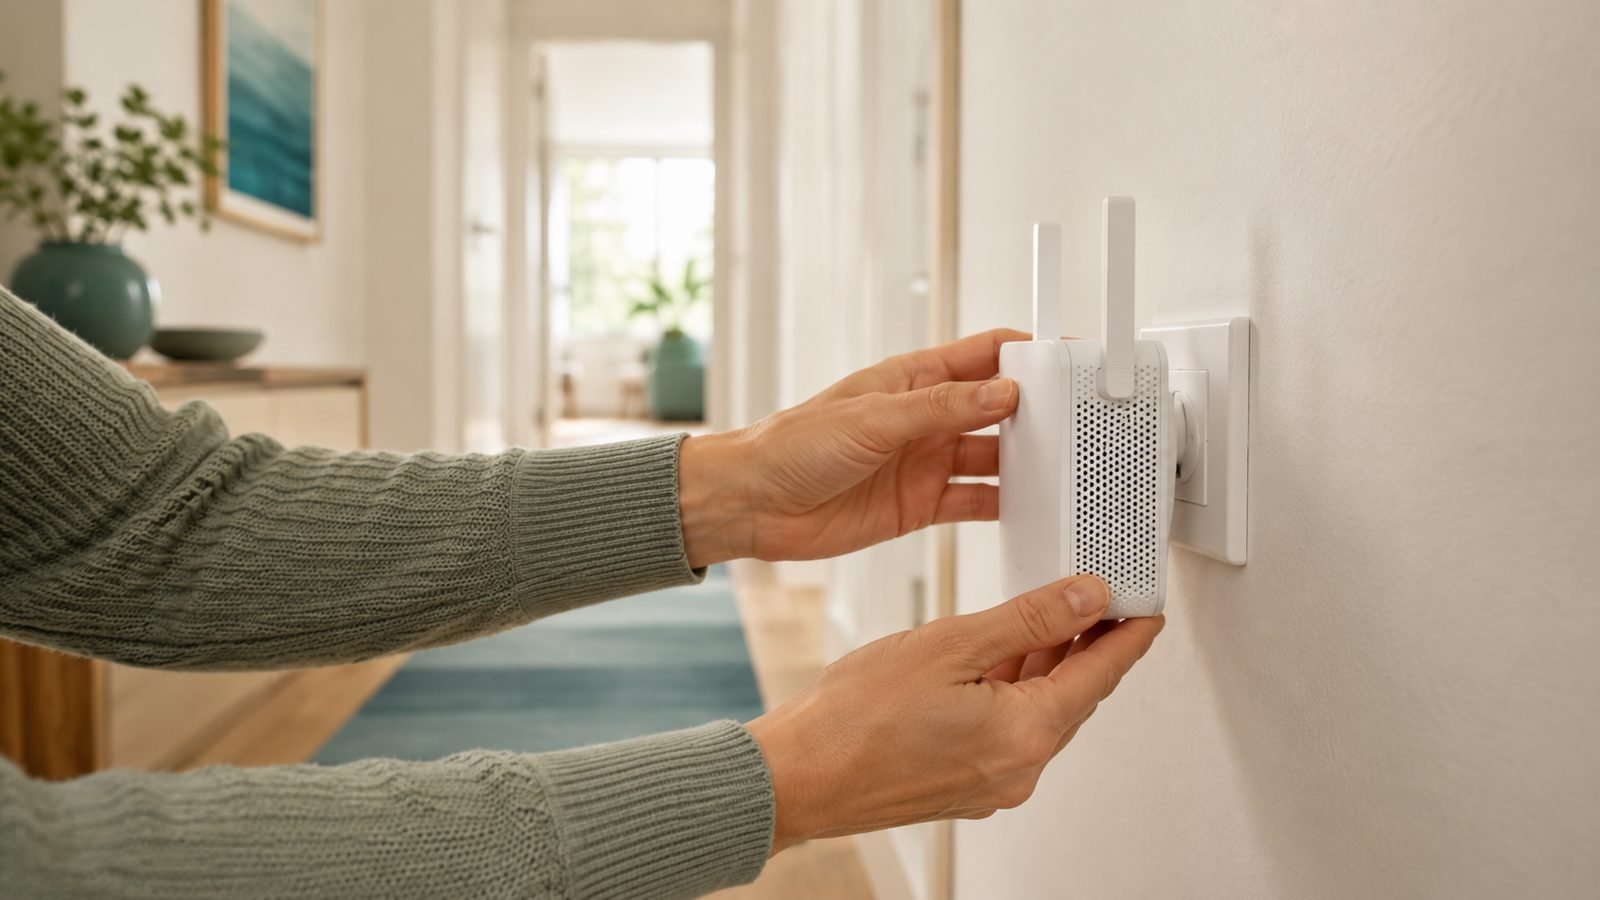
If you’re wondering how to fix Wi-Fi dead zones, here’s the good news: almost every dead spot has a cheap — often free — solution. Wi-Fi dead spots in a house are nearly always caused by one of three things: distance from the router, obstructions (walls, floors, appliances), or interference from neighbouring networks. Fix the right cause and the dead zone disappears.
This guide walks through nine fixes in order of cost, from moving your router (free, and it works far more often than people expect) up to mesh systems and wired backhaul. We’ll flag which fix suits which problem — no Wi-Fi upstairs, a bedroom the signal won’t reach, thick brick walls, or a garden office at the end of the lawn.
First, Map the Problem: Find Your Dead Zones Before You Spend Anything
Don’t guess. Walk your home with a free Wi-Fi analyser — Wi-Fi Analyzer or NetSpot on Android, the Ookla Speedtest app room-by-room on iPhone, or NetSpot’s free heatmap tool on a laptop — and you’ll know in ten minutes exactly where the signal dies.
What the numbers mean: -50 dBm is excellent, -60 dBm is good, -70 dBm is usable, -80 dBm and below is your dead zone. Note which rooms fall off a cliff and what sits between them and the router — that’s usually your culprit. In the UK especially, a single internal brick wall can knock 10-15 dB off a 5 GHz signal; two walls and you’re done.
While you’re mapping, run a speed test right next to the router. If speeds are bad there, your problem is your broadband plan or router, not dead zones — and nothing below will fix it.
Fix 1: Move the Router (The Free Fix That Works Most Often)
Routers get shoved wherever the ISP engineer left the socket: the hallway floor, behind the TV, inside a cabinet. Wi-Fi radiates outward and slightly downward, so a router on the floor in a corner wastes half its coverage on your foundations and the neighbour’s house.
The rules, in order of impact:
- Central and high. As close to the middle of your home as the cabling allows, ideally on a shelf at least a metre off the floor. If you have no Wi-Fi upstairs, moving the router from the ground floor skirting board to a first-floor landing shelf is often the entire fix.
- Out in the open. Not in a cupboard, not behind the TV, not in the media cabinet. Enclosures are signal killers.
- Away from interference. Keep at least a metre from microwaves, cordless phone bases, baby monitors, and large metal objects (fridges, radiators, mirrors, fish tanks — water absorbs 2.4 GHz surprisingly well).
If the master socket location makes this impossible, a longer Ethernet or DSL cable costs a few pounds/dollars and is still cheaper than any gadget on this list.
Fix 2: Change Channels and Band Settings
If your analyser app shows a dozen neighbouring networks stacked on your channel, interference — not range — may be why your Wi-Fi is weak in one room, particularly rooms facing the neighbours.
- 2.4 GHz: use channel 1, 6, or 11 only (they don’t overlap). Pick whichever your analyser shows as least congested.
- 5 GHz: faster and less congested, but shorter range and worse at penetrating walls. That distant bedroom may genuinely do better on 2.4 GHz — if a device keeps clinging to weak 5 GHz, split the bands and connect it to 2.4 GHz manually.
- Channel width: on 2.4 GHz, force 20 MHz in dense housing — 40 MHz sounds faster but collapses under interference.
These settings live in your router’s admin page (typically 192.168.0.1 or 192.168.1.1 — it’s printed on the router label).
Fix 3: Update Firmware and Set a Reboot Schedule
Unglamorous, occasionally decisive. Firmware updates fix radio bugs and improve band steering. ISP routers usually auto-update; third-party routers often don’t, so check the admin panel.
A weekly automatic reboot (most routers can schedule one at 4 a.m.) clears the memory leaks behind the classic “Wi-Fi gets flaky until I restart the router” pattern. It won’t extend range, but it stops working coverage from degrading — which owners frequently misdiagnose as a dead zone.
Fix 4: Add a Wi-Fi Extender (Best for One Stubborn Room)
If the free fixes leave you with exactly one problem room, a plug-in extender is the cheapest way to extend Wi-Fi signal into it. It receives your router’s signal and rebroadcasts it — so placement is everything: plug it in halfway between the router and the dead zone, where the signal is still strong, not in the dead room itself (a common mistake that just rebroadcasts a weak signal).
TP-Link RE315 — the cheapest single-room fix
At around $30 / £28, the RE315 is the value pick in this category. It’s a dual-band AC1200 unit with OneMesh support, meaning it hands off smoothly if you have a compatible TP-Link router. Based on hundreds of owner reports, it reliably turns a one-bar bedroom into a usable three-bar one — think streaming and video calls, not full-speed file transfers.
Pros:
- Cheapest credible fix for Wi-Fi not reaching a bedroom
- Ethernet port on the bottom — wire in a TV or console
- Five-minute WPS setup
Cons:
- Repeating halves bandwidth on the extended hop
- Wi-Fi 5 only — fine for streaming, dated for a fast fibre plan
- Creates a second network name unless paired with a OneMesh router
Extenders suit one room and modest expectations. For two or more problem rooms, skip ahead to mesh — see our full comparison in Mesh Wi-Fi vs Extender: Which Fixes Your Dead Zones? and the current shortlist in Best Wi-Fi Extenders 2026: Kill Dead Zones for Less.
Fix 5: Powerline Adapters (Best Through Thick Walls)
Powerline adapters send your network over your home’s electrical wiring: one adapter plugs in near the router (connected by Ethernet), a second plugs in anywhere else on the same mains circuit. The signal never has to fight through masonry — which is why this is the classic UK fix to improve Wi-Fi signal through walls in solid-brick and stone-built houses where extenders fail.
TP-Link TL-PA7017P KIT — the thick-wall and garden-room fix
Around $60 / £45 buys the TL-PA7017P KIT: gigabit-class powerline with a passthrough socket, so you don’t lose the plug. In our research, real-world throughput typically lands between 80 and 300 Mbps depending on the age of your wiring and the distance between adapters — far below the headline rating, but rock-solid for a home office, console, or smart TV in an otherwise unreachable room.
Pros:
- Ignores walls entirely — brick, stone, and concrete don’t matter
- Passthrough plug keeps the socket usable
- Often the only practical garden office Wi-Fi fix short of trenching cable (if the outbuilding shares the house’s consumer unit)
Cons:
- Speeds vary hugely with wiring age and quality — old fuse boards and extension leads hurt
- Both adapters must be on the same electrical phase/circuit
- This kit is Ethernet-only at the far end; pair it with a cheap access point or extender if you need Wi-Fi there
Check price: TP-Link TL-PA7017P KIT
More options, including Wi-Fi-equipped powerline kits, in Best Powerline Adapters 2026: Wired Speed, No New Cables.
Fix 6: Upgrade to Mesh (Best Whole-Home Fix)
If you have multiple dead zones, or a large or awkwardly shaped home, stop patching and replace. A mesh system uses two or more nodes that broadcast a single seamless network; your phone roams between them automatically. It’s the only fix on this list that solves the whole house in one go.
TP-Link Deco X55 (3-pack) — the budget whole-home fix
At around $150 / £140 for three Wi-Fi 6 nodes covering up to ~6,500 sq ft, the Deco X55 is the standing budget recommendation in this category. Based on aggregated owner feedback across thousands of reviews, it’s consistently praised for painless app setup and stable roaming — the two things that actually matter in a mesh — while delivering enough throughput to saturate most sub-500 Mbps broadband plans anywhere in the house.
Pros:
- Three nodes genuinely cover a large family home, including upstairs and extensions
- Each node has three gigabit Ethernet ports — free wired backhaul if you can run a cable
- One network name, automatic roaming, dead-simple app
Cons:
- Dual-band only: nodes talk to each other on the same band as your devices, so speeds drop at the far node on wireless backhaul
- App-dependent, with fewer advanced settings than a traditional router
- Overkill for a small flat with one bad corner
Check price: TP-Link Deco X55 (3-pack)
Mesh placement follows the same rule as extenders: nodes go where signal is still decent, roughly every one to two rooms apart, not in the dead zone itself. For tri-band and Wi-Fi 7 alternatives, see Best Mesh Wi-Fi Systems 2026: Wi-Fi 6 & Wi-Fi 7 Compared.
Fix 7: Run Ethernet or MoCA Where It Matters
Nothing beats a wire. If one location matters most — a home office, a games room — a single Ethernet run to it outperforms every wireless fix, and it can double as wired backhaul for a mesh node or access point, eliminating the wireless speed penalty entirely.
No easy cable route? MoCA adapters (mainly a US option) push up to 2.5 Gbps over existing coaxial TV cabling — brilliant in American homes with coax in every room. UK homes rarely have usable coax runs, which is why powerline (Fix 5) fills that role here. Flat white Cat6 cable run along skirting boards is also far less invasive than most people assume.
Fixes 8 & 9: Antennas, Access Points and the Garden Office Problem
Fix 8 — antennas. If your router has external antennas, orient one vertical and one horizontal; for no-Wi-Fi-upstairs problems, a horizontal antenna pushes more signal vertically. High-gain replacements ($10-20 / £10-15) reshape coverage into a flatter, wider disc — useful in bungalows. Modest gains, minimal cost.
Fix 9 — a wired access point, and the garden office. An old router in access-point mode, fed by Ethernet or powerline, gives you a full-strength second Wi-Fi bubble for little or nothing. This is the definitive garden office Wi-Fi answer: powerline or an outdoor-rated Ethernet run to the outbuilding, then an access point inside it. For garden rooms on a separate electrical supply, a point-to-point outdoor wireless bridge (around $50-100 / £50-90 a pair) beams the signal across the garden instead. Don’t rely on house Wi-Fi leaking through two exterior walls — it will drop on every rainy video call.
Which Fix for Which Home: Quick Decision Table
| Your problem | Best fix | Typical cost |
|---|---|---|
| Weak everywhere, router hidden away | Fix 1: relocate the router | Free |
| Weak in rooms facing neighbours | Fix 2: change channel | Free |
| One stubborn bedroom | Wi-Fi extender (TP-Link RE315) | ~$30 / £28 |
| Thick brick/stone walls | Powerline (TL-PA7017P KIT) | ~$60 / £45 |
| Multiple dead zones / large home | Mesh (Deco X55 3-pack) | ~$150 / £140 |
| One room needs maximum speed | Ethernet or MoCA run | $20-100 / £20-90 |
| Garden office or outbuilding | Powerline/Ethernet + access point | $60-150 / £50-140 |
Simple rule: one dead room, buy an extender; thick walls in the way, buy powerline; more than one dead room, buy mesh. And always try the free fixes first — in our research, router placement alone resolves a remarkable share of “dead zone” complaints.
For more coverage and buying guides, browse our full networking section at Networking & Wi-Fi.
FAQ: Wi-Fi Dead Zones
Why is my Wi-Fi weak in one room only?
Something between that room and the router is absorbing or reflecting the signal — commonly brick or concrete walls, a fridge or boiler, foil-backed insulation, or a large mirror. Distance plus one solid obstruction is usually enough to kill 5 GHz. Confirm it with a free analyser app, then fix it with better router placement, a switch to 2.4 GHz, or an extender positioned halfway to that room.
What’s the cheapest way to fix a Wi-Fi dead zone?
Free: move the router central and high, out of cupboards, away from metal and microwaves, and switch to the least congested channel. If you still need hardware, a plug-in extender like the TP-Link RE315 at around $30 / £28 is the cheapest reliable fix for a single room.
Is a Wi-Fi extender or mesh better for dead zones?
An extender is cheaper and fine for one problem room, but it halves bandwidth on the extended hop and may create a second network name. Mesh costs more upfront yet covers the whole home with one seamless network and proper roaming. One dead room: extender. Two or more, or a large home: mesh. Full breakdown in Mesh Wi-Fi vs Extender: Which Fixes Your Dead Zones?.
How do I get Wi-Fi upstairs if my router is downstairs?
First try raising the router — high on a ground-floor shelf, as central as possible, with an external antenna set horizontal to push signal vertically. If that fails, place a mesh node or extender at the top of the stairs where the signal is still strong. Floors with underfloor heating or foil insulation often need the mesh option.
Do Wi-Fi extenders halve your speed?
Single-band repeaters effectively do, because they receive and retransmit on the same radio. Dual-band extenders like the RE315 soften the penalty by using one band for backhaul, and tri-band mesh systems avoid it almost entirely with a dedicated backhaul band. For most streaming and browsing on a typical broadband plan, the real-world impact is smaller than the spec sheet suggests.
How do I get Wi-Fi in a garden office?
Best option: an outdoor-rated Ethernet cable to the garden room feeding a cheap access point — full speed, weatherproof, reliable. Easier option: a powerline kit like the TL-PA7017P if the outbuilding is on the house’s electrics. For fully detached supplies, use a point-to-point outdoor wireless bridge. Relying on house Wi-Fi through two exterior walls is the one approach that consistently disappoints.
Zen Tech Hub may earn a commission from links on this page, at no extra cost to you.