Running out of space on your boot drive is a rite of passage. The good news: you don’t have to start from scratch. Knowing how to clone Windows to a new SSD lets you copy your entire installation — OS, apps, settings, saves, and licenses — onto a larger, faster NVMe drive in under an hour. No reinstall, no reactivation headaches, no reconfiguring 40 programs.
This guide covers the whole process: cloning versus a clean install, the gear you need, free cloning software that still works in 2026, and how to set your new drive as the boot device.
Clone vs Clean Install: Which Is Right for You
Cloning copies your existing Windows environment bit-for-bit to the new drive. A clean install wipes the slate and puts a fresh copy of Windows on the SSD instead.
Choose cloning if your current setup is stable, you have a pile of installed software, and you just want more capacity. This is the fastest path to move Windows to a bigger SSD.
Choose a clean install if your PC feels sluggish, you’re battling malware or years of registry cruft, or you’re switching from old MBR/BIOS to modern UEFI/GPT. A fresh start fixes problems a clone would faithfully copy over.
For most capacity upgrades, cloning wins. That’s our focus here.
What You Need to Clone Windows to a New NVMe SSD
Before you begin, gather the following:
The new NVMe SSD, ideally with equal or greater capacity than your current drive’s used space (not its total size — cloning only needs room for actual data).
A way to connect both drives at once. The cleanest option is a spare M.2 slot on your motherboard. If you only have one, grab a USB-to-M.2 NVMe enclosure (around $20–$35 / £18–£30).
Cloning software (covered below).
A backup of anything critical. Cloning is safe, but power cuts happen. Copy irreplaceable files to a separate location first.
If you’re shopping for the target drive, two options dominate 2026 upgrade builds.
The Samsung 990 Pro 2TB is the premium pick — fast, reliable, and it ships with Samsung’s free Data Migration and Magician tools, which makes cloning trivial. Expect to pay around $229 / £219.
Check price: Samsung 990 Pro 2TB
The TeamGroup MP44 2TB is the value play during the ongoing NAND shortage, at around $150 / £145. It’s DRAM-less, so sustained large writes slow down, but for a boot-and-apps drive that’s rarely noticeable. Great capacity for the money.
Check price: TeamGroup MP44 2TB
For a broader shortlist, see our Best NVMe SSD for Gaming in 2026 (PCIe 4.0 & 5.0) roundup and the Samsung 990 Pro 2TB Review: Best Gaming SSD in 2026?.
Free Cloning Tools That Still Work in 2026
Several classic free tools locked their cloning feature behind a paywall over the years. Here’s what still lets you migrate Windows to a new SSD free in 2026, based on owner reports and current vendor terms:
Macrium Reflect Free — retired, but the older X-version still circulates and remains a community favorite. Reliable, but unsupported.
Samsung Data Migration / Magician — free, and works if either your source or target is a Samsung drive. The simplest route for 990 Pro buyers.
Clonezilla — completely free and open-source. Powerful but text-based and unforgiving; best for confident users.
Acronis / Western Digital / Crucial editions — free branded versions unlock when a matching-brand drive is present.
For most people, the bundled tool from your SSD maker is the best SSD cloning software in 2026 simply because it’s free, supported, and purpose-built.
Step-by-Step: Clone SSD Without Reinstalling Windows
Here’s the core walkthrough to clone your SSD without reinstalling Windows.
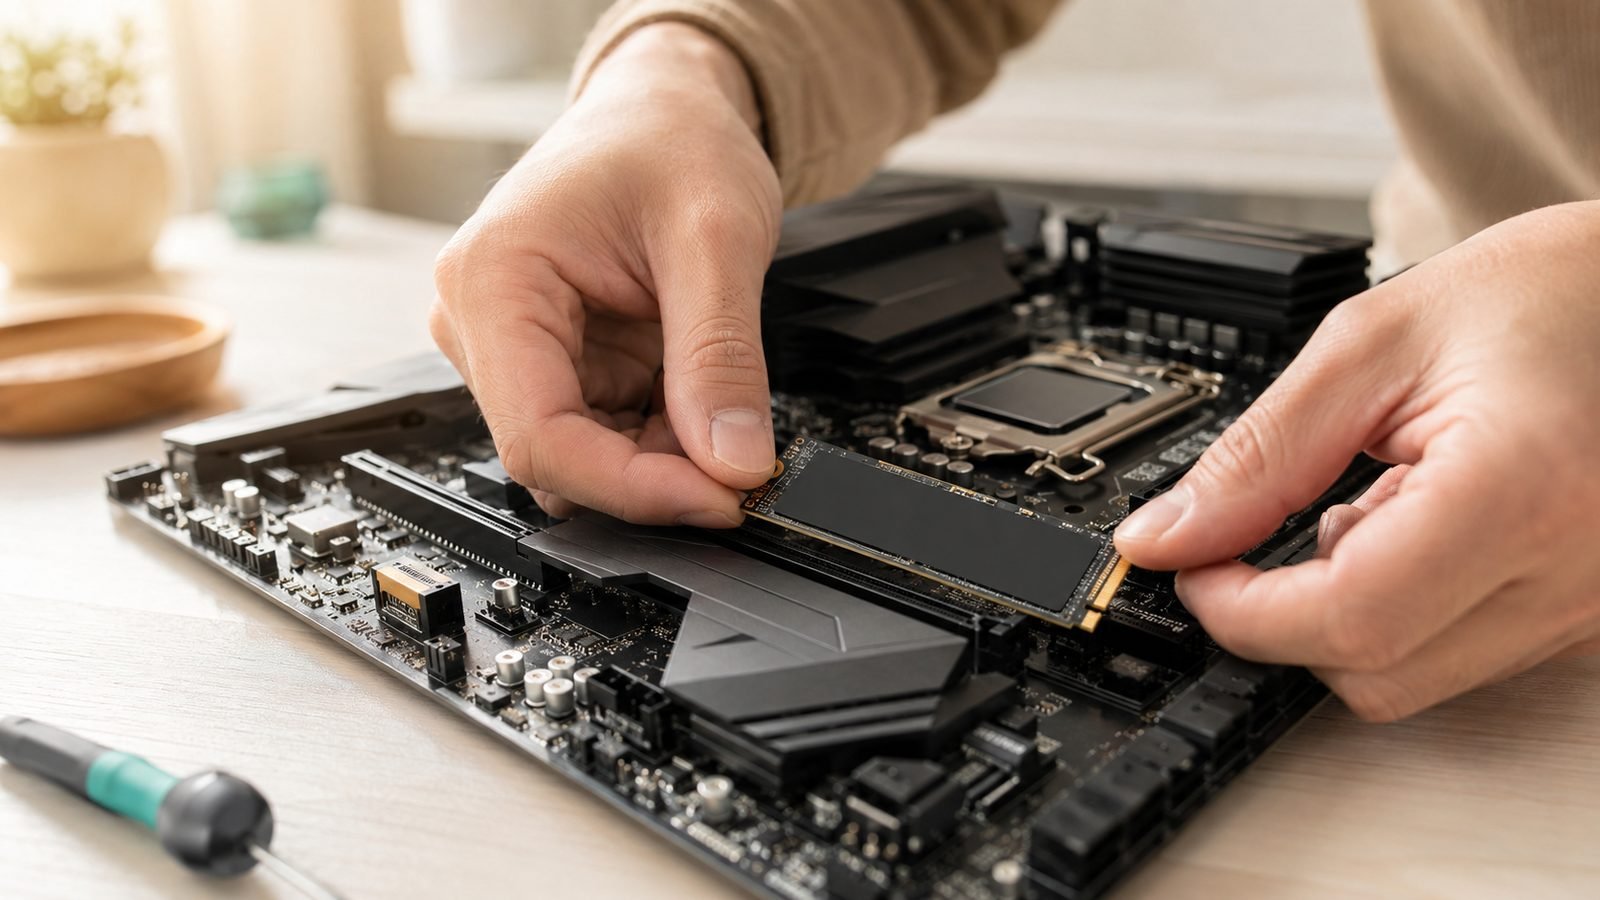
Install or connect the new SSD. Fit it into a spare M.2 slot, or plug it into your USB enclosure. Windows may prompt you to initialize it — if so, choose GPT.
Free up space on your source drive. Empty the Recycle Bin, clear Downloads, and run Disk Cleanup. Your used data must fit on the new drive.
Open your cloning software and select the source (current Windows drive) and destination (new NVMe SSD).
Enable “SSD alignment” if offered — it optimizes performance and is on by default in most tools.
Start the clone. A typical 500GB migration takes 15–40 minutes depending on your connection speed. USB enclosures are slower than a direct M.2 slot.
Wait for confirmation before touching anything. Don’t interrupt the process.
That’s it. Your new drive now holds a working copy of Windows.
Setting the New SSD as Boot Drive
To boot from the cloned SSD, you need to tell your motherboard to use it.
Shut down. If you cloned via enclosure, move the new SSD into an internal M.2 slot now.
Power on and enter BIOS/UEFI (usually Delete, F2, or F12 during startup).
Open the Boot menu and set the new NVMe SSD as the first boot device.
Save and exit.
Windows should load from the new drive. If it doesn’t, confirm the old drive isn’t still first in the boot order. Some systems label cloned drives identically, so check the capacity to tell them apart. Once you’ve confirmed a successful boot from the cloned SSD, you’re essentially done.
Verifying and Wiping the Old Drive
Before you wipe anything, live on the new drive for a few days. Confirm apps launch, files are intact, and your product keys remain activated (they will — the hardware hasn’t changed enough to trip Windows activation).
Once you’re confident:
Repurpose the old drive as fast secondary storage. In Disk Management, delete its partitions and create a fresh volume.
Or wipe it if you’re selling it. Use the manufacturer’s secure-erase tool for a true wipe — deleting partitions alone leaves data recoverable.
Keep the old drive untouched for a week if you can — it’s a free, complete backup until you need the space.
Thinking about jumping to a faster interface too? Our PCIe 4.0 vs 5.0 SSD: Does It Matter for Gaming? breakdown explains whether Gen5 is worth it. And the PC Hardware collects our full storage coverage.
FAQ
Do I need to reinstall Windows after cloning to a new SSD? No. That’s the entire point of cloning — it copies your OS, programs, and settings exactly. After you set the new drive as the boot device, Windows loads as if nothing changed. Your license stays activated because the core hardware is unchanged.
Can I clone to a smaller SSD? Yes, as long as your actual used data fits on the target. Cloning software copies data, not empty space. Free up files and run Disk Cleanup first. If used space exceeds the new drive’s capacity, the clone will fail before it starts.
Is cloning through a USB enclosure reliable? Very. Owner reports show USB-to-M.2 enclosures work well for cloning; they’re just slower than a direct M.2 slot. For the final setup, always move the SSD into an internal slot — booting long-term from USB isn’t recommended.
Why won’t my PC boot from the cloned SSD? Usually the boot order still points at the old drive, or there’s an MBR/UEFI mismatch. Check BIOS boot priority first. If the source used legacy MBR and your board is UEFI-only, a clean install is the cleaner fix.
How long does cloning take? Expect 15–40 minutes for a typical 500GB drive over a fast connection. Larger drives or slower USB enclosures push this past an hour. Direct M.2-to-M.2 cloning is fastest.
Zen Tech Hub may earn a commission from links on this page, at no extra cost to you.