A proper dual monitor setup is four things done in order: confirm your laptop or PC can drive two displays, connect them with the right cables or dock, set them to “extend” (not “duplicate”), then position and align both screens so your eyes and neck stay neutral. Get the compatibility check right first and the rest takes fifteen minutes. Skip it and you’ll spend an evening wondering why the second screen won’t wake up.
This guide covers Windows 11 and macOS, the cabling that actually works, and the ergonomic positioning most people get wrong. The quick answer: extend your desktop, match the two monitors’ scaling, and set the top of each screen at roughly eye level, an arm’s length away.
Step 1: Check your computer can drive two displays
This is the step that prevents almost every dual-monitor headache, so do it before buying or plugging in anything.
On a desktop PC: count the video outputs on your graphics card (HDMI, DisplayPort). Two outputs means two monitors, simple. Use the ports on the graphics card, not the motherboard, if you have a dedicated GPU.
On a Windows laptop: most recent Intel and AMD laptops drive two external displays, but check the spec sheet. You’ll connect via HDMI plus a USB-C/DisplayPort output, or through a hub or dock.
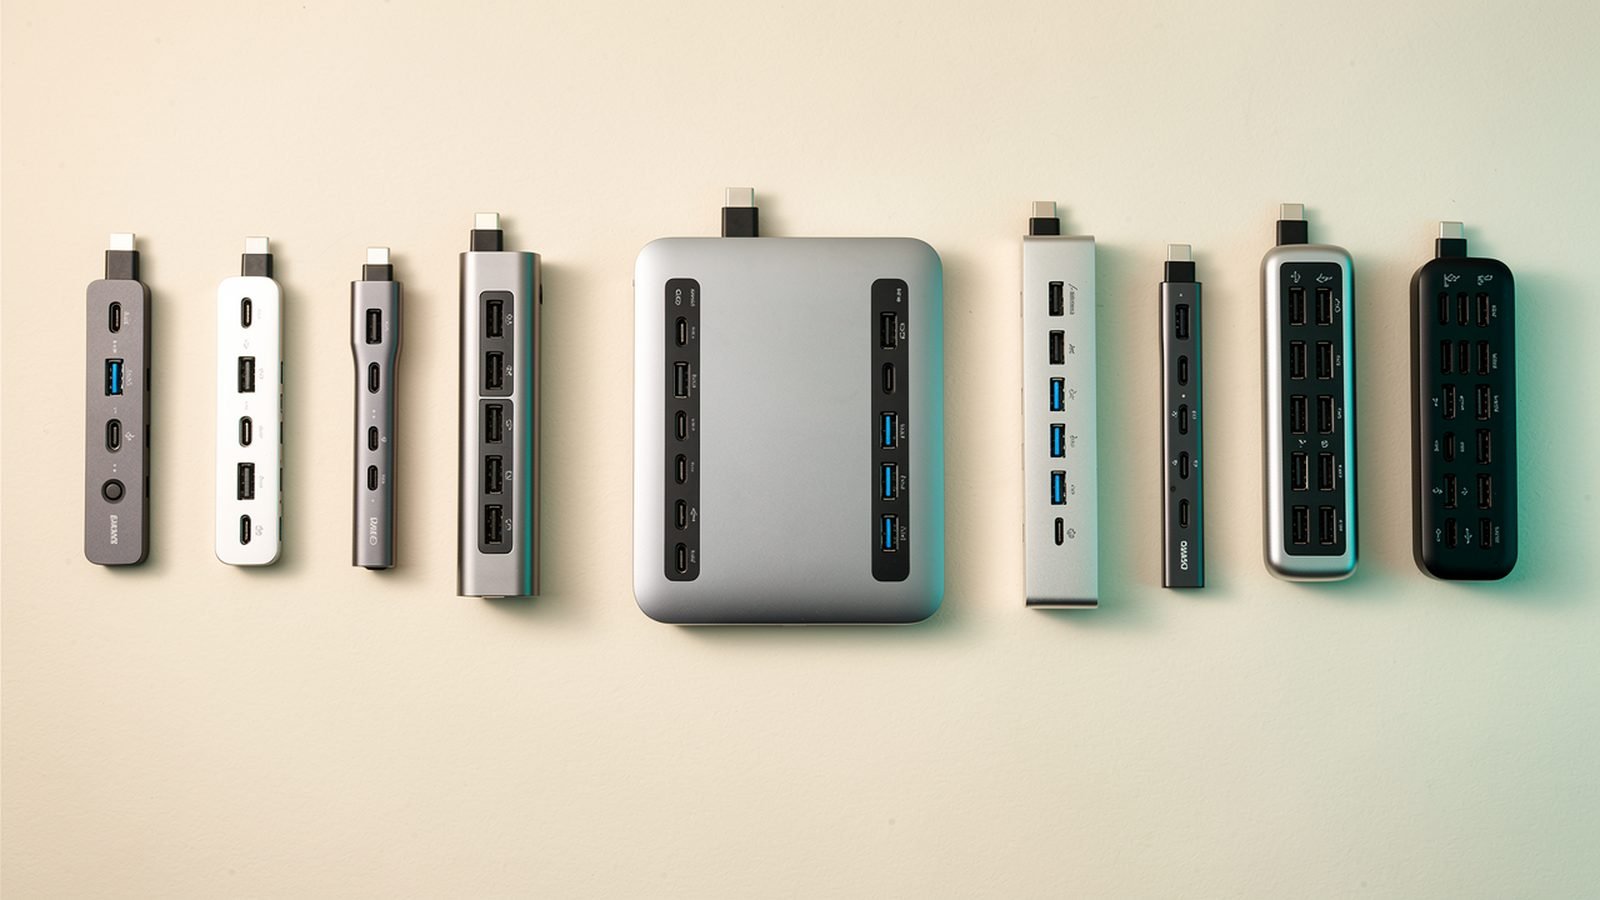
On a MacBook — read carefully: this is the common trap. Base Apple silicon chips (M1, M2, and the non-Pro M3/M4 in the MacBook Air) natively support a limited number of external displays — often just one. M3/M4 Air can do two but sometimes only with the lid closed; Pro and Max chips support several with the lid open. If your base-chip MacBook only allows one external screen, you’ll need a DisplayLink dock to add a second, because macOS doesn’t support the MST multi-stream method Windows uses. Our Best USB-C Hubs & Docks 2026: For Laptops & Desks guide flags which docks use DisplayLink for exactly this reason.
Step 2: Choose the right connection
Match the connection to your machine and how many cables you want.
- Two separate cables (e.g. HDMI + DisplayPort, or HDMI + USB-C) straight into the computer: simplest and cheapest when you have the ports.
- A USB-C hub: adds display outputs over one port. Good for a single extra monitor; two displays need MST (Windows only) or DisplayLink.
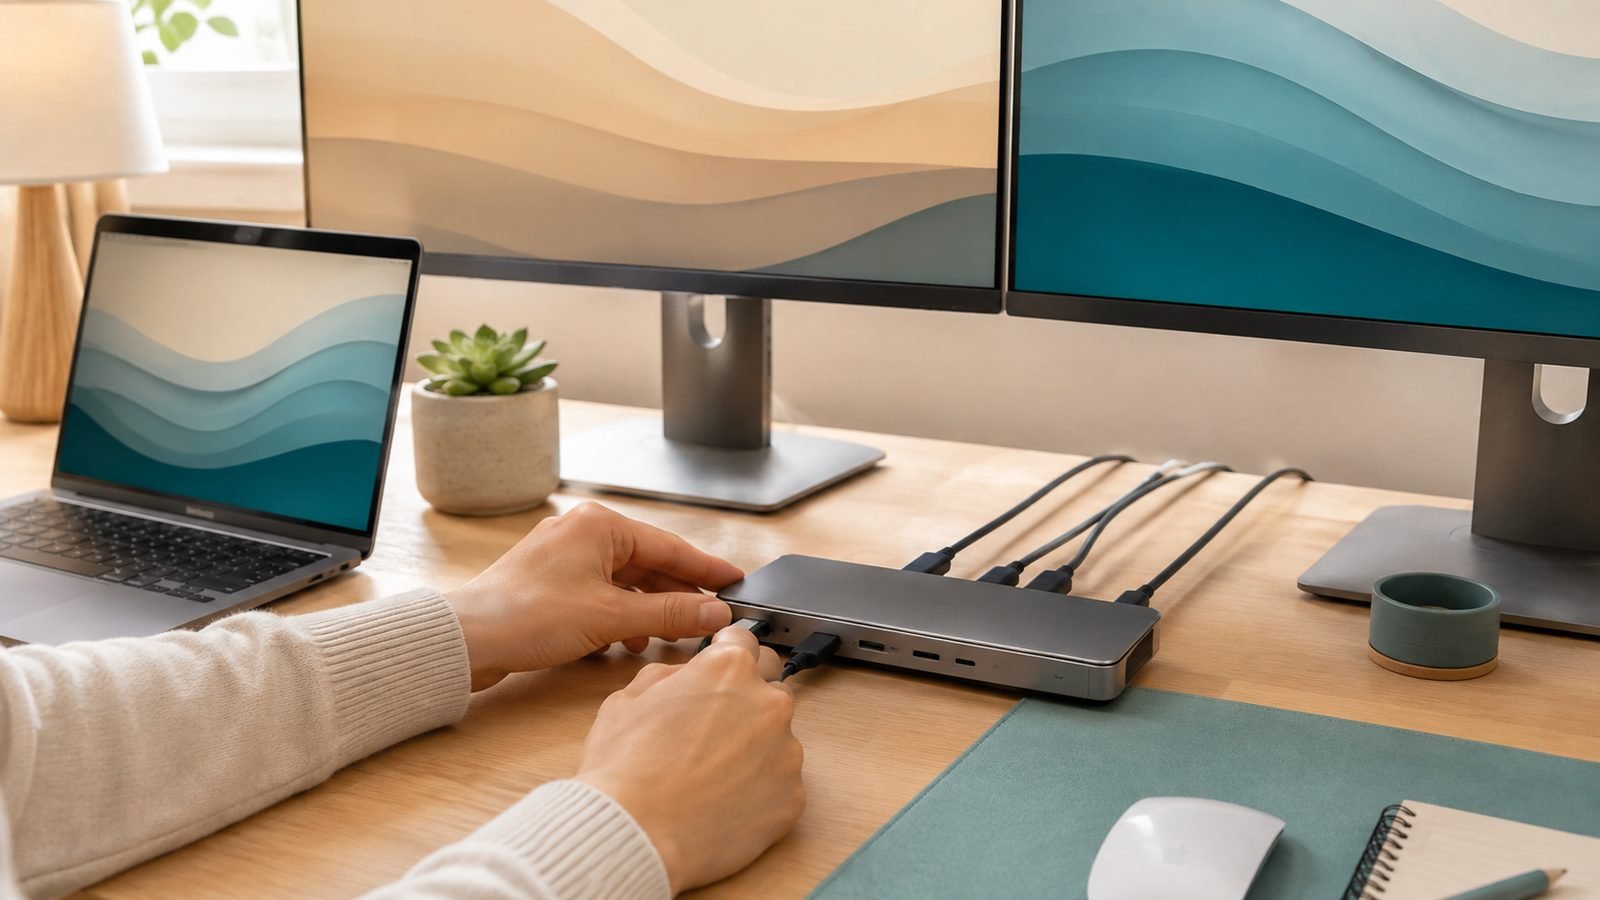
- A Thunderbolt or DisplayLink dock: the cleanest route for two 4K screens plus power over a single cable. For the difference and when each is worth it, see our comparison of a Thunderbolt Dock vs USB-C Hub: Which Do You Need?.
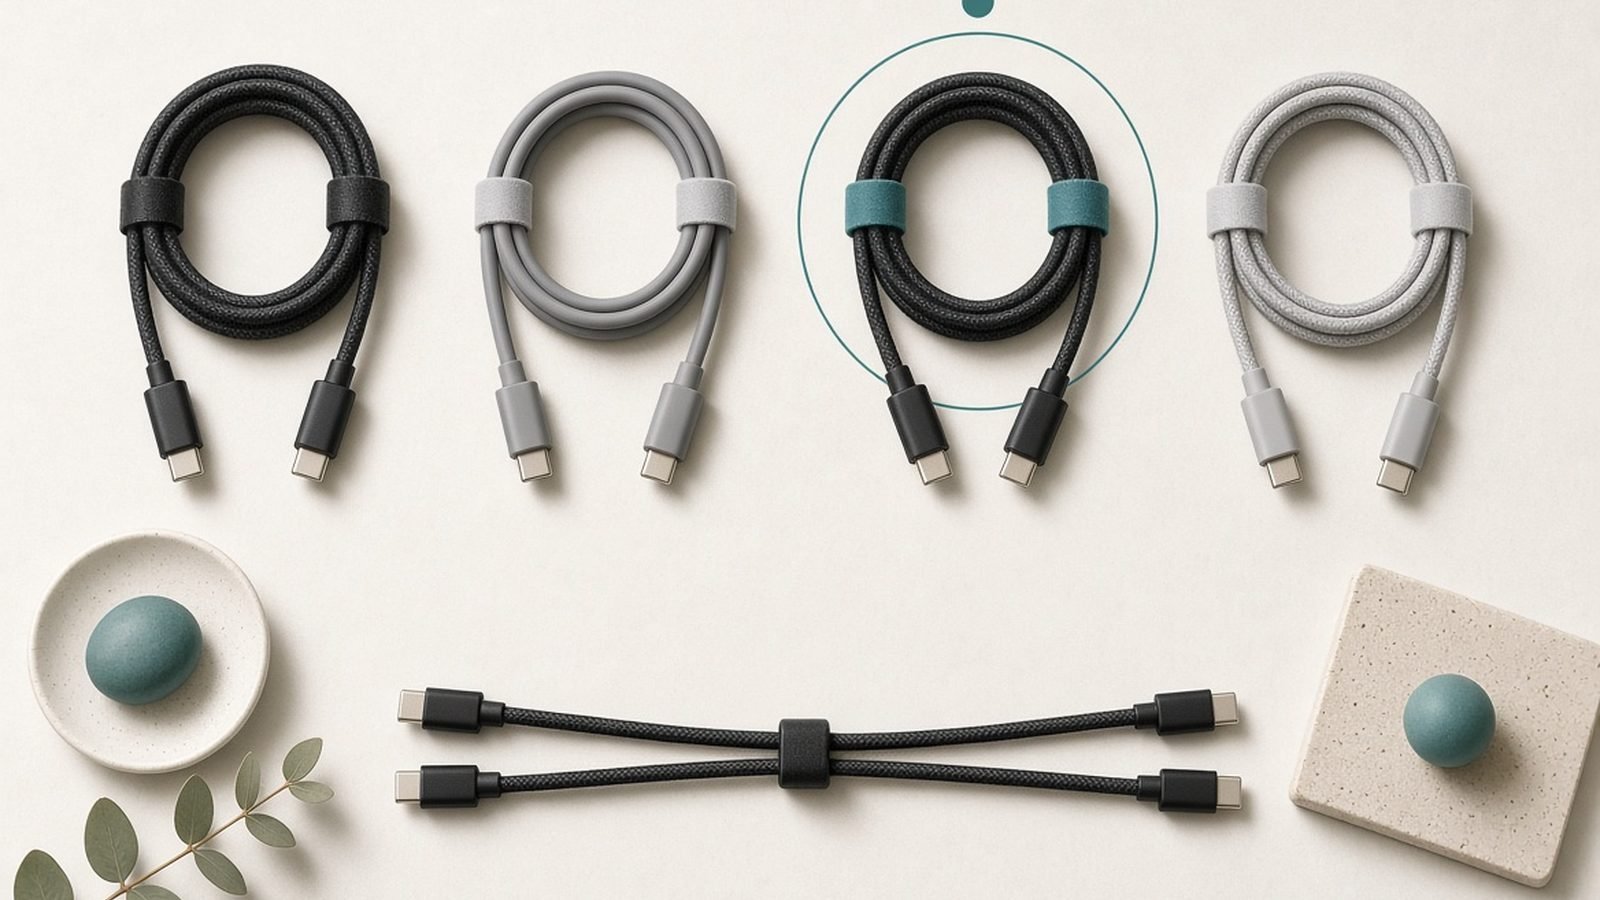
Buy cables rated for your resolution and refresh rate — for 4K at 60Hz or higher you want HDMI 2.0+/2.1 or DisplayPort 1.4+, and for a USB-C connection confirm the port carries video (“DisplayPort Alt Mode”). A cable that’s merely “4K” on the box may still cap refresh rate. If you’re adding a portable second screen rather than a desktop panel, our Best Portable Monitors 2026: For Laptops & Travel guide covers USB-C models that run off a single cable.
Step 3: Set displays to extend, not duplicate
With both monitors connected and powered on, tell the OS to treat them as one continuous workspace.
Windows 11: right-click the desktop → Display settings. Both monitors should appear as numbered boxes. Under “Multiple displays,” choose Extend these displays (not “Duplicate,” which mirrors the same image). Then drag the numbered boxes to match the physical left-right (and height) arrangement of your real monitors so the cursor crosses between them naturally.
macOS: System Settings → Displays. Arrange the display icons to match your physical layout by dragging them, and make sure “Mirror Displays” is off so you get extended space. Drag the white menu-bar strip onto whichever screen you want as primary.
While you’re here, set each monitor’s scaling so text is the same physical size on both — mismatched scaling (e.g. 100% on one, 150% on the other) makes windows jump in size as you drag them across. Set resolution to each panel’s native value for the sharpest image.
Step 4: Position and align for comfort
This is where a dual setup either helps or hurts your neck, and it’s the part most people rush.
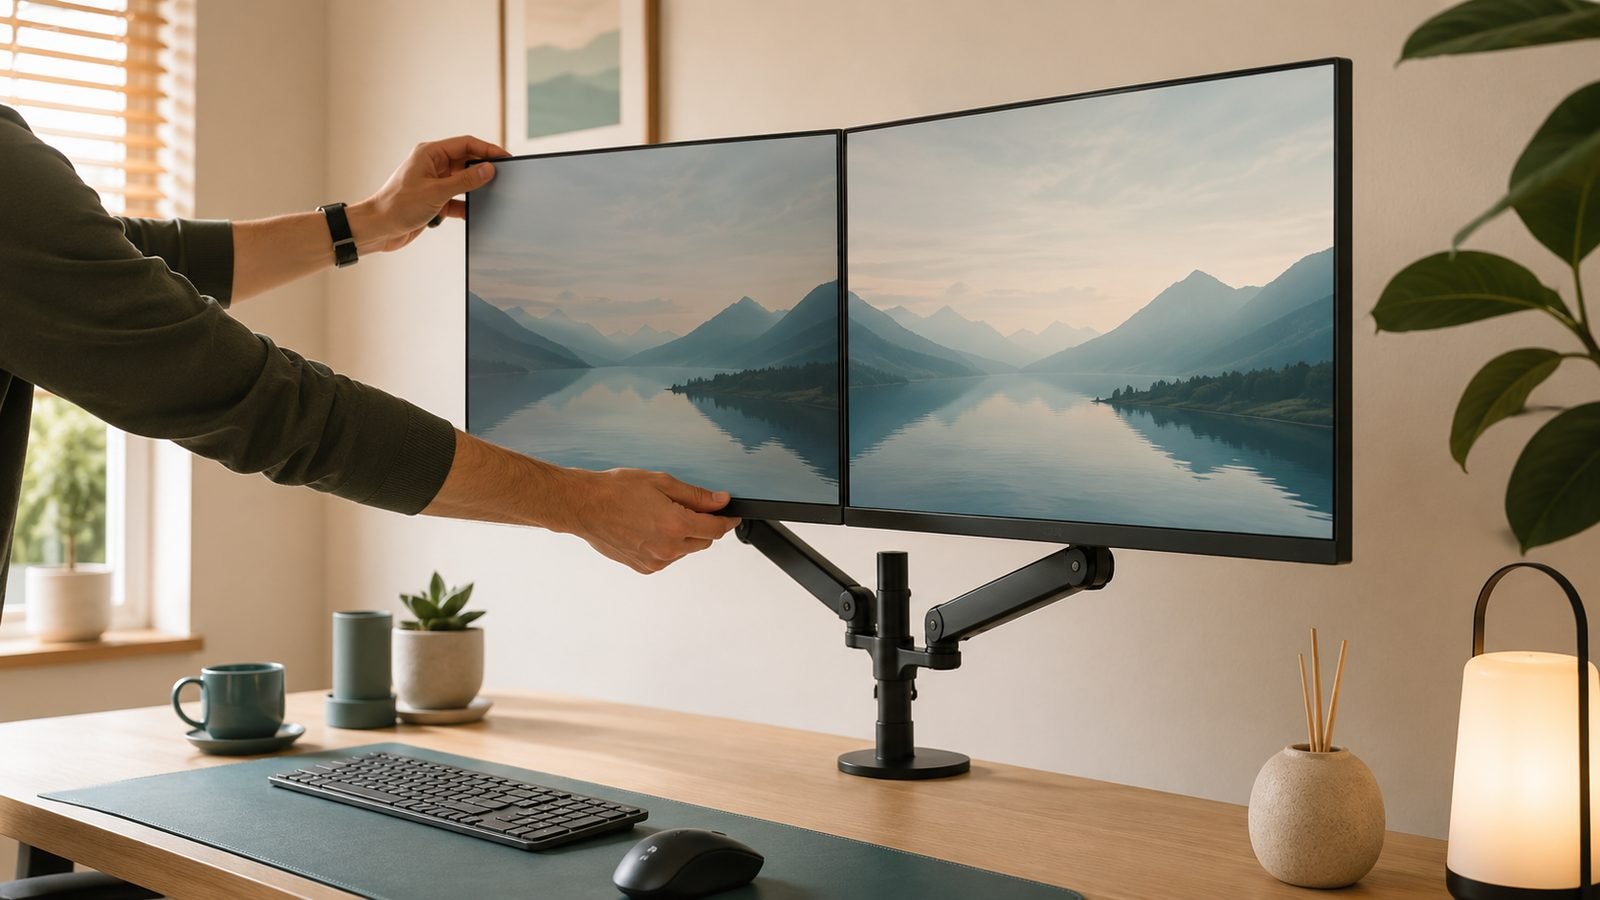
- Height: the top of each screen at or just below eye level, so your gaze rests slightly downward. Stack books or use monitor arms if the stands are too low.
- Distance: roughly an arm’s length (50–70cm) away. Bigger or higher-res panels can sit a touch further back.
- Angle and gap: angle the two screens into a slight inward arc so both face you, and butt them close together to minimise the head-turn and the bezel gap in the middle.
- Primary placement: if you use one screen far more, put it directly in front of you and the secondary to the side, rather than splitting the difference and living with both slightly off-center all day.
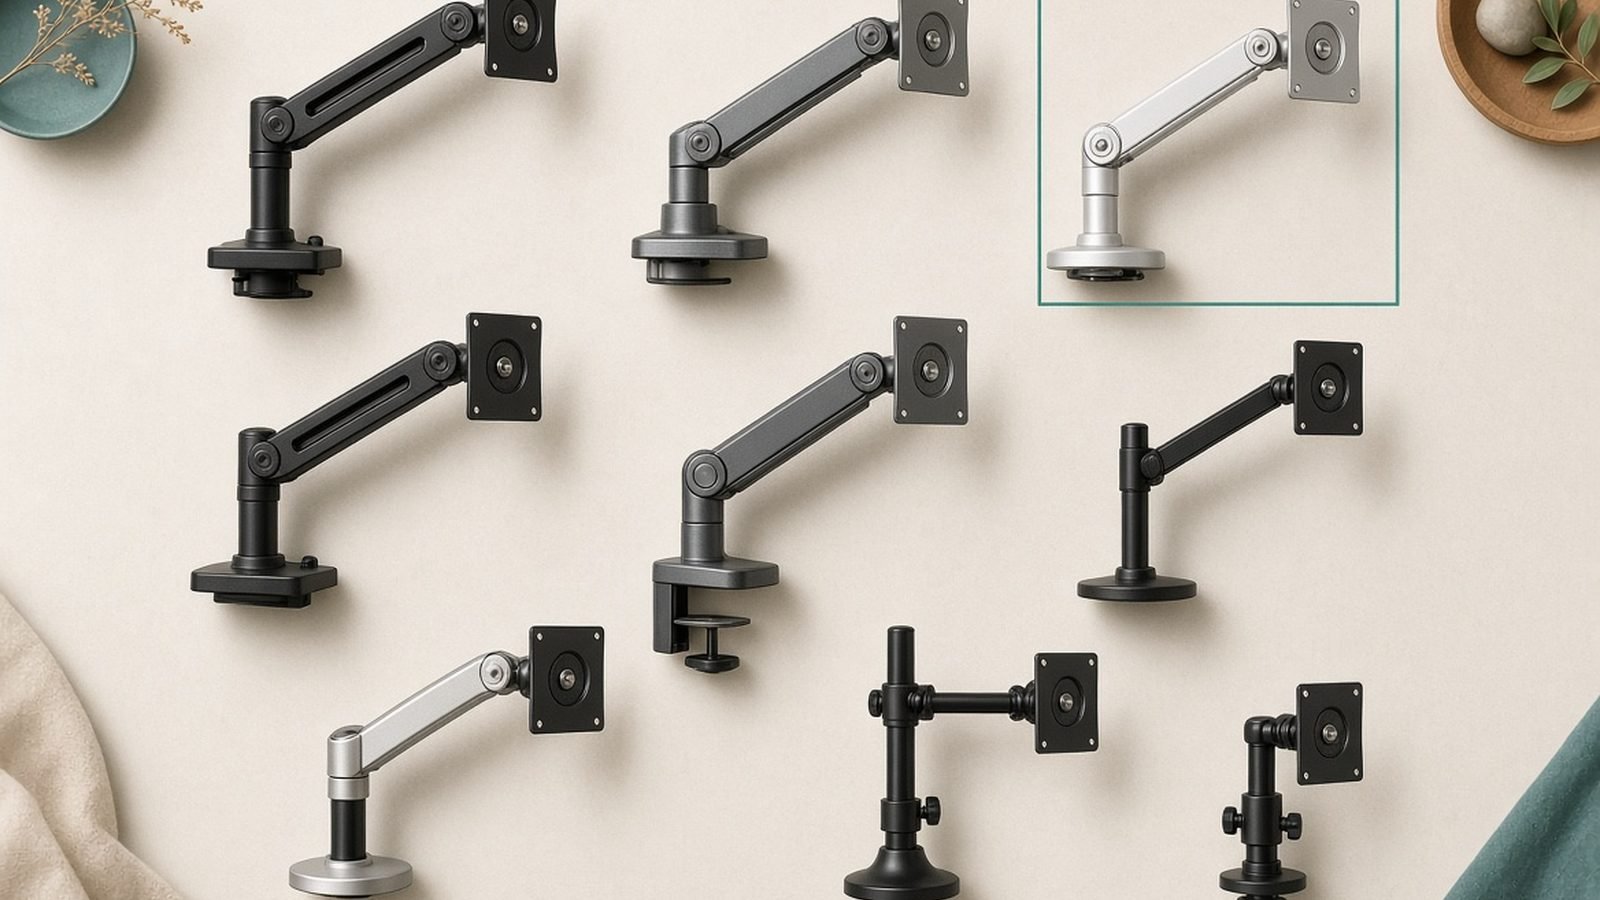
Monitor arms make all of this far easier and free up desk space; our Best Desk Setup Accessories 2026: Upgrade Your Workspace guide covers arms and risers. Whatever you choose, both screens should be adjustable enough that you’re not tilting your head up or twisting to see either one.
Step 5: Calibrate and tidy up
Two final passes make the setup feel finished.
Match the picture. Two monitors — even the same model — can ship with different brightness and color temperature. Set both to a similar brightness for your room and nudge color temperature so a white window looks the same on each; the jarring “one warm, one cold” mismatch is distracting once you notice it. Use each monitor’s built-in menu, or the OS color settings, and turn on Night Shift / Night Light on both if you use it.
Tidy the cables. A dual setup doubles the cabling behind your desk. Route both monitors’ power and video down into a single managed run so nothing crosses the desktop — our full Cable Management Guide 2026: Tidy Your Desk for Good walks through it. If your laptop now charges through the dock, you’ve cut the total cable count too.
Troubleshooting: second monitor not detected
The second screen stays black. Confirm the cable is fully seated at both ends and the monitor is on the correct input (press its Source button). On Windows, press Win + P and pick “Extend”; on Mac, open Displays and click “Detect Displays” (hold Option to reveal it). Try a different cable or port — a dead cable is the single most common cause.
Windows sees only one display. Your laptop or GPU may not support a second external screen over that port, or you’re using a hub without MST. Check the spec, and if you’re on a Mac, remember MST isn’t supported — you likely need a DisplayLink dock.
Both screens work but windows are the wrong size when dragged. Scaling is mismatched. Set both displays to the same scaling percentage, or as close as their resolutions allow, in Display settings.
The cursor moves the wrong way between screens. The on-screen arrangement doesn’t match reality. In Display settings, drag the numbered/icon boxes so left is left and right is right, and align them by height too.
One monitor flickers or drops out. Usually a cable or bandwidth limit — a cable not rated for your resolution/refresh, or a hub without enough bandwidth for two high-res screens. Use a properly rated cable, or move to a Thunderbolt dock for dual 4K.
FAQ
How do I set up dual monitors on Windows 11?
Connect both monitors, right-click the desktop → Display settings, and under “Multiple displays” choose “Extend these displays.” Drag the numbered boxes to match your physical layout, set each screen to its native resolution, and match the scaling so windows don’t resize when you drag them across. Win + P is the quick toggle.
Can I run two monitors from a MacBook?
It depends on the chip. Base M1/M2 (and some M3/M4 Air) MacBooks natively support only one external display; Pro and Max chips support several. Because macOS doesn’t support MST, adding a second screen to a limited base-chip Mac usually requires a DisplayLink dock. Check your Mac’s supported display count before buying.
What cables do I need for a dual monitor setup?
Cables rated for your resolution and refresh rate: HDMI 2.0+ or DisplayPort 1.4+ for 4K at 60Hz, and a USB-C cable that carries video (DisplayPort Alt Mode) if connecting that way. For two screens over one port you’ll need a dock — Thunderbolt for native dual 4K, or DisplayLink on Macs.
Should I extend or duplicate my displays?
Extend, for almost everyone — it gives you one continuous workspace across both screens. Duplicate mirrors the same image on both and is only useful for presentations or mirroring to a TV. Set “Extend these displays” on Windows or turn off “Mirror Displays” on macOS.
Why is my second monitor not detected?
Most often a cable or input issue: reseat the cable, select the right input on the monitor, and force detection (Win + P → Extend on Windows, “Detect Displays” on Mac). If it still fails, your machine may not support a second external screen over that connection — check the spec, and on a Mac consider a DisplayLink dock.
How high should dual monitors be positioned?
Set the top edge of each screen at or just below eye level, about an arm’s length away, angled into a slight inward arc so both face you. If you favor one screen, put it directly in front and the other to the side. Monitor arms make dialing this in much easier.
Zen Tech Hub may earn a commission from links on this page, at no extra cost to you.