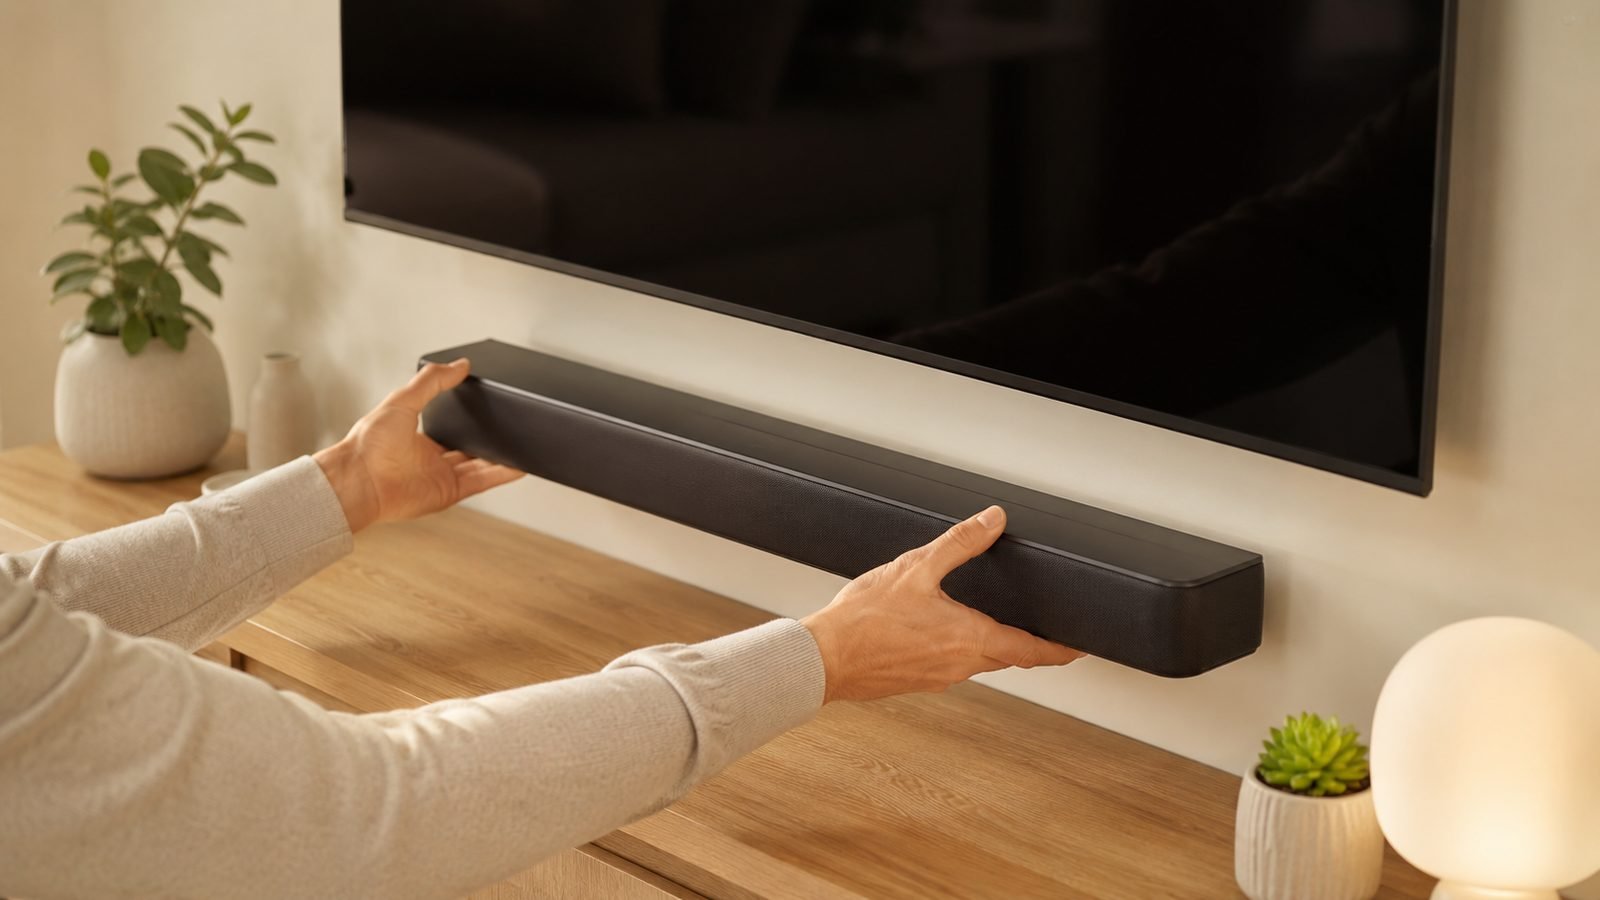
Connecting a soundbar is two jobs, not one: getting a cable into the right pair of ports, and then telling the TV to use it. The ports are the soundbar’s HDMI OUT and the TV input labelled ARC or eARC — not just any free HDMI socket — and the setting is the TV’s audio output, where a wrong digital format such as PCM is the most common reason a bar plays plain stereo instead of surround or Atmos. Once both are right, HDMI-CEC lets the TV remote’s volume keys drive the bar. TVs without an ARC port fall back to an optical (Toslink) cable, and Bluetooth comes last.
This guide walks through every connection type in order of preference, shows you exactly which port and settings to use, and fixes the “no sound” problem that causes most soundbar complaints. It works for any brand — Samsung, LG, Sony, Vizio, Hisense — because the HDMI standards are identical across them all.
Before You Start: Check Your Ports and Cable
Two minutes of checking saves an evening of frustration. Confirm:
- Your TV’s HDMI ports. Find the one printed with eARC or ARC next to the socket — usually HDMI 2 or HDMI 3. Only that port sends TV audio back to a soundbar.
- Your soundbar’s output port. Look for HDMI OUT (TV ARC/eARC) — not one of its HDMI inputs.
- The right cable. For eARC and lossless Dolby Atmos, use an Ultra High Speed (48Gbps) HDMI 2.1 cable. A certified generic one is around $12 / £10 — there’s no audio benefit to spending more, since HDMI is digital.
- An optical cable only if your TV lacks any ARC port.
Check price: High-speed HDMI 2.1 cable (48Gbps)
No AV receiver, speaker wire or tools are needed unless you’re wall-mounting.
Step 1: Choose the Best Connection (eARC > ARC > Optical > Bluetooth)
Use the highest option your TV supports. This table is the whole decision:
| HDMI eARC | HDMI ARC | Optical | Bluetooth | |
|---|---|---|---|---|
| Audio quality | Best — lossless Atmos, TrueHD | Good — compressed Atmos (DD+) | Compressed 5.1 max, no Atmos | Compressed, variable |
| TV remote controls volume (CEC) | Yes | Yes | No | Sometimes |
| Lip-sync correction | Yes (mandatory) | Sometimes | No | Poor — noticeable delay |
| Cable needed | One HDMI 2.1 | One HDMI | One optical | None |
| Typical TVs | ~2019 onward | 2013 onward | Most since ~2005 | Varies |
Pick HDMI eARC if your TV has it. Enhanced Audio Return Channel carries the highest-quality audio, including lossless Dolby Atmos from 4K Blu-ray, and includes mandatory lip-sync correction.
Pick HDMI ARC if that’s what you have. You still get compressed Dolby Atmos (which is what every streaming app sends anyway) and TV-remote volume control. For streaming-only households, the real-world gap to eARC is small.
Use optical only if there’s no ARC port. It works, but caps out at compressed 5.1, carries no Atmos, and can’t let your TV remote control the bar.
Use Bluetooth only for casual music, not movies — its latency causes visible lip-sync error. The deeper ARC-vs-eARC-vs-optical breakdown lives in our How to Set Up a Soundbar: HDMI ARC vs eARC vs Optical walkthrough.
Step 2: Connect with HDMI ARC or eARC (the Recommended Way)
Do this with everything powered off:
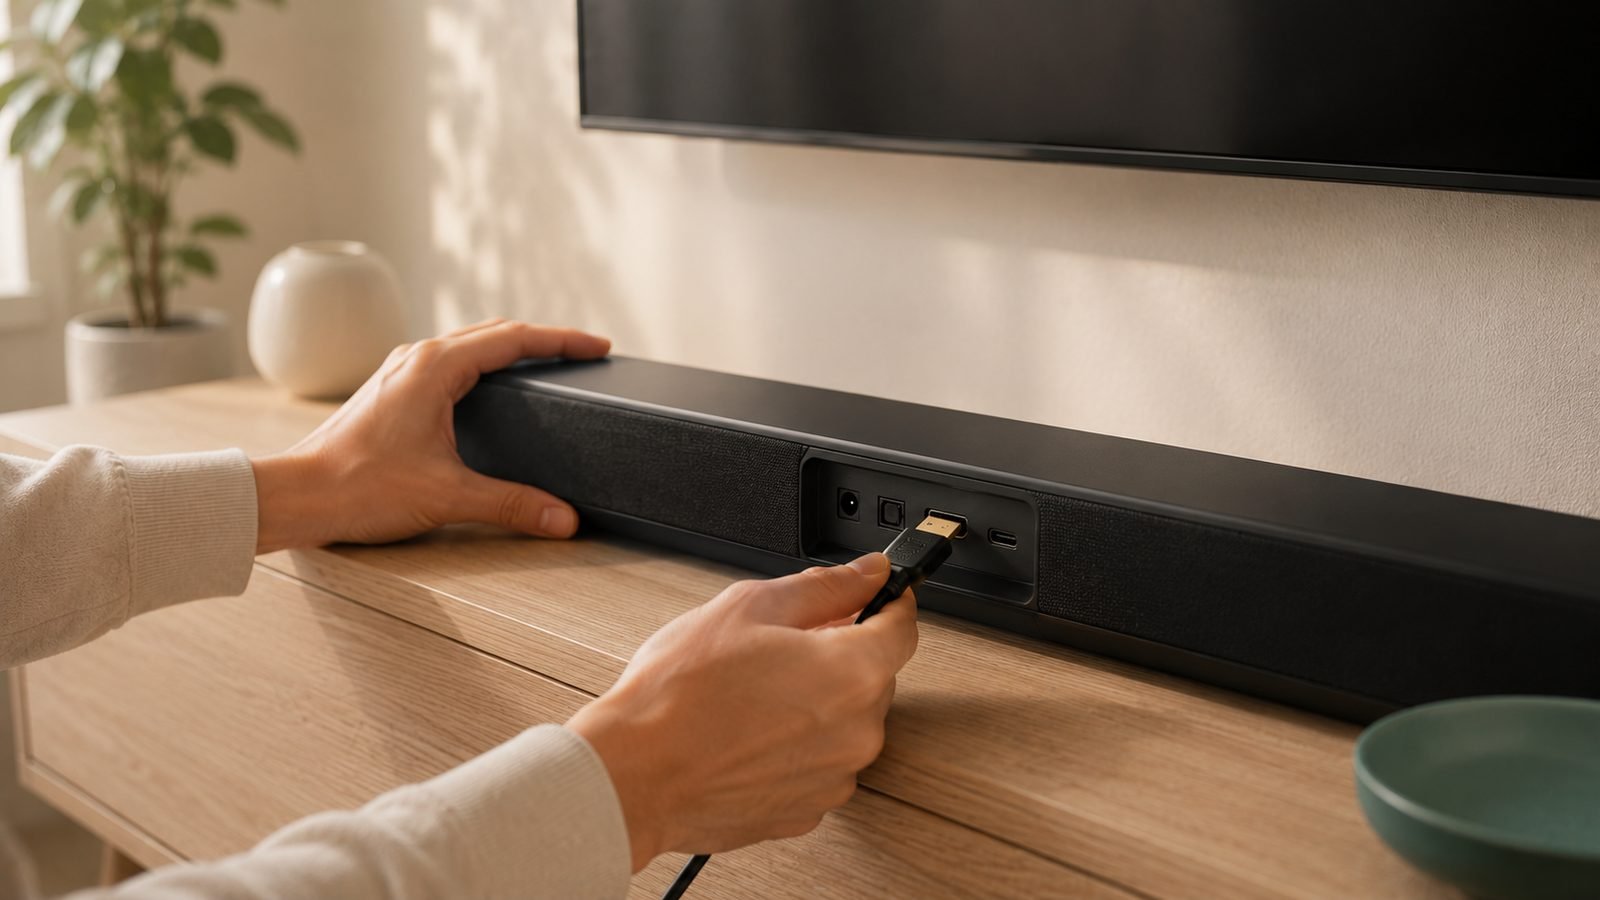
- Plug the HDMI cable into the soundbar’s HDMI OUT (TV ARC/eARC) port — not an HDMI input.
- Plug the other end into the TV’s ARC/eARC-labelled HDMI port. Any other TV port carries video into the TV but won’t send audio back out. This one mistake causes the majority of “no sound” complaints.
- Power on the TV, then the soundbar. Most TVs auto-detect the bar and offer to use it as the audio output — accept.
- Set the soundbar’s input to “TV ARC” or “D.IN” (Samsung’s label) if it doesn’t switch automatically.
That’s the physical connection done. If a wireless subwoofer or rear speakers came with the bar, they usually pair automatically on power-up; consult the quick-start card if they don’t.
Step 3: Set Your TV’s Audio Output Correctly
The cable is only half the job — the TV’s audio settings decide what actually comes out:
- Open the TV’s Sound menu and select the soundbar (often shown as “HDMI ARC”, “Receiver”, or the bar’s name) as the audio output device.
- Set the digital audio output format:
- eARC: choose Auto, Pass-through or Bitstream so full Atmos passes untouched.
- ARC: choose Dolby Digital Plus or Bitstream.
- Optical: choose Dolby Digital — never PCM, which forces stereo.
- Turn off the TV’s built-in speakers if it didn’t do so automatically.
- Find any “eARC mode” toggle (Samsung and LG bury one in expert/advanced audio settings) and set it to Auto or On.
Setting the output to PCM is the single most common reason a soundbar plays plain stereo instead of surround or Atmos — leave it on Auto/Bitstream unless troubleshooting forces otherwise.
Step 4: Enable HDMI-CEC So Your TV Remote Controls the Soundbar
Over HDMI ARC/eARC, one remote can control everything — but each brand hides the feature under its own name:
- Samsung: Anynet+
- LG: Simplink
- Sony: Bravia Sync
- Philips: EasyLink
- Hisense / TCL / others: usually “HDMI-CEC” or “CEC”
Enable it in the TV settings (commonly General → External Device Manager, or System → HDMI settings), and on the soundbar too if it has a toggle — most ship with it on. Power the TV off and on once, and the remote’s volume keys should drive the bar.
If CEC won’t hand over volume control, unplug both devices from mains power for 60 seconds. A cold restart clears a stuck HDMI handshake more reliably than any menu setting. Note that CEC does not exist over optical or standard Bluetooth.
Step 5: Connect Without HDMI ARC (Optical, Analogue or Bluetooth)
If your TV has no ARC port, you can still connect:
Optical (best fallback). Nearly every flat-panel TV since the mid-2000s has a Toslink output. Run an optical cable from the TV’s Optical Out to the soundbar’s Optical In, set the soundbar input to “Optical” or “D.IN”, and set the TV’s digital output to Dolby Digital. Then turn off the TV speakers. You get clean digital audio up to compressed 5.1, but no Atmos and no CEC.
3.5mm / RCA analogue. Stereo only. Set the TV’s audio output to “Variable” so its remote controls volume. Fine for everyday viewing, underwhelming for films.
Bluetooth. Only if your TV supports Bluetooth audio out and your bar has a Bluetooth input. Expect lip-sync delay on video, so treat it as a music connection. (The reverse — sending TV audio to headphones — works far better; see How to Connect Bluetooth Headphones to Any TV (2026 Guide).)
HDMI audio extractor. Around $25 / £20, this pulls audio from a source device before the TV. Fiddly, but the only route to surround from a truly HDMI-less setup.
Troubleshooting: No Sound, Lip-Sync Delay, and Dropouts
Even a by-the-book connection can hit an HDMI handshake glitch. Work through these in order.
Soundbar no sound fix:
- Confirm the cable is in the TV’s ARC/eARC port and the soundbar’s HDMI OUT, not an input.
- Set the soundbar’s input to “TV ARC” or “D.IN”.
- In the TV menu, re-select the soundbar as the audio output device.
- Toggle CEC off and on, then power-cycle both devices at the wall for 60 seconds.
- Swap the HDMI cable — cheap unlabelled cables that pass video fine often fail the eARC handshake.
- Still silent? Check for TV and soundbar firmware updates; ARC handshake bugs get heavily patched.
Lip-sync delay: First set the TV’s digital output to Auto rather than PCM, since TV-side decoding adds latency. Then use the soundbar’s audio-delay (AV sync) adjustment — most offer 0–300ms in the app or remote menu. On eARC, enable auto lip-sync on the TV if the option exists.
Dropouts: Almost always the cable or CEC. Replace the cable with a certified Ultra High Speed one, and disable the TV’s “HDMI power sync”-type features one at a time. A wireless subwoofer that drops out is usually fighting congested Wi-Fi — changing the router channel or moving the sub a metre often cures it.
Check price: High-speed HDMI 2.1 cable (48Gbps)
Still Choosing a Soundbar?
If you landed here before buying, connection type is a good filter: prioritise a bar with an HDMI eARC or ARC port so you get the single-cable, one-remote experience above rather than wrestling with optical. Our Best Soundbars Under $300 (£300) in 2026: Big TV Sound, Small Price roundup lists which budget models include eARC, and if you’re weighing whether the extra height channels are worth it, Dolby Atmos Soundbars Explained: Do You Need One? breaks down when Atmos actually pays off in a real room.
FAQ
Which HDMI port do I use to connect a soundbar?
Use the TV port labelled ARC or eARC — usually HDMI 2 or HDMI 3 — connected to the soundbar’s HDMI OUT (TV) port. Other HDMI ports carry video into the TV but can’t send audio back out, which is why a soundbar on the wrong port powers up but stays silent.
Is HDMI eARC better than optical for a soundbar?
Yes, clearly. HDMI eARC carries lossless Dolby Atmos and TrueHD, supports CEC so your TV remote controls the bar, and includes mandatory lip-sync correction. Optical is limited to compressed 5.1 with no Atmos and no remote integration. Choose optical only when your TV has no ARC or eARC port at all.
Why does my soundbar have no sound after I connect it?
The usual causes: the cable is in a non-ARC HDMI port, the bar is set to the wrong input, the TV is still outputting to its internal speakers, the TV’s format is set to PCM, or the CEC handshake is stuck. Re-check the port labels, select the TV/ARC input on the bar, set output to Auto/Bitstream, and power-cycle both devices at the wall.
Can I connect a soundbar to a TV without HDMI?
Yes. Optical (Toslink) is the best non-HDMI option, giving compressed digital audio up to 5.1 — set the TV’s digital output to Dolby Digital and turn off its speakers. A 3.5mm/RCA analogue connection gives stereo only, and Bluetooth works for casual music but has too much lip-sync delay for movies.
Can my TV remote control the soundbar volume?
Yes, over HDMI ARC or eARC with HDMI-CEC enabled on both devices. Look for it under its brand name — Anynet+ (Samsung), Simplink (LG), Bravia Sync (Sony) — in the TV settings, then power-cycle the TV once. Over optical or standard Bluetooth, CEC isn’t available, so you’ll use the soundbar’s own remote or IR learning.
Do I need an expensive HDMI cable for a soundbar?
No. HDMI is digital, so audio either arrives intact or not at all — a boutique cable sounds identical to a certified budget one. What matters is certification: an Ultra High Speed (48Gbps) cable guarantees enough bandwidth for eARC and lossless Atmos. A certified cable at around $12 / £10 does the job perfectly.
Zen Tech Hub may earn a commission from links on this page, at no extra cost to you.