Setting up a NAS for the first time takes about 30–45 minutes, and it’s far less intimidating than it looks. The quick version: fit your hard drives, connect the box to your router by Ethernet, run the manufacturer’s setup wizard from a browser or app, choose a storage layout (a mirror is the safe default), create a shared folder, then turn on automatic backups. That’s it — everything after is refinement.
This guide walks through each step in plain English for the popular 2026 platforms — Synology’s DSM, UGREEN’s UGOS Pro, QNAP’s QTS and Asustor’s ADM. The exact button names differ, but the sequence is the same on all of them. If you haven’t bought a box yet, start with our Best NAS Drives for Home 2026: Backup & Media Picks Ranked picks; if you already have one, read on.
Before you start, one rule to burn into memory: a NAS is not a backup by itself. RAID keeps you running when a drive dies, but it won’t save you from accidental deletion, ransomware or a house fire. We’ll set up a proper backup at Step 6.
What you’ll need
- Your NAS enclosure and its power supply
- Two or more NAS-rated hard drives — WD Red Plus, Seagate IronWolf or Toshiba N300 (never desktop drives). See Check price: WD Red Plus NAS Hard Drives.
- An Ethernet cable and a free port on your router
- A computer or phone on the same network
- About 45 minutes, plus background hours for the initial RAID sync
A small Phillips screwdriver may be needed for 3.5-inch drives in some trays; many modern bays are tool-free.
Step 1: Install the drives
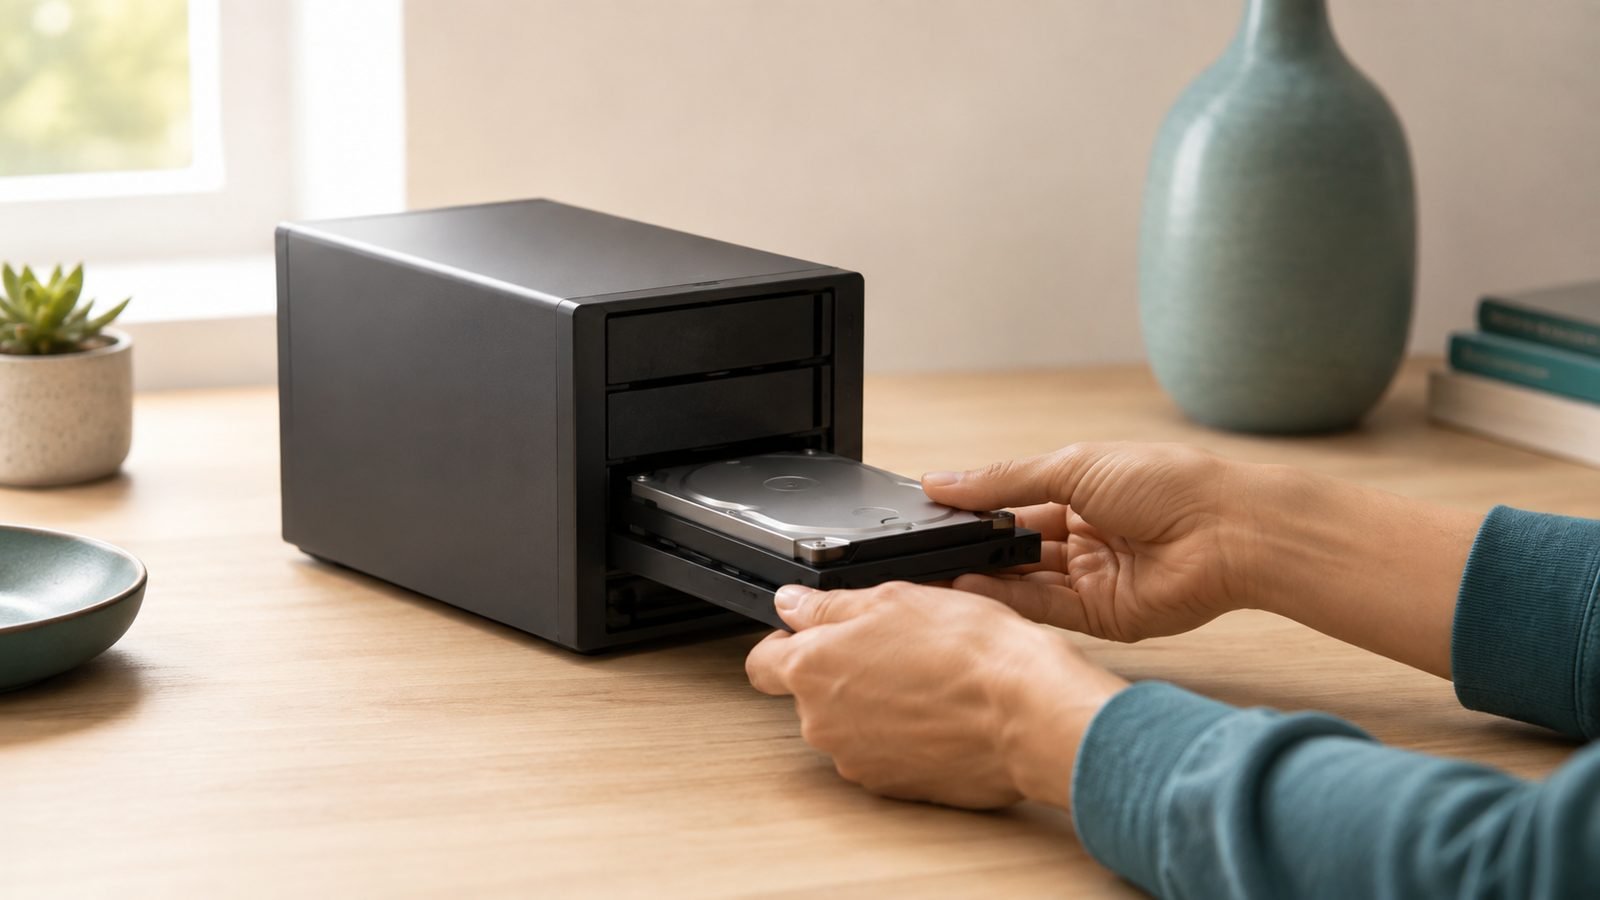
Power the NAS off and unplug it. Slide out the drive trays (there’s usually a latch or a gentle pull). Seat each hard drive in a tray — 3.5-inch drives often clip in with tool-free rails, while 2.5-inch SSDs need four small screws. Make sure the drive’s connector faces the back of the tray so it mates with the backplane, then slide the tray fully home until it clicks.
Fit all your drives now if you can. It’s much simpler to build your storage pool with every disk present than to expand it later. Two identical drives is the minimum for redundancy; four gives you more efficient options.
A note on data: the setup process erases every drive completely. If a disk has files you need, copy them off first.
Step 2: Connect and power on
Plug an Ethernet cable from the NAS into a spare LAN port on your router — wired is essential for setup and strongly recommended forever, because a NAS is the one device you never want on flaky Wi-Fi. Connect the power supply and press the power button. Give it two or three minutes to boot; the status light will settle to a steady colour when it’s ready.
Keep the NAS somewhere cool and ventilated with a little clearance around it. A cupboard is fine as long as air can move; a sealed drawer is not.
Step 3: Run the setup wizard
On a computer connected to the same network, open a browser and go to the manufacturer’s finder:
- Synology: visit
finds.synology.com - UGREEN: use the UGREEN NAS app or the address shown in the quick-start card
- QNAP: visit
qnap.com/goor use Qfinder - Asustor: visit
find.asustor.com
The wizard detects your box and walks you through installing or updating the operating system (DSM, UGOS Pro, QTS or ADM). This downloads fresh software to the drives, so let it finish — it can take 10–15 minutes and the NAS may reboot.
When prompted, create your admin account with a strong, unique password, and choose a non-default admin username if the option appears. This account controls everything; don’t reuse a password from elsewhere. Decline or postpone any optional cloud-account linking for now — you can add it later once you understand what it does.
Step 4: Choose your storage layout (RAID)
This is the one decision that feels technical, so here’s the plain-English version. RAID combines your drives into a single storage pool with different trade-offs between capacity and safety.
- Mirror (RAID 1 / SHR with 2 drives): two drives hold identical copies. You get the capacity of one drive, and one drive can fail with zero data loss. This is the right default for most two-bay homes.
- RAID 5 / SHR (3+ drives): you get the capacity of all drives minus one, and any single drive can fail without loss. The efficient choice for four-bay boxes — e.g. four 4TB drives give roughly 12TB usable.
- RAID 0: combines drives for maximum space and speed but no redundancy — one failure loses everything. Avoid unless the data is disposable.
- JBOD / single: no protection. Not recommended for anything you care about.
Synology’s SHR is worth choosing if offered: it behaves like RAID 1 or 5 but lets you mix drive sizes and expand more flexibly later. Pick your layout, confirm, and the NAS begins building the pool. It’ll be usable almost immediately, but a background “sync” or “consistency check” runs for several hours to a day — that’s normal, and you can keep setting things up while it works.
Step 5: Create shared folders and users
A shared folder is just a named space on the NAS — think of it as a top-level folder your devices can reach over the network. In your NAS software, open the shared-folder tool and create a few sensible ones, for example Backups, Media, Photos and Documents.
If more than one person will use the box, create a user account for each and set folder permissions — who can read, who can write. This keeps your partner’s files separate from yours and stops the kids’ laptop from touching the backup folder. For a single-person setup, the default admin plus your shares is plenty.
To reach a share from your computer:
- Windows: open File Explorer and type
\\followed by the NAS name or IP (for example\\192.168.1.50), then sign in. - Mac: in Finder choose Go > Connect to Server and enter
smb://plus the NAS address.
Map the share as a network drive and it behaves like any other folder.
Step 6: Set up backups (the part that matters most)
Now make the NAS earn its keep. There are two directions of backup, and you want both.
Back up your devices to the NAS. Install the manufacturer’s backup tool — Synology’s Active Backup for Business, or the built-in equivalents on UGOS Pro, QTS and ADM — to protect your PCs and Macs automatically. Point Windows File History or macOS Time Machine at your Backups share for a second, simple layer. Set a schedule (daily is fine) and forget it.
Back up the NAS itself offsite. This is the step people skip and later regret. RAID protects against a dead drive, not against theft, fire or ransomware. Use your NAS’s backup app (Synology Hyper Backup, or the equivalents) to copy your important folders to either an external USB drive you rotate and store elsewhere, or an encrypted cloud destination such as Backblaze B2 or an S3-compatible service. Aim for the classic 3-2-1 rule: three copies of your data, on two types of media, with one kept offsite.
Check price: Seagate IronWolf NAS Drives
Step 7: Set up remote access — safely
You’ll want to reach your files and photos when you’re out. The safe way is the manufacturer’s own relay service — Synology QuickConnect, UGREEN’s remote service, QNAP myQNAPcloud or Asustor EZ Connect. These let their mobile apps reach your NAS without exposing it directly to the internet. Turn on the matching app (Synology Photos, DS file, and so on), sign in, and you’re set.
Whatever you do, do not blindly forward ports on your router to open the NAS admin page to the whole internet — that’s how NAS boxes get hijacked by ransomware. If you need a direct connection, use the built-in VPN server or a service like Tailscale instead. Enable two-factor authentication on your NAS account, keep automatic security updates on, and if a firewall option exists, restrict admin access to your local network.
Troubleshooting and common mistakes
The wizard can’t find my NAS. Confirm it’s on the same router/subnet as your computer, the Ethernet light is on, and you’ve waited a full three minutes for boot. Try the IP address directly if you can find it in your router’s device list.
I put in desktop hard drives. They may work at first but fail sooner in a NAS’s always-on, multi-bay environment. Replace them with NAS-rated drives when you can — see our Best NAS Drives for Home 2026: Backup & Media Picks Ranked drive advice.
I chose RAID 0 to get more space. Undo this before you store anything important. One drive failure wipes a RAID 0 pool entirely.
Transfers feel slow. Make sure the NAS is wired, not on Wi-Fi, and that your router and the NAS both negotiate at least gigabit. If your network is the bottleneck, our How to Fix Slow Wi-Fi: A Step-by-Step Guide guide will help — though for a NAS, cable is always king.
I’m treating RAID as my backup. The single most common and most dangerous mistake. Go back to Step 6 and set up an offsite copy today.
FAQ
How long does it take to set up a NAS?
The hands-on part — fitting drives, running the wizard, creating shares and backups — takes about 30–45 minutes. After that, the RAID pool runs a background sync that can last several hours to a full day depending on drive size, but the NAS is usable throughout. You don’t need to sit and watch it.
Do I need to be technical to set up a NAS?
No. Modern NAS software from Synology, UGREEN, QNAP and Asustor uses friendly wizards that handle the hard parts for you. If you can install an app and follow on-screen prompts, you can set up a NAS. The only concept worth learning first is RAID, and a two-drive mirror is a safe default that needs no deeper knowledge.
What RAID should a beginner choose?
For a two-bay NAS, choose a mirror (RAID 1, or Synology’s SHR) — two drives holding identical copies, so one can fail without data loss. For four bays, RAID 5 or SHR gives more usable space with single-drive protection. Avoid RAID 0, which offers no protection at all. When in doubt, pick the option the wizard labels as protecting against one drive failure.
Can I add more drives to my NAS later?
Usually yes, though it’s smoother to install all drives at setup. Synology’s SHR and most RAID 5 pools let you add or replace drives to expand capacity, with the array rebuilding in the background. Always have a current backup before expanding or swapping drives, since a rebuild puts extra stress on the remaining disks.
Is it safe to access my NAS from outside my home?
Yes, if you do it the right way. Use your manufacturer’s relay service (QuickConnect, myQNAPcloud, EZ Connect) or a VPN like Tailscale, enable two-factor authentication, and keep the software updated. The unsafe way is forwarding router ports to expose the admin interface directly to the internet — that’s the leading cause of NAS ransomware, so never do it.
Do I need a special router or network for a NAS?
No special router is required — any router with a spare Ethernet port works. For best speed, connect the NAS by cable rather than Wi-Fi and make sure your network runs at gigabit or faster. If you’re upgrading anyway, our Best Mesh Wi-Fi Systems 2026: Wi-Fi 6 & Wi-Fi 7 Compared and Best Wi-Fi 7 Routers 2026: Top Picks for Every Budget guides cover fast, modern options that pair well with a home NAS.
Zen Tech Hub may earn a commission from links on this page, at no extra cost to you.