A guest Wi-Fi network solves a problem a strong password cannot. Once you have told someone your main Wi-Fi password it stays on their device, and everything they connect shares a network with your laptop, NAS, printer and shared files. A guest network gives visitors their own lane and their own password, which you can change or switch off at any time without disrupting your own devices. The underrated use is not guests at all: it is quarantining cheap smart-home gadgets that are rarely updated, so a compromised bulb or camera cannot reach your computers. One setting enforces that separation — without client isolation, a guest network is just a second name with full access.
It’s one of the easiest security upgrades you can make, and it’s just as useful for corralling smart-home gadgets as it is for house guests. Below is the full walkthrough for both app-based and web-based routers, plus the settings that actually matter and the mistakes to avoid.
Why set up a guest network?
Three solid reasons, in order of importance:
Protect your main network. Your primary Wi-Fi connects your laptop, phone, NAS, network printer and shared files. Every device you hand the password to is a potential way in — and if a guest’s phone is carrying malware, it’s now on the same network as your personal data. A guest network keeps visitors on a separate lane with no access to your devices.
Never share your real password. Once you’ve told someone your main Wi-Fi password, it’s on their device forever (and possibly texted to a friend). A guest network has its own password you can change or disable anytime without disrupting your own devices.
Isolate smart-home devices. This is the underrated one. Cheap IoT gadgets — bulbs, plugs, cameras, doorbells — are notoriously insecure and rarely updated. Putting them on the guest network quarantines them: if one is compromised, it can’t reach your computers or files. Many people run their entire smart home on a guest or dedicated network for exactly this reason.
What you need
- Access to your router’s admin app or web interface (the login is usually on a sticker on the router).
- Two minutes to pick a network name and password.
- A router that supports guest networking — almost all routers and every mesh system made in the last decade do.
If you’re not sure how to reach your router settings, the steps below cover both the modern app route and the classic web-address route.
Step 1: Log in to your router
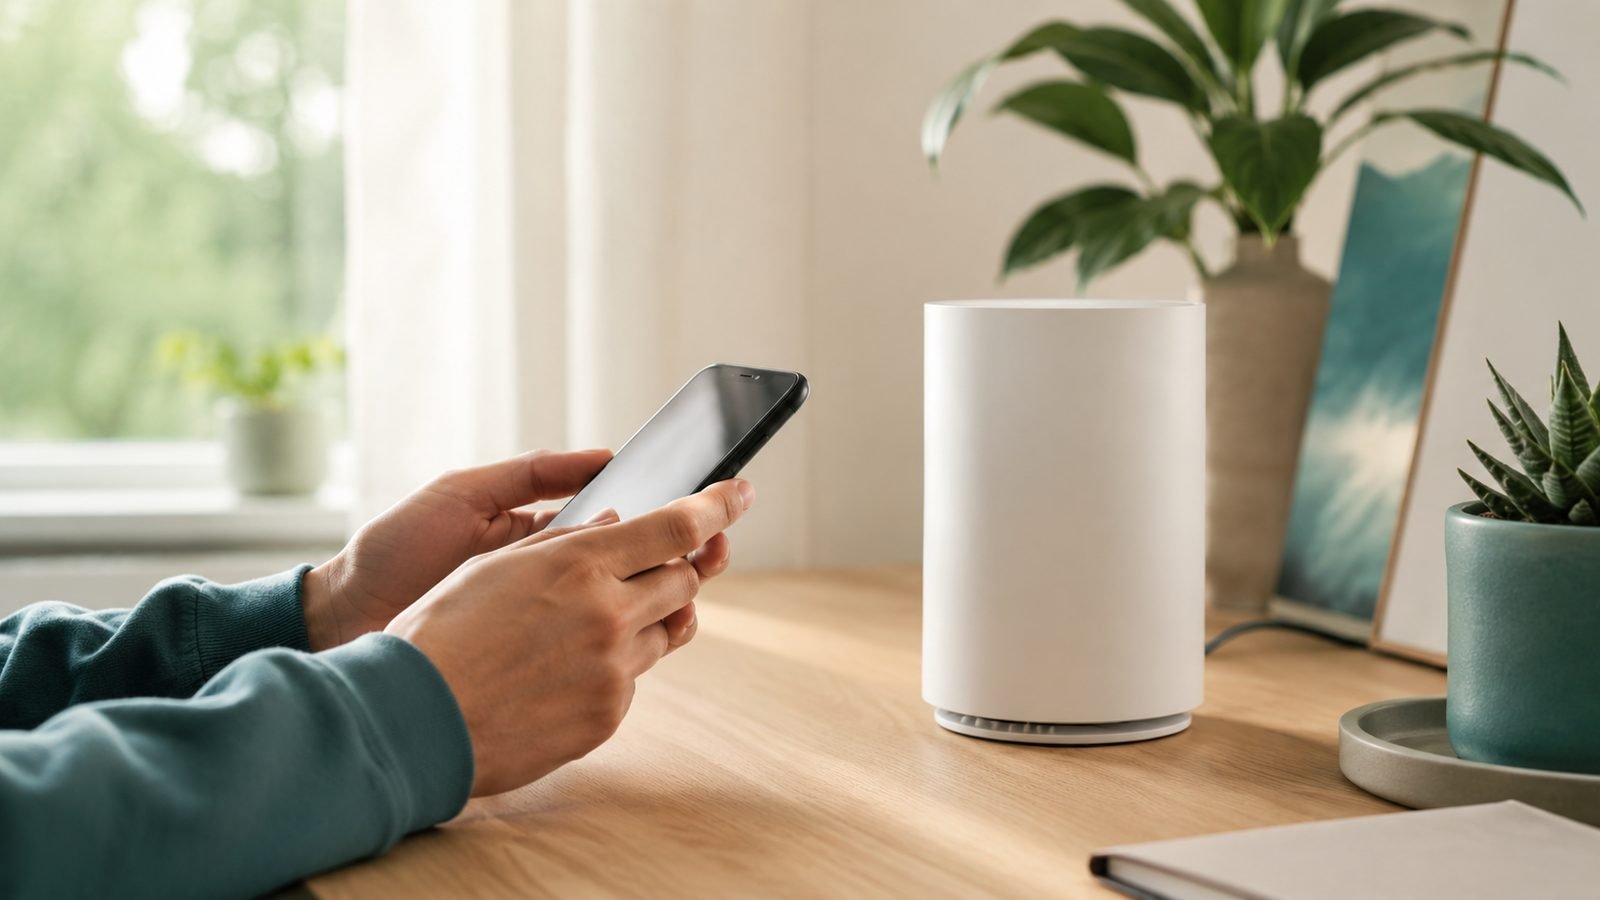
App-based routers and mesh (eero, Deco, Orbi, Nest, ASUS): open the manufacturer’s app on your phone and sign in. Guest networking is almost always a top-level menu item.
Web-based routers: open a browser and go to the router’s address — commonly 192.168.1.1, 192.168.0.1, or 192.168.8.1. Enter the admin username and password (on the router’s sticker, or one you set). If you’ve never changed the default admin password, do that now — it’s a separate credential from your Wi-Fi password and a common security hole.
Step 2: Find the guest network setting
Look for a menu called Guest Network, Guest Wi-Fi, or Guest Access. Location varies by brand:
- eero: Settings → Guest Network.
- TP-Link Deco / Archer: More → Guest Network (app) or Wireless → Guest Network (web).
- Netgear / Orbi: Guest Network in the main menu.
- Google/Nest Wi-Fi: Settings → Guest Network in the Home app.
- ASUS: Guest Network on the main dashboard.
If you have both 2.4GHz and 5GHz bands, some routers let you enable the guest network on one or both. Enable both so guests get the range of 2.4GHz and the speed of 5GHz — if you’re unsure what that means, Wi-Fi Bands Explained: 2.4GHz vs 5GHz vs 6GHz breaks it down.
Step 3: Name it and set a password
Give the guest network a clear name (SSID) — something like YourName-Guest so visitors know which to pick. Keep it obvious; there’s no security benefit to a cryptic name.
Set a strong but shareable password — long enough to be safe (12+ characters), but something you can read aloud or put on a card for visitors. You’ll change it far more freely than your main password, so it needn’t be a nightmare to type. Never leave the guest network open (no password): an open network invites freeloaders and abuse that traces back to your connection.
Step 4: Turn on client isolation (the key setting)
This is the setting that makes a guest network actually secure, and it’s easy to miss. Look for an option called Client Isolation, AP Isolation, “Allow guests to see each other and access my local network” (which you want unticked), or “Isolate guest network.”
Enabling isolation means devices on the guest network:
- Cannot reach devices on your main network (your PC, NAS, printer, files).
- Often cannot see each other either, depending on the setting.
- Can still reach the internet normally.
Without isolation, a “guest” network is just a second network name with the same access — you’ve gained a separate password but none of the protection. Turn isolation on. It’s the whole point.
Step 5: Set optional limits, then save
Depending on your router, you may see extra controls worth using:
- Bandwidth limits: cap the guest network’s speed so visitors or IoT gadgets don’t hog your connection.
- Schedule / time limit: auto-disable the guest network after a set time (handy for one-off visitors) or on a schedule.
- Block access to router settings: ensure guests can’t reach the admin panel.
Set what you need, then Save or Apply. The router may restart the wireless briefly. Test by connecting a phone to the new guest network and confirming it reaches the internet but not, say, your network printer or shared drive.
How to use guest Wi-Fi for smart-home devices
To quarantine IoT gadgets rather than (or as well as) human guests, connect your bulbs, plugs, cameras and speakers to the guest network instead of your main one. One caveat: many smart-home devices are 2.4GHz-only, so the guest network must broadcast on 2.4GHz for them to join, and some devices need to be on the same network as your phone during setup — pair them first, then confirm they still work on the guest network. Also check client isolation doesn’t block a device you control locally (some smart displays and cameras need same-network access from your phone).
Troubleshooting and common mistakes
Guests can still see my devices. Client isolation is off, or the “access local network” box is still ticked. Recheck Step 4 — this is the most common mistake.
A smart device won’t join. It’s likely 2.4GHz-only and your guest network is 5GHz, or it needs to be on your phone’s network during setup. Enable 2.4GHz on the guest network, pair the device, then test.
Guest network is slow. You may have set a bandwidth cap too low, or the guest traffic is competing on a congested band. Raise the limit, or check whether the whole home is short on coverage — if so, How to Extend Wi-Fi Range: 8 Fixes That Work and Best Mesh Wi-Fi Systems 2026: Wi-Fi 6 & Wi-Fi 7 Compared cover fixing that properly.
No guest network option at all. A few old or ISP-locked routers hide or omit it. If yours can’t do guest Wi-Fi (or client isolation), that’s a sign it’s due for replacement — a modern router or mesh system adds this and much more; start with Best Wi-Fi 7 Routers 2026: Top Picks for Every Budget.
Forgot to change the default admin password. Guest networks don’t help if anyone can log in to the router with factory credentials. Set a unique admin password separate from your Wi-Fi passwords.
FAQ
What is a guest Wi-Fi network for?
It gives visitors internet access without sharing your main Wi-Fi password or exposing your personal devices and files. It’s also ideal for isolating insecure smart-home gadgets from your computers. With client isolation enabled, guests reach the internet but nothing else on your network — a simple, strong security boundary.
Does a guest network slow down my main Wi-Fi?
Slightly, since all networks share the same router and internet connection, but the effect is usually negligible for a few guests. If you’re worried, set a bandwidth cap on the guest network so it can’t dominate. The security benefit far outweighs the small overhead for most homes.
Should I put my smart home devices on a guest network?
Yes, it’s a smart move. IoT devices are often poorly secured and rarely updated, so isolating them means a compromised gadget can’t reach your computers or files. Just make sure the guest network broadcasts on 2.4GHz (most smart devices need it) and that client isolation doesn’t block devices you control locally from your phone.
Is guest Wi-Fi actually secure?
It’s secure if you enable client isolation and set a password — that’s what walls guests off from your main devices. A guest network without isolation is just a second name with full access and gives you little protection. Add a strong password and, ideally, a bandwidth cap or schedule, and it’s a genuinely effective security layer.
What’s the difference between a guest network and my main network?
They’re separate Wi-Fi networks on the same router, with different names and passwords. The main network is for your trusted devices and can access shared files, printers and other local devices. The guest network is isolated — internet only, no access to your local devices — so you can share it freely without exposing your personal setup.
Can I set up guest Wi-Fi on a mesh system?
Yes — every major mesh system (eero, Deco, Orbi, Nest, ASUS ZenWiFi) supports guest networking through its app, usually in a couple of taps, and the guest network works across all nodes automatically. The steps mirror those above: enable it, name it, set a password, and confirm isolation is on. See Mesh Wi-Fi Explained: How It Works and Who Needs It for how mesh handles this across multiple nodes.
Zen Tech Hub may earn a commission from links on this page, at no extra cost to you.