Working out how to set up a NAS is far less painful than it used to be. Modern two-bay units from Synology and UGREEN walk you through most of it, and the whole job — drives in, RAID configured, backups running — takes about 30 to 45 minutes. What the built-in wizards don’t tell you is which choices actually matter, and that’s where beginners get burned: the wrong drives, the wrong RAID mode, or remote access left wide open to the internet.
This NAS setup for beginners guide covers all seven steps, with instructions for both Synology’s DSM and UGREEN’s UGOS, so it works whichever brand you picked. If you’re still deciding between them, read our Synology vs UGREEN NAS (2026): DSM or Raw Power? comparison first, or our full roundup of the best home NAS drives at Best Home NAS 2026: Top Picks for Backup, Plex & Photos.
What you need before you start
| Item | Our pick | Price | Why |
|---|---|---|---|
| Two-bay NAS | Synology DiskStation DS225+ | around $300 / £280 | The most polished software for beginners; this guide’s DSM steps follow it |
| Budget alternative | UGREEN NASync DXP2800 | around $260 / £240 | More hardware per dollar; UGOS steps included below |
| 2x NAS drives | Seagate IronWolf 4TB (x2) | around $95 / £90 each | CMR, NAS-rated, 3-year warranty with rescue service |
| Ethernet cable | Any Cat5e or better | ~$8 / £7 | Wi-Fi to your PC is fine; the NAS itself should be wired |
| Time | — | 30–45 minutes | Most of it is waiting for drive initialisation |
A quick word on the two NAS boxes, because the choice shapes the software you’ll use.
Synology DiskStation DS225+ — the guide’s main path
The DS225+ (around $300 / £280) is the box we’d hand to any first-timer. In our research and across hundreds of owner reports, DSM remains the most beginner-friendly NAS operating system: the setup wizard, backup apps and permission system all just work, and the documentation is excellent.
Pros: DSM is the gold standard for NAS software; SHR flexible RAID; superb backup apps (Hyper Backup, Synology Photos); huge community support. Cons: Weaker raw hardware than UGREEN at the price; 2.5GbE only on one port; Synology’s 2025–2026 drive-compatibility policy nudges you toward its own (pricier) drives on some models — check the compatibility list before buying disks.
Check price: Synology DiskStation DS225+
If you want more grunt for Plex or Docker, the four-bay DS925+ is the step-up option — see our Synology DS925+ Review: Still the Home NAS to Beat?.
UGREEN NASync DXP2800 — the budget alternative
The DXP2800 (around $260 / £240) gives you a more modern Intel N100 chip, 2.5GbE and an NVMe slot for less money. UGOS Pro has matured a lot since launch; based on aggregated owner feedback it now covers everything in this guide, though its backup tooling is still less refined than DSM’s.
Pros: Better CPU and hardware value; 2.5GbE standard; NVMe cache/storage slot; no drive lock-in. Cons: UGOS is younger and rougher around the edges; smaller app ecosystem; fewer third-party guides when something goes wrong.
Check price: UGREEN NASync DXP2800
Step 1: Choose and install your drives (CMR only)
The single most important answer to “what drives for NAS?” is: CMR, not SMR. SMR (shingled) drives overlap data tracks to cut costs, and they collapse under the sustained writes a RAID rebuild demands — rebuilds that should take hours can stretch to days, with a higher chance of a second failure mid-rebuild. Some desktop drives are SMR without saying so prominently, which is why we stick to NAS-rated lines.
Our starter recommendation is a pair of Seagate IronWolf 4TB drives (around $95 / £90 each). They’re CMR, rated for 24/7 operation and vibration in multi-bay enclosures, and include three years of warranty plus Seagate’s Rescue data-recovery service. WD Red Plus (not the plain Red, which has SMR models) is the equivalent alternative.
Check price: Seagate IronWolf 4TB (2-pack)
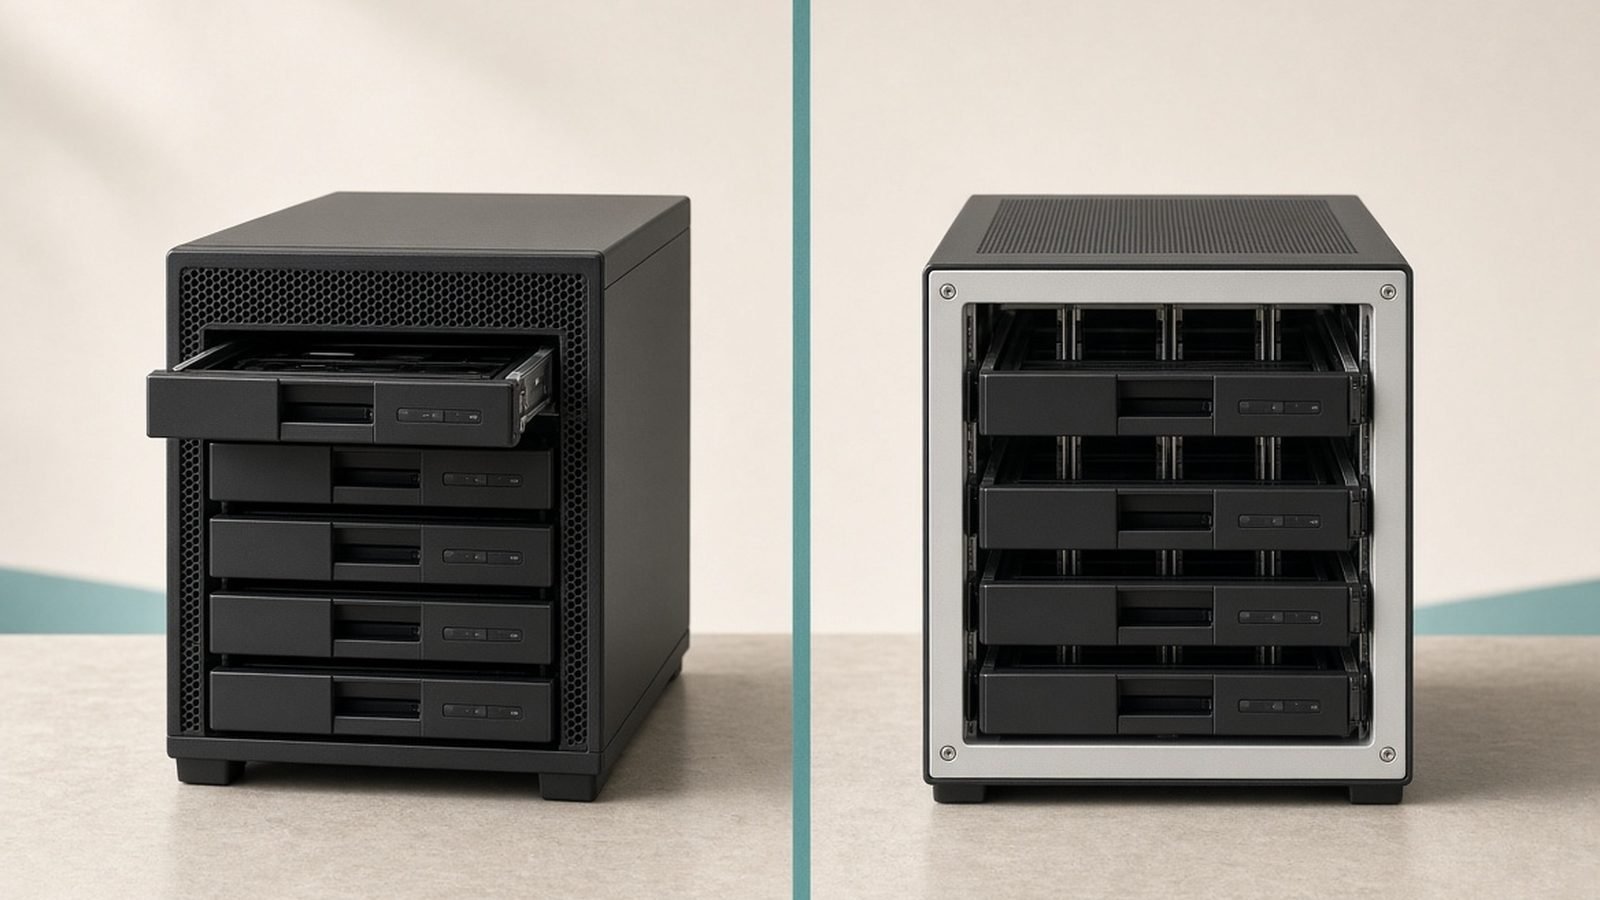
Physically, this is the easiest part of learning how to set up a NAS: installation is toolless on both boxes — pop the tray out, clip the drive in, slide it back until it clicks. Buy both drives at once — mixing sizes later works on Synology’s SHR but wastes space on standard RAID.
Step 2: First boot and finding the NAS on your network
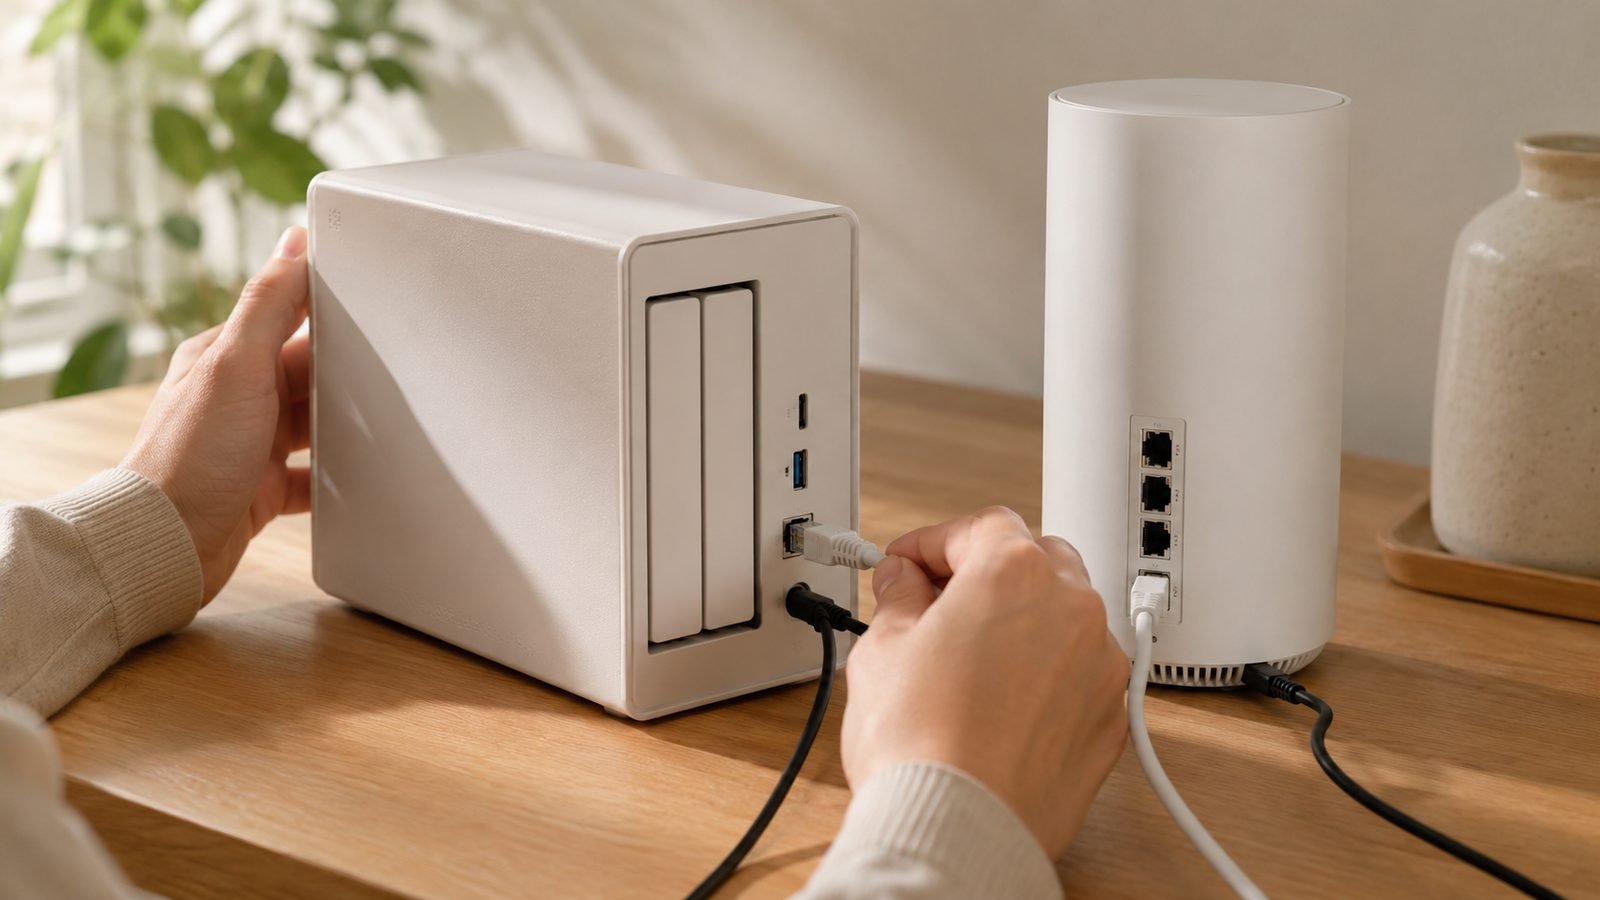
Plug the NAS into your router (or a switch) with Ethernet, connect power, and press the power button. Give it two minutes to boot.
Synology setup guide (DSM): on any computer on the same network, open a browser and go to finds.synology.com. It locates the DiskStation automatically. Click Connect, and the wizard installs DSM to the drives (this wipes them — fine, they’re new), then asks you to create an admin account. Skip creating a Synology Account for now if you like; you’ll want one in Step 6.
UGREEN NAS setup (UGOS): install the UGREEN NAS app on your phone or the desktop client, or browse to find.ugnas.com. It discovers the NASync, installs UGOS Pro and walks you through creating the admin account.
Two universal rules for this step, whichever brand you own: give the admin account a long unique password, and turn on two-factor authentication the moment the dashboard loads (DSM: Personal → Security; UGOS: Security settings). Every horror story about ransomed home NAS boxes starts with a weak admin login.
Step 3: How to set up a NAS storage pool — RAID and SHR explained like a human
RAID is where beginners freeze, so here’s the plain-English version of NAS RAID setup, SHR included.
With two identical drives you have three realistic options:
- RAID 1 (mirror): the NAS writes everything to both drives. One drive can die and you lose nothing. Two 4TB drives give you 4TB of usable space. This is what you want.
- SHR (Synology Hybrid RAID): on two matching drives, SHR behaves exactly like RAID 1 — but if you later add or swap in bigger drives, it uses the extra capacity instead of wasting it. On a Synology, pick SHR; it’s the default for a reason.
- RAID 0 / JBOD / Basic: all the space, zero protection. One drive dies, everything is gone. Skip it for anything you care about.
(RAID 5 needs three or more drives — one drive’s worth of capacity buys you one-drive fault tolerance. It’s the natural choice when you outgrow a two-bay.)
DSM: open Storage Manager → Create Storage Pool → choose SHR → select both drives → create a volume using all the space, with the Btrfs file system. Btrfs enables snapshots — point-in-time copies that make ransomware recovery possible — so don’t pick ext4.
UGOS: open Storage Manager → create a storage pool → choose RAID 1 → select both drives. UGOS uses Btrfs by default on current versions.
The pool will “optimise” or “scrub” in the background for a few hours. You can keep working through the next steps while it runs.
Step 4: Users, shared folders and permissions
Resist the urge to do everything as admin. Two minutes of user hygiene now saves real pain later.
- Create a personal account for yourself (DSM: Control Panel → User & Group; UGOS: User Management) and one for each family member. Daily use happens on these; the admin account is for maintenance only.
- Create shared folders that match how you’ll use the NAS, not one giant dump. A sensible starter set:
Family(everyone reads and writes),Backups(each user writes only to their own space),Media(everyone reads, one person writes), and a private home folder per user, which DSM and UGOS can generate automatically. - Set permissions per folder, per user. The five-year-old’s tablet does not need write access to your tax records. On DSM this lives in the shared folder’s Permissions tab; UGOS puts it in the folder’s settings.
Enable the Recycle Bin on every shared folder. It has rescued more accidentally deleted wedding photos than any RAID level ever will.
Step 5: How to back up to a NAS automatically
This step is the entire reason you learned how to set up a NAS in the first place. A NAS you have to remember to copy files to is a NAS that quietly does nothing — so here’s how to back up to a NAS automatically, on every device, from day one.
Windows PCs: install Synology Drive Client or UGREEN’s desktop client and point it at each user’s Documents, Desktop and Pictures folders. Synology owners with several PCs should look at Active Backup for Business — free, and it images the entire machine so you can restore Windows itself, not just files.
Macs: both platforms can act as a Time Machine target. Create a dedicated shared folder with a storage quota (say, 1.5x the Mac’s drive size), enable the Time Machine/Bonjour service in the NAS file services settings, then select the NAS in macOS’s Time Machine preferences. It backs up hourly from then on, hands-off.
Phone photos: this is the feature that sells the whole project to the rest of the household. Install Synology Photos or the UGREEN NAS app on each phone, sign in with that person’s NAS account, and enable auto photo backup over Wi-Fi. Every photo lands in their own space on the NAS automatically — and you can stop paying for iCloud or Google One tiers you only bought for photos.
Set backups to run without asking. The correct number of manual steps in a backup routine is zero.
Step 6: NAS remote access setup — the safe way
Here’s the rule that matters: never port-forward your NAS’s admin ports (5000/5001 on DSM) to the internet. Exposed NAS logins are scanned constantly, and brute-forced or unpatched boxes are how the SynoLocker/Deadbolt ransomware waves happened.
Instead, use the relay services both vendors provide:
- Synology QuickConnect: Control Panel → External Access → QuickConnect. Sign in with a Synology Account, pick an ID, and you can reach your NAS from anywhere at
quickconnect.to/your-id— no router configuration, no open ports. - UGREENlink: enabled in UGOS’s remote access settings and baked into the UGREEN mobile and desktop apps. Same idea: traffic relays through UGREEN’s servers, nothing on your router changes.
Relays are slightly slower than a direct connection, which is the honest trade-off. If you’re comfortable going one step further, Tailscale (free for personal use, available in both app stores/package centers) builds a private WireGuard VPN between your devices and the NAS — direct speeds, still zero open ports. That’s our recommended upgrade path once the basics work.
Whatever you choose: two-factor authentication on, auto-block/failed-login banning on, and firmware updates set to install security patches automatically.
Step 7: Optional extras — Plex, Docker and cameras
Once the core NAS setup is done, the fun starts. Three popular add-ons, in ascending order of tinkering:
- Plex or Jellyfin: both install from the DSM Package Center or UGOS App Center and turn your
Mediafolder into a personal Netflix. The DS225+ and DXP2800 both handle direct streaming easily; heavy 4K transcoding to remote devices is where two-bay boxes strain, so keep expectations modest there. - Docker/Container Manager: the gateway to self-hosting — ad-blocking with Pi-hole or AdGuard Home, Home Assistant, password managers and more, each in a tidy container.
- Surveillance: Synology Surveillance Station ships with two free camera licences and is genuinely best-in-class; UGOS’s surveillance tooling is newer but improving.
None of these are required. A NAS that only does backups is already earning its keep.
The 3-2-1 rule: why a NAS alone isn’t a backup
Knowing how to set up a NAS is only half the job; knowing what it doesn’t protect is the other half. RAID 1 saves you from a dead drive. It does nothing about theft, fire, flood, ransomware that encrypts the share, or you deleting the wrong folder — the mirror faithfully mirrors the disaster. So finish the job with the 3-2-1 rule: three copies of your data, on two different types of storage, one of them off-site.
In practice: the original on your PC or phone (1), the NAS copy (2), and a cloud or off-site copy (3). DSM’s Hyper Backup and UGOS’s cloud sync can push encrypted backups of your irreplaceable folders to Backblaze B2, Synology C2 or even a USB drive you rotate to a relative’s house. Backing up just photos and documents — not your movie library — keeps the cloud bill to a few dollars a month.
Turn on snapshots for your key shared folders too (Snapshot Replication on DSM). They’re your fastest undo button against ransomware and fat-fingered deletes.
For more home networking guides, visit our hub: Networking & Wi-Fi.
FAQ: NAS setup
How long does it take to set up a NAS? Budget 30–45 minutes of hands-on time for a two-bay unit: 5 minutes installing drives, 10 for the OS wizard, and the rest for RAID, users and backup apps. The storage pool then verifies itself in the background for several hours, but the NAS is fully usable while that runs.
Do I need two drives in a NAS? No, but you should use two. A single drive works, yet one failure loses everything and defeats the point. Two drives in RAID 1 or SHR mirror each other, so the NAS survives a dead disk. Just remember mirroring is redundancy, not a backup — keep an off-site copy of anything irreplaceable.
Can I use old desktop hard drives in a NAS? You can, and for a throwaway test pool it’s fine. For real data, don’t: many desktop drives use SMR recording, which cripples RAID rebuilds, and they aren’t rated for 24/7 spin or multi-drive vibration. NAS-rated CMR drives like Seagate IronWolf or WD Red Plus cost little more and fail less.
Is SHR better than RAID 1? On two identical drives they’re functionally the same — one drive of usable space, one-drive fault tolerance. SHR’s advantage appears when you upgrade: mix a 4TB and an 8TB drive and SHR uses more of the larger disk than classic RAID can. On a Synology, choose SHR; other brands simply don’t offer it.
Is it safe to access my NAS over the internet? Yes, if you do it properly. Use QuickConnect (Synology), UGREENlink (UGREEN) or a VPN like Tailscale — all work without opening router ports. Never forward the NAS admin ports to the internet, always enable two-factor authentication, and let security updates install automatically. Exposed, unpatched NAS boxes are the ones that get ransomed.
How much NAS storage do I need? Add up your current data — photos, documents, PC backups, media — then double it, because usage always grows and mirrored drives halve raw capacity. For most households, two 4TB drives (4TB usable in RAID 1/SHR) comfortably covers photos and backups for years; media hoarders should start at 2x 8TB.
Zen Tech Hub may earn a commission from links on this page, at no extra cost to you.