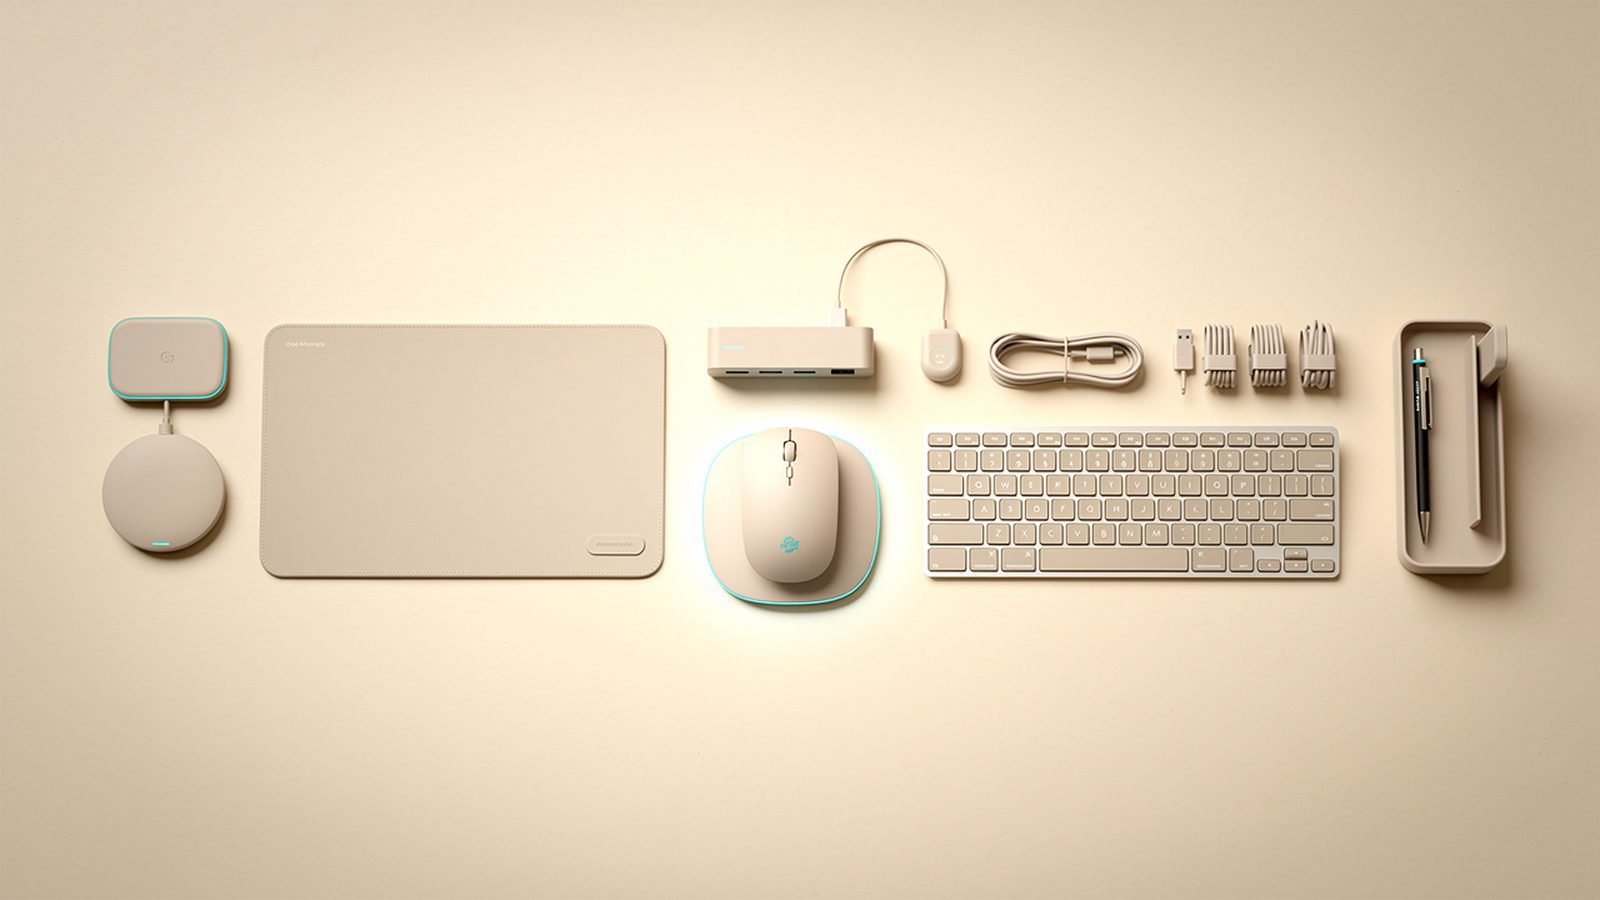
If your neck aches by 3 p.m. and your shoulders live somewhere near your ears, your desk is the problem — not your body. The good news: a proper ergonomic desk setup isn’t a £1,500 chair and a physiotherapist on retainer. It’s five adjustments and, at most, two or three pieces of gear, all of which you can sort in a single afternoon.
This guide walks through the exact sequence we recommend: chair first, monitor second, then keyboard, mouse and lighting. Every step follows one principle — bring the equipment to your body, never the other way round. Whether you work from a spare bedroom in Manchester or a kitchen table in Austin, the physics of an ergonomic desk setup are identical.
The 10-Point Ergonomic Office Setup Checklist (Start Here)
Print this, tape it to your monitor, and work through it top to bottom. If you fix nothing else today, fix the first five.
- Feet flat on the floor (or a footrest), knees at roughly 90 degrees.
- Hips slightly above knees, sitting back into the chair’s lumbar support.
- Top of the screen at or just below eye level — the single highest-impact change.
- Screen an arm’s length away (50–75 cm for most people).
- Elbows at ~90 degrees, upper arms hanging relaxed at your sides.
- Keyboard flat or negatively tilted — feet folded down, not propped up.
- Mouse directly beside the keyboard, never out past your shoulder line.
- Wrists floating, not planted on the desk edge while typing.
- Light source perpendicular to the screen, not behind or in front of it.
- Movement every 30–45 minutes. No setup survives four static hours.
Here’s the gear this guide recommends, at a glance:
| Product | What it fixes | Price | Best for |
|---|---|---|---|
| Ergotron LX Monitor Arm | Correct monitor height and depth | around $165 / £160 | Anyone with an external monitor |
| Rain Design mStand | Laptop screen height | around $60 / £55 | Laptop-only workers |
| Logitech Lift Vertical Mouse | Forearm pronation, wrist strain | around $70 / £70 | Small-to-medium hands, wrist pain sufferers |
| Keychron K8 Pro | Shoulder alignment via TKL layout | around $95 / £94 | Typists who want mechanical without full-size sprawl |
| Logitech MX Master 4 | All-day comfort in a standard grip | around $120 / £120 | Power users without existing wrist issues |
Step 1: Chair Height and Sitting Position
Everything starts at the chair, because chair height determines desk height, which determines everything else. Sit down, close your eyes, and let your arms hang. Now raise your forearms until they’re parallel to the floor. That elbow height is where your keyboard needs to be.
Adjust the seat so your feet sit flat and your thighs slope very slightly downward — hips a touch above knees opens the hip angle and takes pressure off your lower back. If your desk is too tall (most fixed desks are, especially standard 73–75 cm UK desks), raise the chair and put a footrest, box or ream of paper under your feet. A £20 footrest fixes what a £400 chair can’t.
Sit back. The chair’s lumbar curve should meet your lower spine — perching on the front edge is how most people end up in a C-shaped slump within twenty minutes. In our research across HSE (UK) and OSHA (US) guidance, a slight 100–110 degree recline consistently beats bolt-upright 90 degrees for reducing spinal disc pressure.
Step 2: Correct Monitor Height, Distance and the Case for an Arm
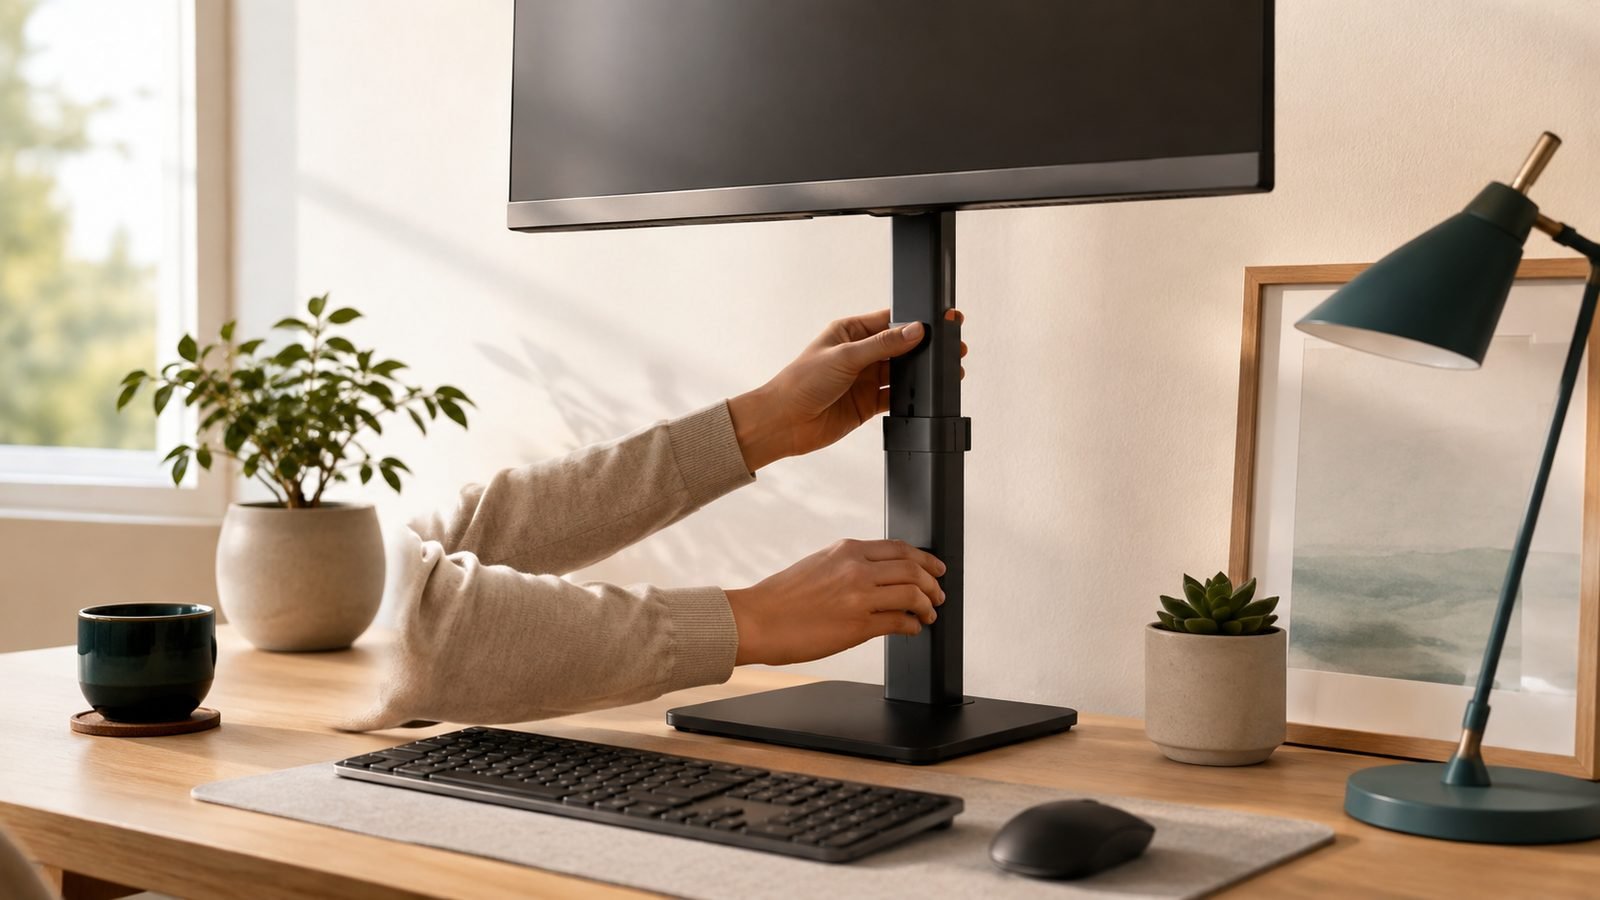
Correct monitor height is simple to state and rarely achieved: top of the screen at or slightly below eye level, so your gaze falls naturally on the top third of the display. If you wear varifocals, drop the screen a little lower. Distance-wise, sit an arm’s length away — closer for smaller screens, further for a 32-inch panel.
Most stock monitor stands put the screen 5–15 cm too low. Stacking books works for a fixed setup. But a monitor arm hits your exact eye height rather than the nearest book-thickness, frees the desk space under the screen, and lets you pull the display closer for detail work.
Ergotron LX Single Monitor Arm — around $165 / £160
The Ergotron LX is the arm we point people to first, and it’s the default recommendation in our full monitor arm guide Best Monitor Arms 2026: Single, Dual & Ultrawide Ranked. Based on hundreds of owner reports spanning a decade of this design, the LX’s defining trait is that it stays where you put it — years in, no sag, no drift, with a 10-year warranty behind it.
Pros:
- Effortless one-hand repositioning; screen sits at exactly your eye height
- Holds monitors up to 34 inches / ~11 kg with no wobble
- 10-year warranty; owner reports show these routinely outlast the monitors on them
Cons:
- Twice the price of budget arms that do 80% of the job
- Polished finish shows dust; clamp needs 10 cm of clear desk edge
Who it’s for: anyone with an external monitor who plans to keep their desk for more than a year. It’s the “buy once” option.
Check price: Ergotron LX Single Monitor Arm
Step 3: Laptop Ergonomics — Why a Stand Plus External Keyboard Is Non-Negotiable
The uncomfortable truth about laptop ergonomics: a laptop on a desk cannot be ergonomic. If the screen is at the correct height, you’re typing at your chin. If the keyboard is at elbow height, you’re staring 30 degrees downward — which is exactly how “tech neck” happens.
The fix costs less than a nice dinner: a stand to raise the screen, plus an external keyboard and mouse. It’s the highest-value upgrade in this entire guide.
Rain Design mStand — around $60 / £55
The mStand is a single piece of sand-blasted aluminium that raises a laptop screen roughly 15 cm — enough to bring most laptop displays to correct monitor height for average-height users. No hinges, no adjustment, nothing to loosen over time.
Pros:
- Rock solid; zero wobble even when tapping the touchscreen
- Matches MacBook aluminium almost perfectly; cable routing hole at the back
- Tilted platform doubles as passive cooling
Cons:
- Fixed height — very tall users may still want a riser or adjustable stand
- Heavier and less portable than folding stands
Who it’s for: anyone who works primarily from a laptop at a fixed desk. If you need adjustability or portability, see our full stand roundup Best Laptop Stands 2026: Top Desk & Travel Picks.
Check price: Rain Design mStand
Step 4: Keyboard and Mouse Position Ergonomics (and When to Go Ergonomic)
Keyboard and mouse position ergonomics come down to two rules. First, the keyboard sits directly in front of you, close enough that your elbows stay at your sides. Second, the mouse lives immediately next to it. This is the quiet argument for tenkeyless (TKL) keyboards: deleting the number pad brings your mouse 10 cm closer to your midline, and your right shoulder stops rotating outward all day.
Fold the keyboard’s little feet down. A positive tilt (back edge raised) forces your wrists into extension — the exact position that aggravates carpal tunnel symptoms. Flat or sloping away from you is correct, even though it looks wrong.
Keychron K8 Pro — around $95 / £94
The K8 Pro is our favourite ergonomic-adjacent mechanical board because the TKL layout does real postural work: it frees mouse space for better shoulder alignment while keeping the arrow and nav keys most people actually use. It’s also a genuinely good keyboard — hot-swappable switches, QMK/VIA remapping, Bluetooth or wired across Mac and Windows.
Pros:
- TKL footprint pulls the mouse into a healthy position
- Hot-swap switches let you tune feel and sound without buying a new board
- Solid battery life over Bluetooth; pairs with three devices
Cons:
- Tall case — pair it with a wrist rest or you’ll type in wrist extension
- Heavier than typical office keyboards; not a travel board
Who it’s for: typists and programmers who want mechanical feel without full-size sprawl. Deeper picks in our programming keyboard guide Best Mechanical Keyboards for Programming in 2026.
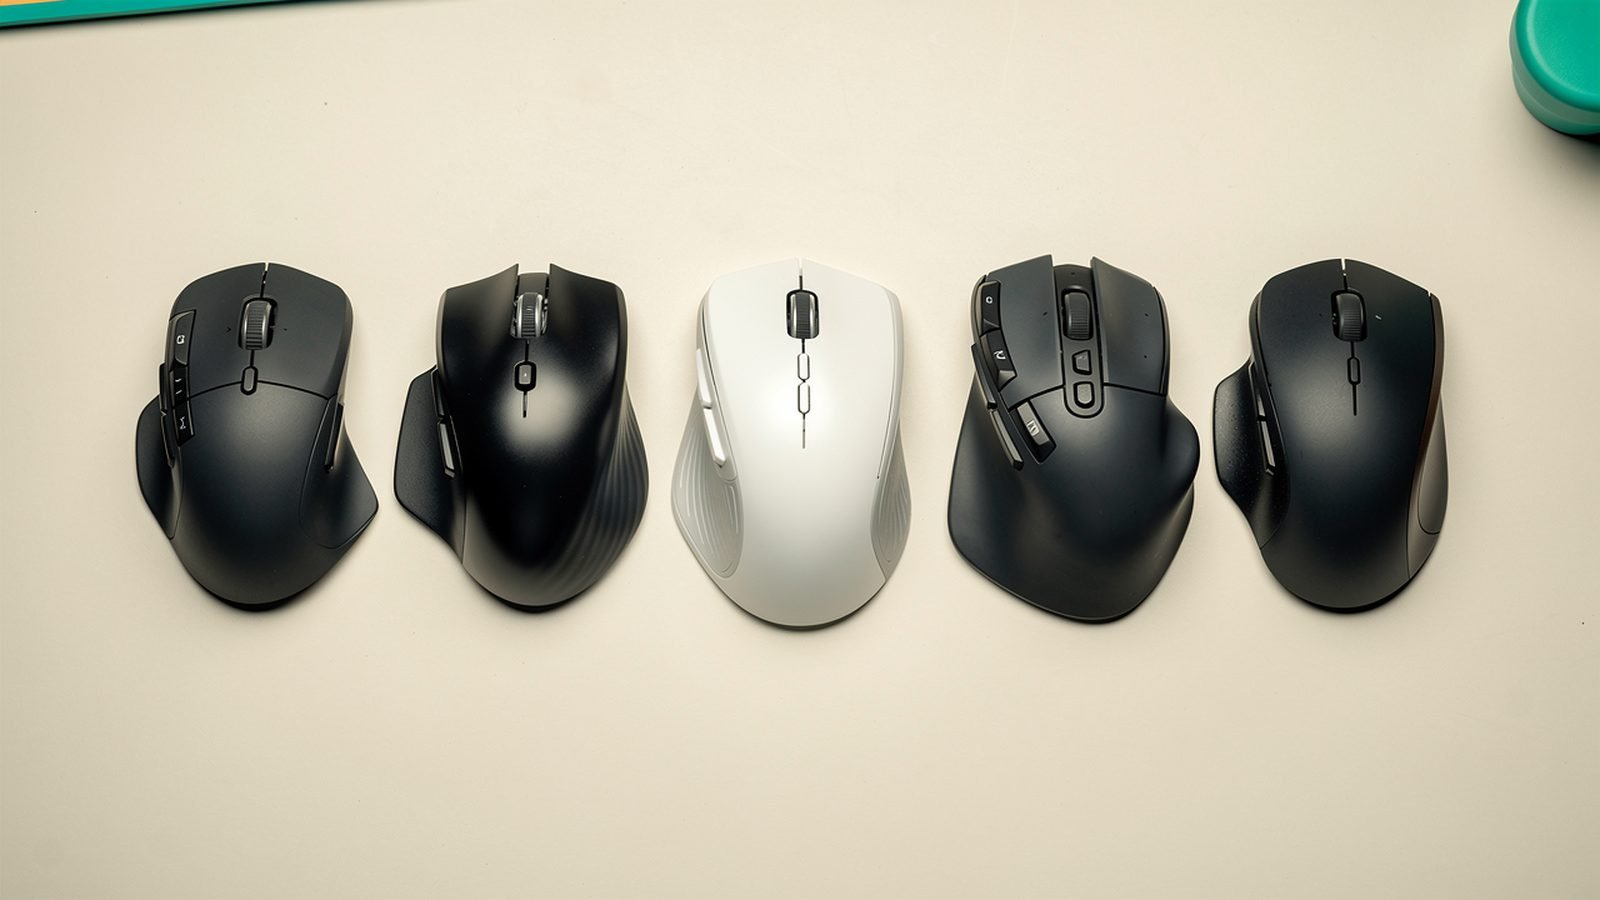
Logitech Lift Vertical Mouse — around $70 / £70
A standard mouse holds your forearm in full pronation — palm down, radius and ulna crossed — for eight hours a day. The Lift’s 57-degree vertical angle puts your hand in a near-handshake position, uncrossing those bones and offloading the forearm muscles. In our research, owners with existing wrist or forearm pain report the most dramatic benefit; expect an adjustment period of a few days while your aim recalibrates.
Pros:
- 57-degree grip measurably reduces forearm pronation
- Quiet clicks, small-to-medium hand fit, left-handed version available
- Bluetooth plus Logi Bolt; runs up to two years on one AA
Cons:
- Precision work (photo editing, gaming) feels clumsy for the first week
- Large-handed users should look at the bigger MX Vertical instead
Who it’s for: anyone with wrist or forearm discomfort, or small-to-medium hands wanting prevention before cure.
Check price: Logitech Lift Vertical Mouse
Logitech MX Master 4 — around $120 / £120
Not everyone needs a vertical mouse. If your wrists are healthy, the MX Master 4’s sculpted shape — a gentle 15-ish degree tilt with a full thumb shelf — is the comfort ceiling for a standard grip, and its scroll wheel and haptic feedback are genuinely productivity-relevant. Full breakdown in our review Logitech MX Master 4 Review: Still the Best Work Mouse?.
Pros:
- Sculpted shape supports the hand for long sessions without a learning curve
- Class-leading MagSpeed scrolling and app-specific customisation
- Weeks of battery; quick-charge over USB-C
Cons:
- Right-handed only, and big — small hands may find it a stretch
- Doesn’t correct pronation the way a vertical mouse does
Who it’s for: power users without existing wrist issues who want maximum comfort and features in a conventional shape.
Step 5: Lighting, Cable Management and Desk Zones
Position your desk so windows sit to your side, not behind the screen (glare) or behind you (reflections). Add a lamp or monitor light bar for evening work — your screen should never be the brightest thing in a dark room, a detail UK home workers rediscover every winter at 4 p.m.
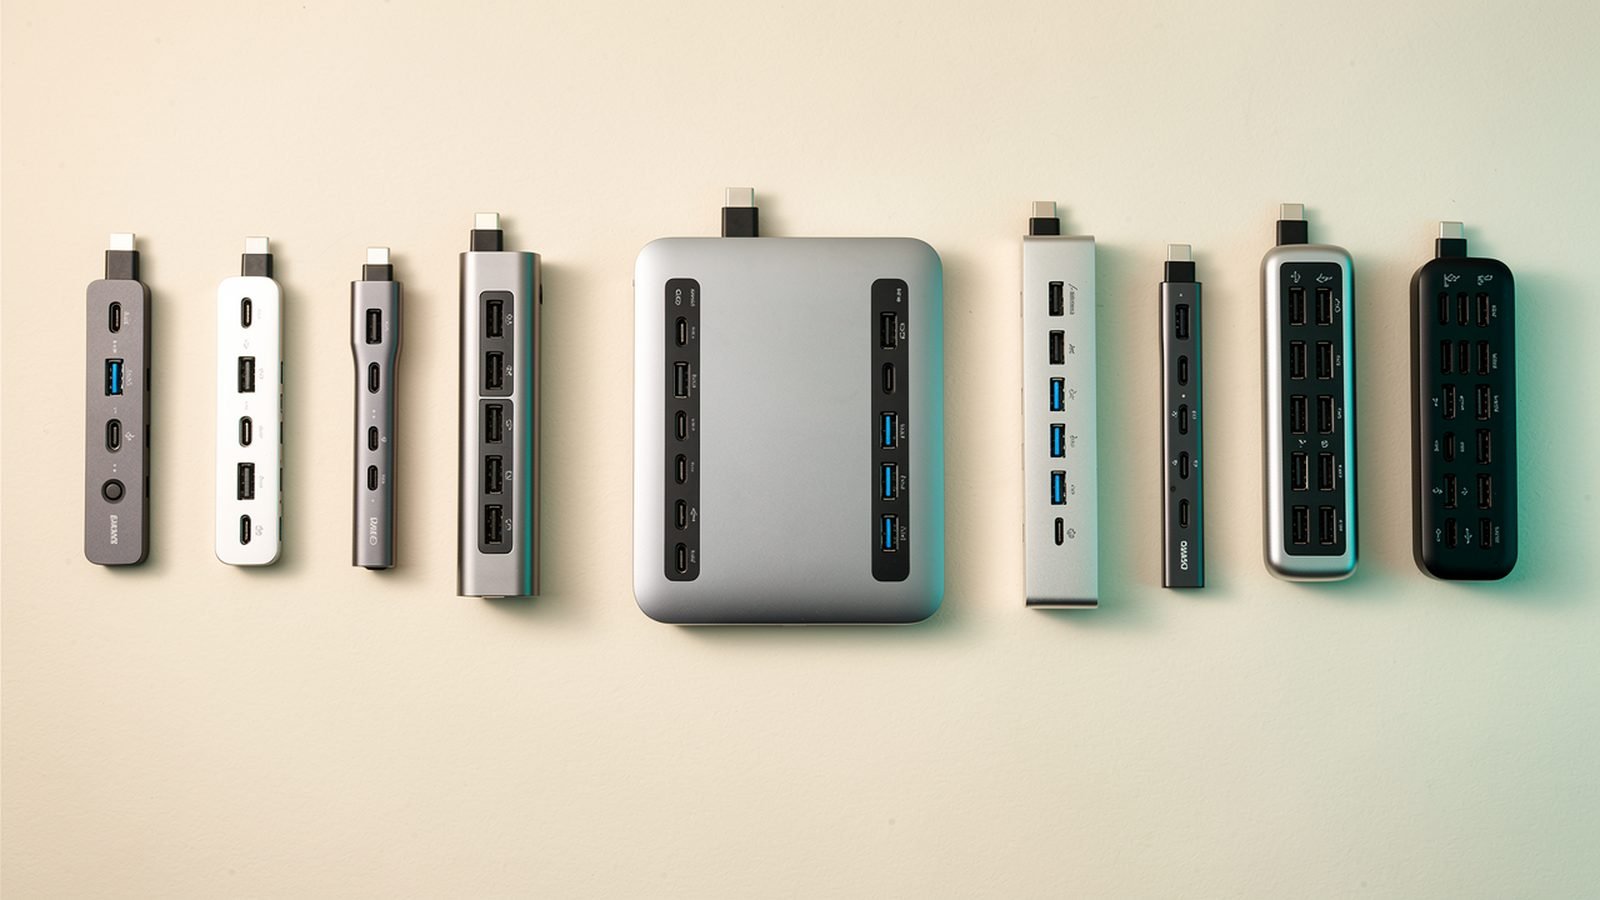
Then think in zones. The primary zone — the arc your forearms sweep with elbows at your sides — holds only keyboard and mouse. The secondary zone, one extended arm away, holds phone, notebook and coffee. Chargers and cables are the usual clutter; a single multi-device charging station clears three cables at once Best Charging Stations for Multiple Devices in 2026.
Budget Builds: Ergonomic Upgrades Under $100/£80
You don’t need everything above on day one. Two builds that deliver most of the benefit:
- Laptop worker (~$85 / £75): Rain Design mStand plus any basic external keyboard and mouse you already own or buy used. This alone fixes the neck-down posture that causes most laptop pain. That’s proper home office ergonomics, UK desk-height quirks and all.
- Monitor worker (~$90 / £80): A stack of books under the monitor (free), a footrest (~$20/£18), and the Logitech Lift. Screen height, leg position and wrist angle sorted for under a hundred.
If you only have money for one item ever: laptop users buy the stand; desktop users buy the monitor arm.
The Gear We Recommend at Each Price
- Under $75/£60: Rain Design mStand — the mandatory laptop fix.
- Under $100/£80: Logitech Lift (wrist relief) or Keychron K8 Pro (shoulder alignment plus a keyboard you’ll enjoy).
- The buy-once tier: Ergotron LX monitor arm, around $165 / £160. It’s the most expensive item here and still our first recommendation for anyone with an external monitor, because correct monitor height is the change owners consistently report noticing within a day.
- Comfort splurge: MX Master 4, for healthy wrists that want the best standard-grip mouse made.
More accessory guides live in our hub Accessories & Charging.
Common Mistakes That Undo Everything
Buying gear before adjusting what you own. Ninety percent of an ergonomic desk setup is free: chair height, screen height, keyboard position. Gear refines a correct setup; it can’t rescue a wrong one.
Keyboard feet up, wrists planted. The two most common desk habits are both wrist-extension traps. Feet down, wrists floating.
Perfect posture, zero movement. The best position held for four hours is still a problem. Set a timer; stand, stretch or walk every 30–45 minutes. This matters more than any product on this page.
Screen too far off-centre. A second monitor used 50% of the time should sit half-turned toward you — not fully to the side where your neck lives in rotation.
Ignoring the sofa hours. An hour of evening laptop-on-lap can undo a day of good desk setup for posture. Screen up, or time short.
FAQ
What is the correct monitor height for an ergonomic desk setup?
The top of the screen should sit at or just below eye level, roughly an arm’s length away, so your gaze naturally lands on the top third of the display. If you wear varifocals or bifocals, position the screen slightly lower. Larger screens (30 inches and up) can sit a little further back and marginally lower.
Can a laptop ever be ergonomic on its own?
No. The attached screen and keyboard mean one of them is always in the wrong place — either you hunch to see the screen or reach up to type. The fix is a stand (like the Rain Design mStand) plus an external keyboard and mouse, which together cost around $85/£75.
Do vertical mice actually work?
For forearm pronation and associated wrist strain, yes — the near-handshake grip uncrosses the forearm bones. Based on aggregated owner feedback, people with existing discomfort notice the biggest difference. Expect a few days of clumsy pointer aim while you adapt. If your wrists are fine, a sculpted standard mouse like the MX Master 4 may suit you better.
Is a standing desk necessary for good ergonomics?
No. Standing all day is roughly as problematic as sitting all day; the benefit comes from changing position. A correct seated setup plus a break every 30–45 minutes captures most of the benefit for free. Add a standing desk later if you want variety, not as a prerequisite.
What desk height is correct for home office ergonomics in the UK?
Standard UK desks are 73–75 cm tall, which suits people around 5’10”–6’0” (178–183 cm). If you’re shorter, raise your chair until your elbows sit at desk height and use a footrest. If you’re taller, raise the desk on risers. Elbow height, not desk fashion, decides.
How long does it take to fix posture with a new setup?
The setup takes an afternoon; your body takes longer. Most people report reduced neck and shoulder tension within a few days of correcting screen height, while ingrained habits like perching or wrist-planting take a few weeks of conscious correction. Pair the physical changes with movement breaks for lasting results.
Zen Tech Hub may earn a commission from links on this page, at no extra cost to you.